If a model has overhangs or cantilevered sections, adding temporary structural supports before printing can improve the chances that your model prints successfully. Once printed, these supports can be removed.
Automatically add supports to a model
Depending on how a model is shaped, it may need supports. Print Studio enables you to add them quickly.
Tip: In each printer profile, there are
Advanced Settings available to manipulate preferences for your supports.
- If necessary, on the Prep bar, click
Supports.

- If necessary, select each model to be supported.
- On the vertical toolbar, click the
Auto Supports icon.

- Optional: On the
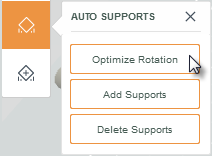
Auto Supports button menu, click
Optimize Rotation.
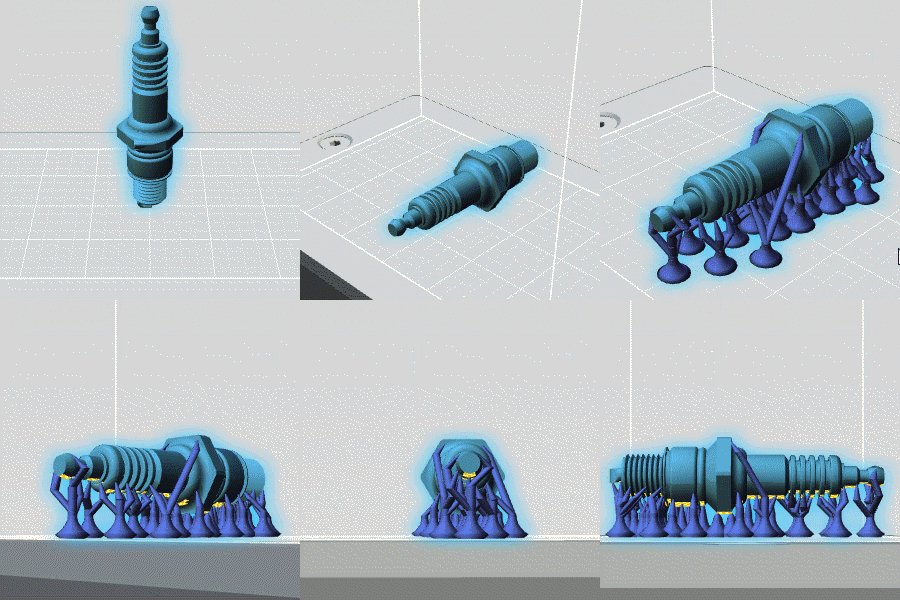
The model is positioned on the build surface to minimize the need for supports.
- On the
Auto Supports button menu, click
Add Supports.
Supports are added to the model.
Manually add and delete supports
Sometimes, you may want more control over supports, such as inserting extra supports or trimming or deleting existing supports. Print Studio enables you to adjustment supports quickly.
- If necessary, on the Prep bar, click
Supports.

- Optional: Position the model to view the area where you want to add or delete supports.
- On the vertical toolbar, click the
Manual Supports icon.
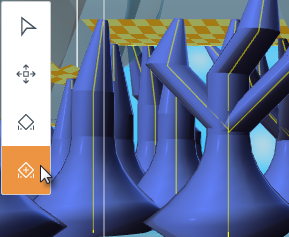
- Add supports. Areas on a model that need support show a hatched pattern. That pattern is based on the degree of the overhang as indicated in the printer profile's
Advanced Settings.
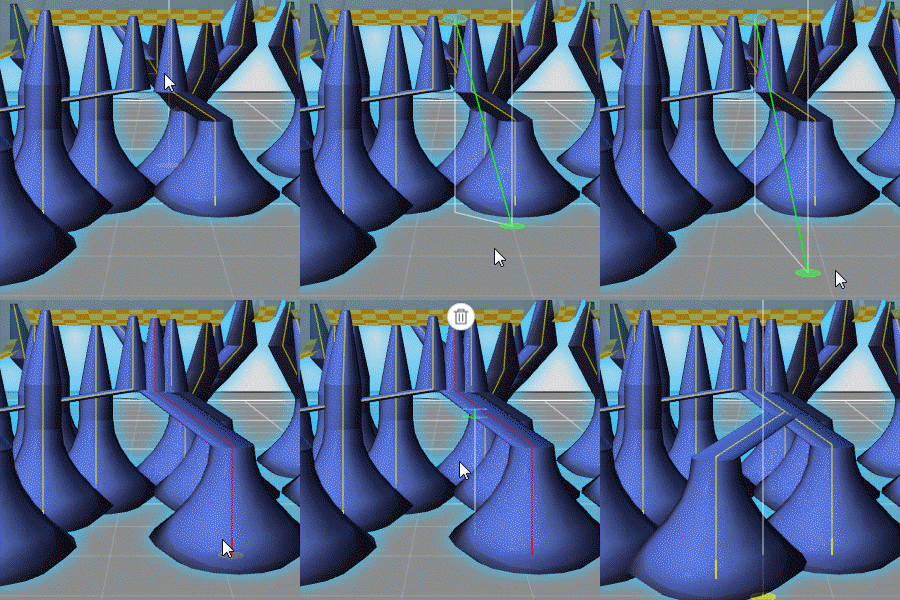
- To add a support to a model, click a location on the model and then click the build surface. The new support is placed.
- To add a support to an existing support, click a location on the support and then click the build surface. The new support is placed.
- Delete supports.
- To trim a branch from an existing support, click the branch to be trimmed and then click the Delete icon.

- To delete a support, click the base of the support and then click the Delete icon.

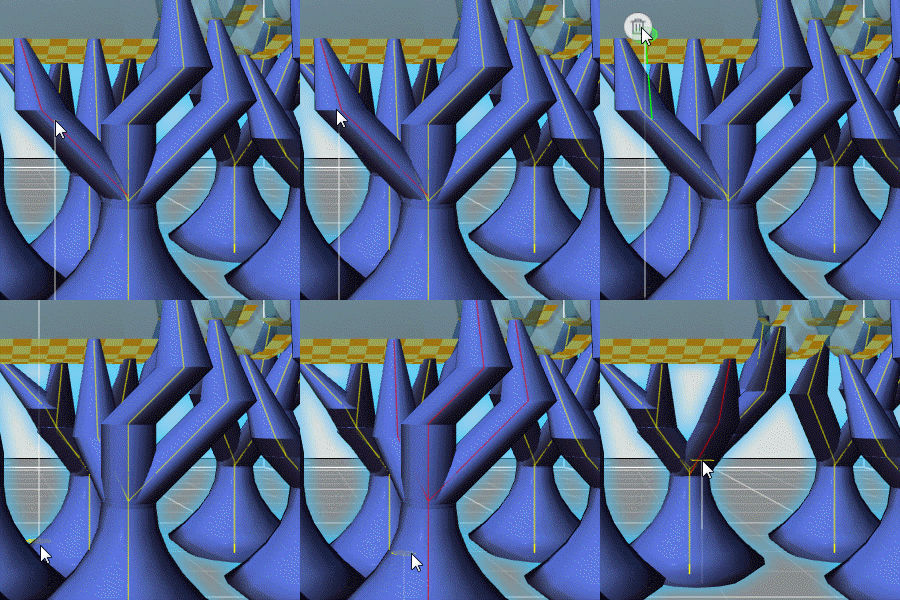
- To trim a branch from an existing support, click the branch to be trimmed and then click the Delete icon.