Learn how to add floors, and how to specify the parameters for them.
- Continue working in your project, or open the project
Tutorial_Alpha_Beams.rstructure.
Note: To open the project, click Explore Tutorials from the Welcome Screen or navigate to the Tutorials folder C:\Users\Public\Public Documents\Autodesk React Structures Tech Preview\Tutorials.
- Click the Plan View tab to switch to a plan view of the model.
- Click
Model
 Structural Elements
 Floor.
The Mode and Floor Properties panels display in the ribbon.
- In the Mode panel, click
 Rectangle to create a rectangular floor.
- In the Floor Properties panel, select Shell from the drop-down menu to assign a calculation model type.
- In the Floor Properties panel, select
Add New from the Floor Thickness drop-down menu.
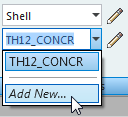
The Thickness dialog opens.
- Add a new thickness by setting the following parameters:
- Label: Slab
- Th: 10.00
- Material:
CONCR_4.
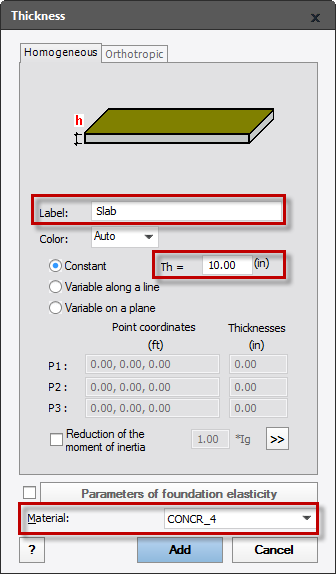
- Click Add.
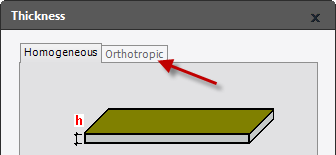
- Click the
Orthotropic tab to switch to the properties of the orthotropic thickness.
- Add an orthotropic thickness by setting the following parameters:
- Label: Roof
- Select: slab composed with trapezoid plate
- h: 5.00
- h1: 2.00
- Material: CONCR_4.
- Click
Direction X.
The Orthotropy Direction dialog opens.
- Select According to Y axis to define the main orthotropy direction.
- Click
Apply.
The Roof parameters include:
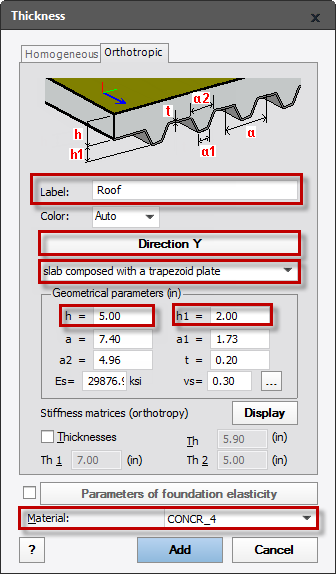
- Click Add and close the Thickness dialog.
- In the Floor Properties panel, select Slab from the Floor Thickness drop-down menu.
- In the drawing area, click the point of axis intersection A1 (x:0.00, y:15.00) to specify the first point of the floor.
- In the drawing area, click the point of axis intersection
E5
(dx:80.00, dy:60.00) to specify the next point of the floor.
The floor displays in the drawing area.
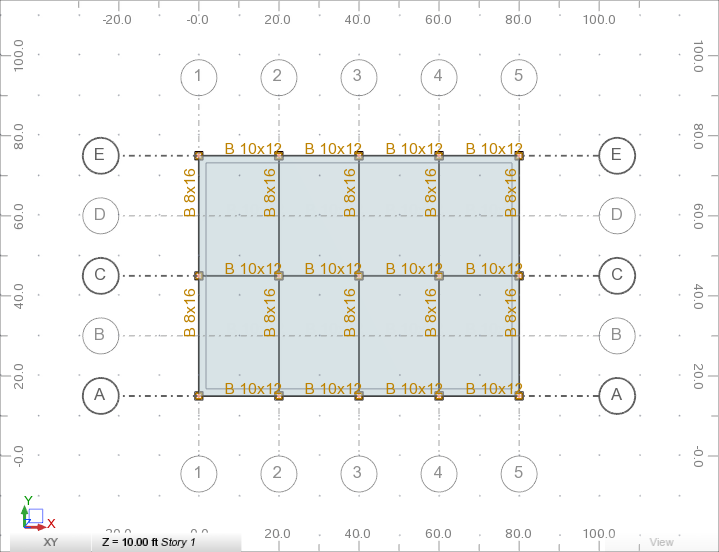
- Press Esc twice to exit the floor tool.
- Click the
3D View tab to switch to a 3D view of the model.
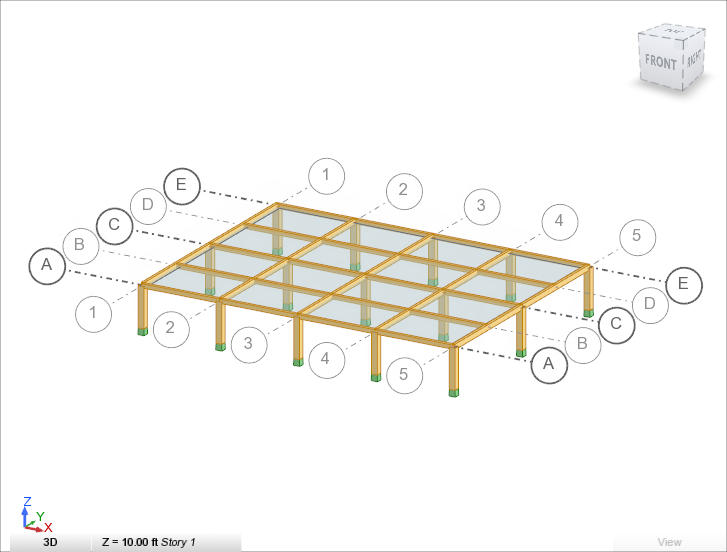
- Save the project as Tutorial_Alpha_Floors.rstructure.