Learn how to display internal forces and displacements in tables.
- Continue working in your project, or open the project
Tutorial_Alpha_Analysis.rstructure.
Note: To open the project, click Explore Tutorials from the Welcome Screen or navigate to the Tutorials folder C:\Users\Public\Public Documents\Autodesk React Structures Tech Preview\Tutorials.
- In the
Results tab, click the drop-down arrow under
 Tables, and then select
 Reactions.
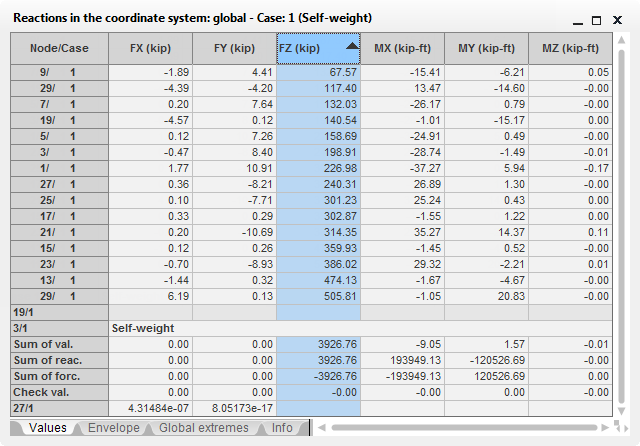
The table opens in the Reactions tab and displays information about internal forces.

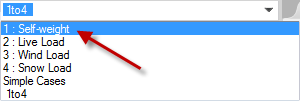
- In the Load Case drop-down list above the Object Inspector, select
Self-weight to show results for the Self-weight case.
 Note: By default, the table displays the results for all load cases.
 - In the Reactions table, double-click the
FZ column header to sort the forces from the minimum to the maximum values.

- Click X to close the Reactions tab.

- In the
Results tab, click the drop-down arrow under
 Tables, and then select
 Node Displacements.
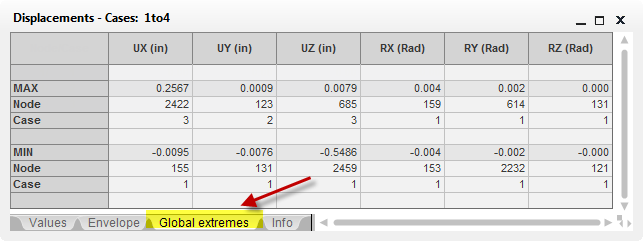
The table opens in the Displacements tab and displays information about values of displacements.
- In the Displacements table, go to the
Global extremes tab located at the bottom of the table.

Tip: The tables can easily be exported to MS Excel®. Right-click in the table area, and then select the
Conversion to EXCEL (CSV) format option from the contextual menu.