
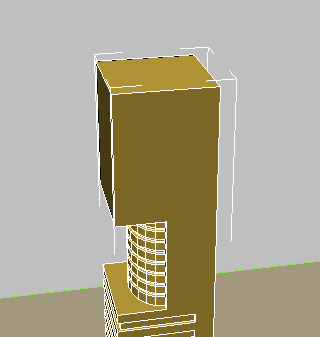
In this lesson, you will use polygon editing techniques to create and add detail to a sloped roof.
Set up the lesson:
- Continue working on your scene from the previous lesson or open
\modeling\highrise\building2_boolean_complete.max.
At this point, you could create another box object on top of the Tower object, rotate it by 45 degrees, and use it in yet another Boolean operation to create a sloped roof.
In this case however, a simpler approach is to create the roof line by editing the tower as an Editable Poly object.
Change the tower to an Editable Poly object:
- Activate the Perspective viewport.
-
 Select the
Tower object, right-click it, and from the Transform (lower right) quadrant choose Convert To
Select the
Tower object, right-click it, and from the Transform (lower right) quadrant choose Convert To  Convert To Editable Poly.
Add a slope to the roofline:
-
 Zoom,
Zoom,
 orbit, and
 pan the Perspective viewport until you can see the roof of the building.
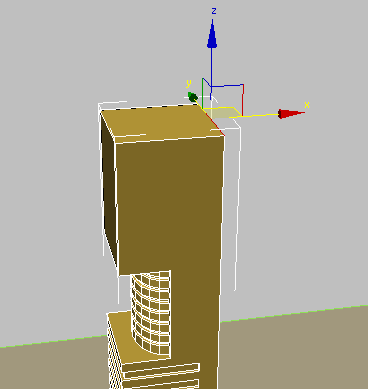
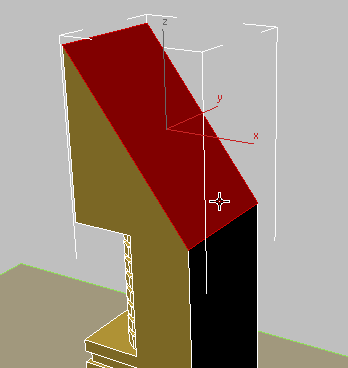
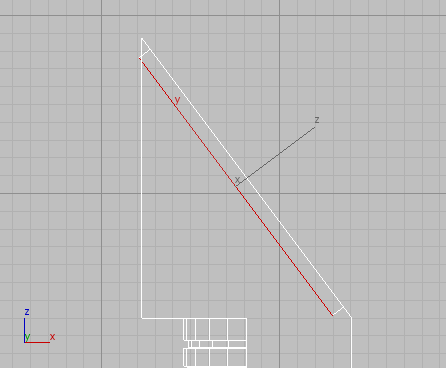
- On the Selection rollout, activate
 (Edge), and then use
 (Select And Move) to select the edge at the back of the tower roof, as shown in the next illustration.
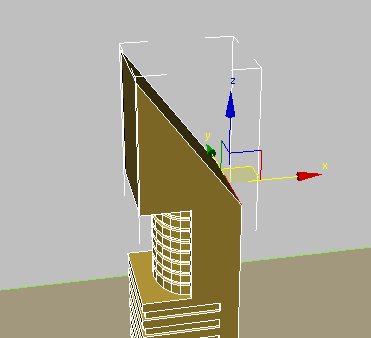
- In the Z coordinates spinner, change the value from 200 to
160.
This sets the slope of the roof.
Add an inset to the roof:
- Use the ViewCube to change the view so you have a better view of the back of the roof.
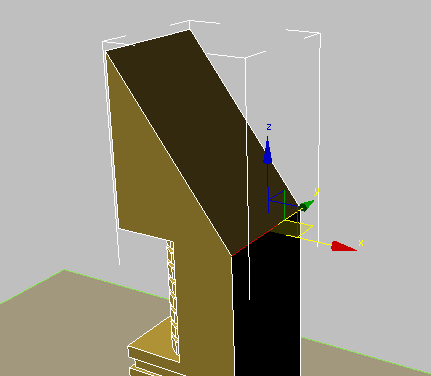
- On the Selection rollout, activate
 (Polygon), then
select the roof polygon.
(Polygon), then
select the roof polygon.
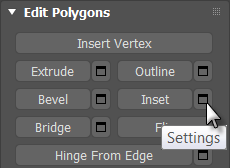
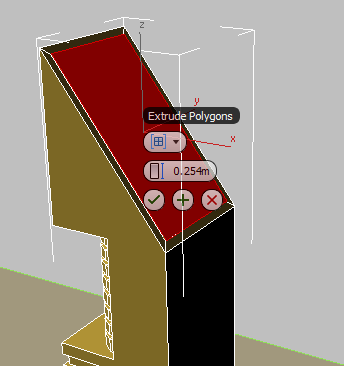
- On the Edit Polygons rollout, click the
 Settings button next to Inset.
3ds Max displays the caddy controls for the Inset tool.

- On the Inset caddy, change the second control, Amount, to
2.0m, then click
 (OK).
(OK).
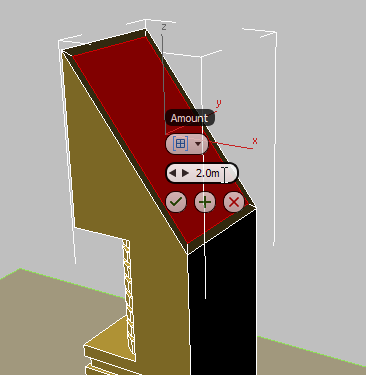
The inset operation creates a polygon two meters smaller in the X and Y dimensions, centered on the original polygon. You can now extrude this newly created polygon.
- On the Edit Polygons rollout, click the
Settings button next to Extrude.
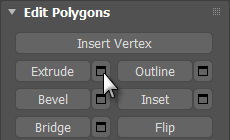
3ds Max displays the caddy controls for the Extrude tool.
- On the Extrude caddy, make sure the first control is set to Local Normal. Set the second control, Height, to
–2.0m, then click
(OK).
A closer look at the top of the building in the Front viewport shows that the extrusion needs to be fine tuned.
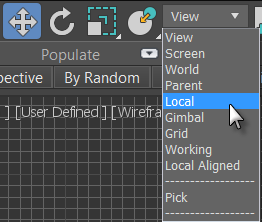
- Activate
(Select And Move), then choose Local from the Reference Coordinate System drop-down list.
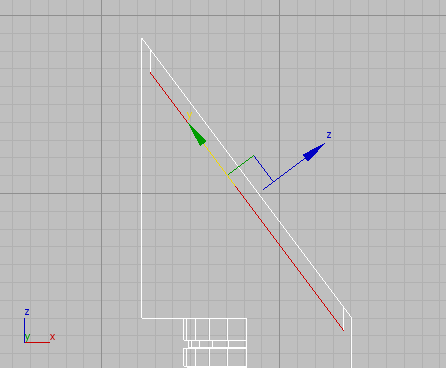
- In the Front viewport, move the roof polygon along its local Y axis until the top and bottom edges are at a 90-degree angle to the ground plane, as shown in the next illustration.
- Click
 (Polygon) to exit the Polygon sub-object level.
Your roof should look like this:

Save your work:
- Save the scene as my_building2_roof.max.