Setup
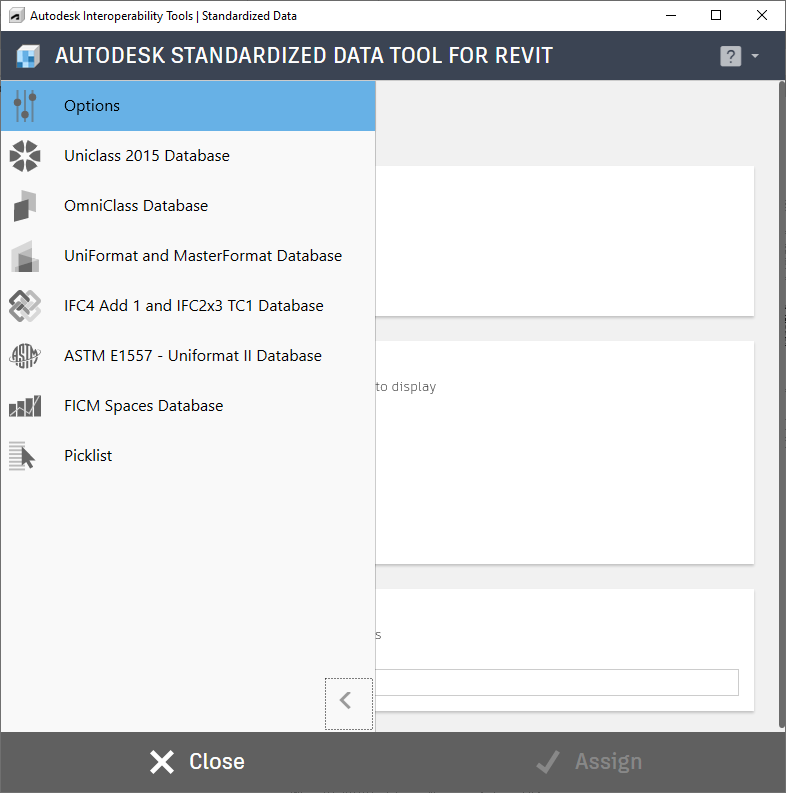
The first step in using the Standardized Data Tool is to select a classification database. Clicking either ‘Assign Classification’ or ‘Assign Picklist’ from the Standardized Data Tool Panel located on the Interoperability Tab, you can select a default dataset, create a new dataset from the default Excel file, or open the current dataset for editing. Click one of the options to pick the database to use. You can return to this screen to change your selection at any point during the project life cycle if necessary.
Instructions on creating your own classification database can be found in the Excel file, "Standardized Data Tool Database Custom" located in the Standardized Data Tool installation folder.

Clicking ‘Assign Classification’ or ‘Assign Picklist’ will bring you to the main menu window which contains various databases along with other settings

- The top portal gives you a preview and information about the currently selected or active database.
- The next portal options give you the ability to load the appropriate database you’d like to use for assignment.
- Picklist is intended to be a network location for your organization to keep custom or other default databases to be accessed by anyone.
For more information, sample files, and downloads, visit the Standardized Data Tool page on the Autodesk Interoperability Tools website.
