Run Check and View Report
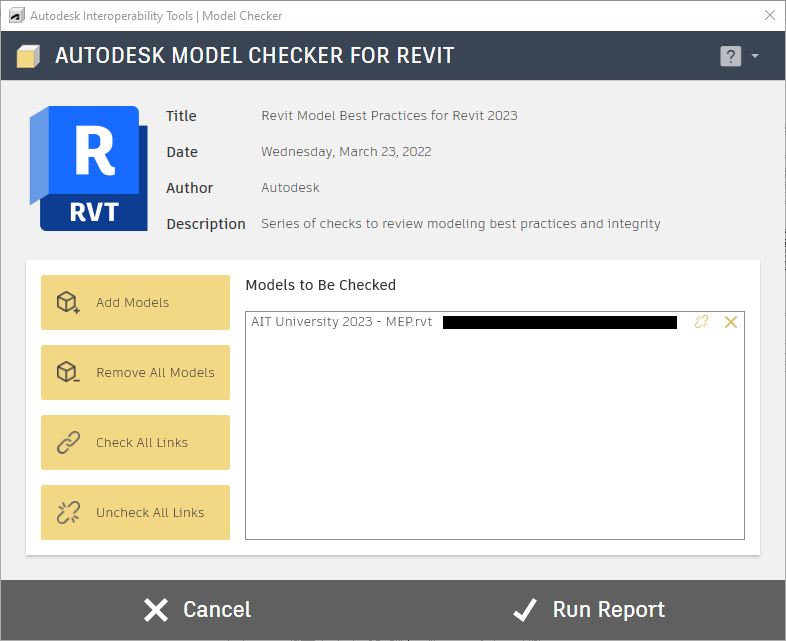
Once your Revit model has been configured accordingly, click the "Run Check" icon. You will be presented with various processing options that will allow you to batch-select multiple Revit project files to run the customized check on. If your Revit model contains corresponding links, you will have the option to select or deselect those files to be included or excluded from the check.

After all appropriate files have been selected or deselected, click Run Reports in the Action Bar to continue with the processing of the model(s).
The Model Checker will begin to process and analyze all selected checks, and a progress bar will provide real-time updates on which project file is currently being analyzed (if multiple have been selected), and what the current check is.
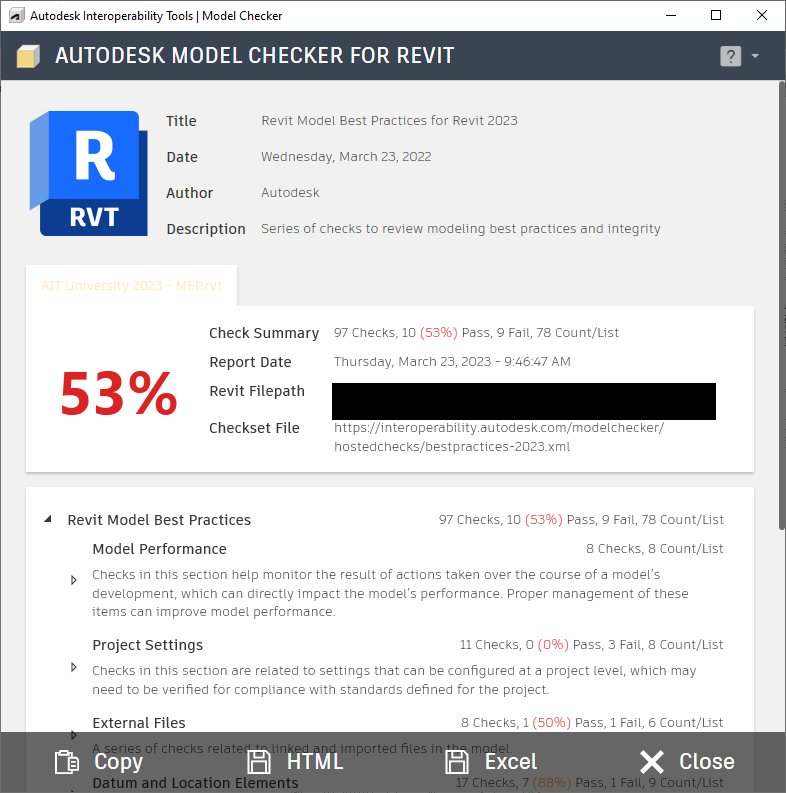
When the analytical process has been completed, a dialog box will appear providing the overall result of the check(s). This report will provide information regarding which checks have failed within your model and a description of why the particular check failed. This information can be exported to HTML, copied to the Clipboard, or exported to Excel for analytical review and data tracking.

View Report

After a report has been generated, you can always access the most recent report by using the View Report tool. Each time a new report is run, the prior report saved in the Revit model is overwritten.
For more information, sample files, and downloads, visit the Model Checker for Revit page on the Autodesk Interoperability Tools website.
