
Part 1 - Skydome & Table - Arnold for Houdini
Model & Textures
-
Info: Download the model and textures required for this part from the links above.
Create A Skydome Light With HDR
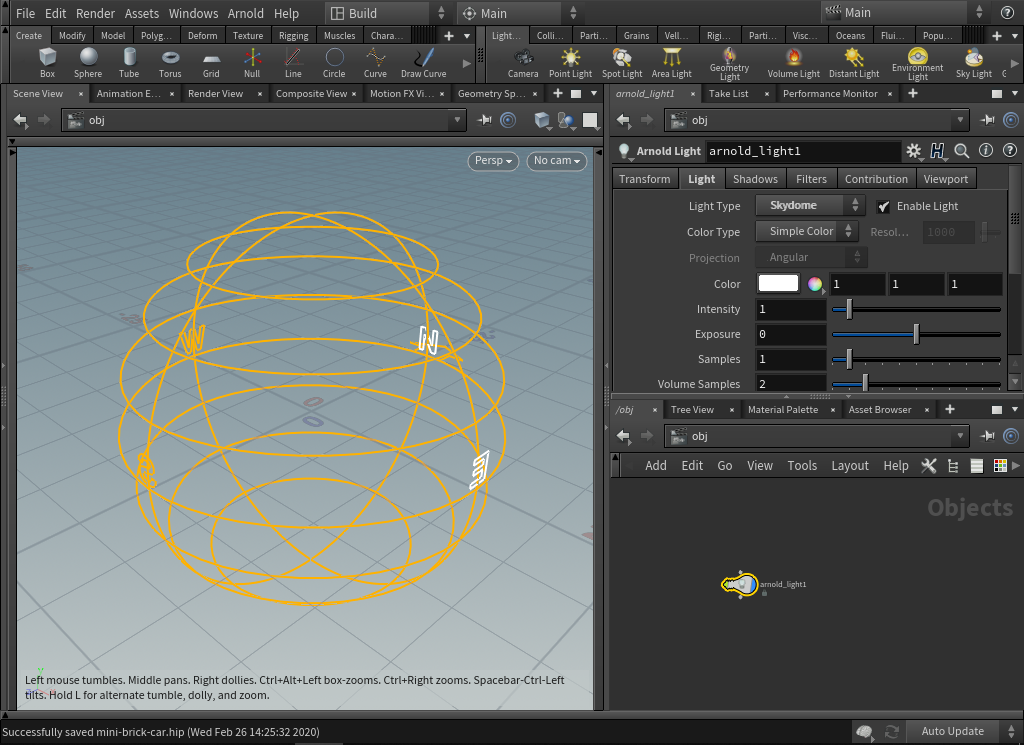
- First, we will create an Arnold Light. In the Network Editor at scene level Tab > Arnold > Arnold Light. By default, an Arnold Light appears as a Point Light. Select the Light tab and change the light_type to skydome. The Skydome Light will appear in the viewport as a wireframe sphere with compass directions.
- In the Light tab, change the Color Type from Simple Color to Texture. This will allow a High Dynamic Range (HDR) image to be connected to the Color Texture parameter. Using the file chooser to the right of the parameter, select the kitchen_probe.hdr (which is an angular map light probe captured by Paul Debevec in 1999).
- Now the Resolution needs to be set. Type in a value that matches the largest dimension of your HDR map. The Skydome Light uses importance sampling to send more rays towards important directions, and the resolution of the importance table needs to be high enough to capture small details in the HDR map, but never higher than the resolution of the HDR map itself. This HDR map is quite old and as such is lo-resolution at 640 square. It will appear quite soft when viewed through the camera but this doesn't matter as we will be adding Depth of Field to the render at the end.
Import The Test Geometry
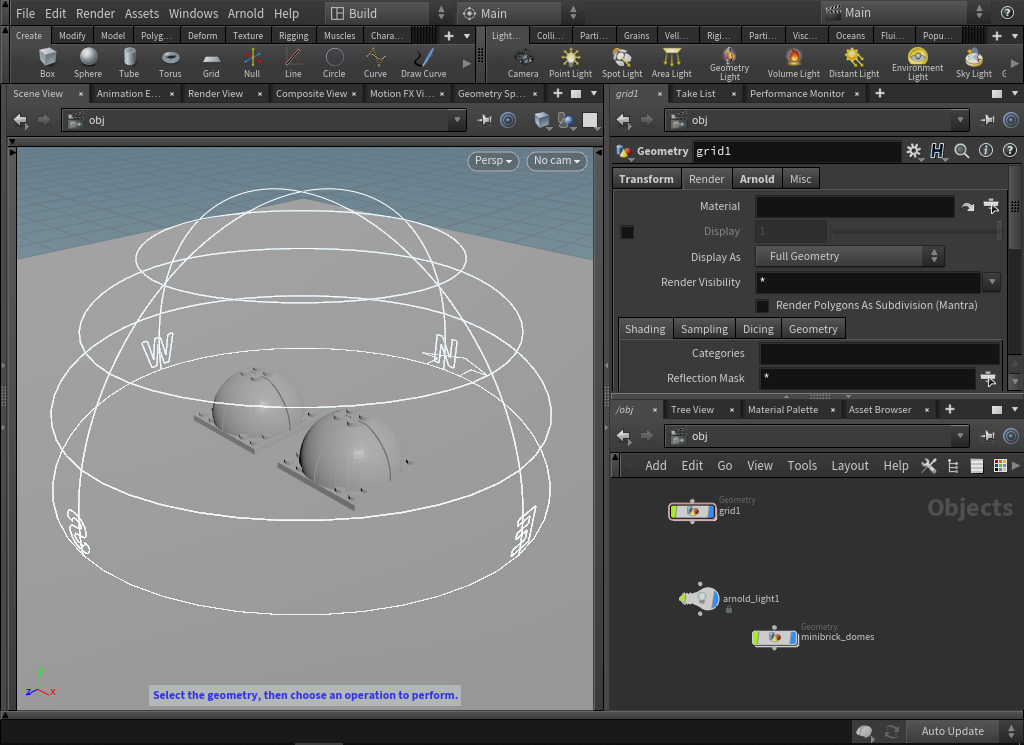
- To test the effect of the Skydome Light, we need to create a simple scene. Create a Grid to act as our table and scale it up to 10. Add some UVs to the plane by creating a UVProject at geometry level and Initialize it to the ZX Plane.
- Go to File > Import > Geometry and select the minibrick_domes.obj file. With the geometry still selected press Tab > Arnold > Add Arnold Properties in the Network Editor (or choose it from the Arnold Toolbar). In the Parameter Editor click on the newly created Arnold tab and choose the Subdivision tab below. Set the Type to Catclark and the Subdivision Iterations to 2.
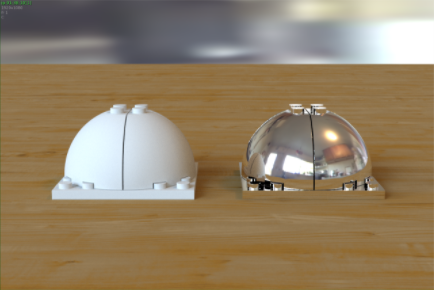
Add Materials To The Preview Domes
Now let's add some materials to our spheres. Go to the SHOP and Tab > Arnold > Arnold Shader Network. Rename this vopnet to table. Double click the vopnet node to enter the VEX Builder and Tab > Custom > Standard Surface. Connect the output of the Standard Surface shader to the surface parameter of the material output node. Duplicate this vopnet twice and rename one to chrome_dome and the other diffuse_dome. Assign the diffuse_dome_vopnet by dragging the node from the shop on to the left-hand dome. A menu will pop up with the option to Assign shader to 'diffuse_dome'. Drag the chrome vopnet on to the right-hand dome and the floor_vopnet onto the grid.
We are now going to change the second Standard Surface shader node into something that resembles a chrome material. Open up the chrome_dome vopnet and select the Standard Surface shader to access the parameter editor. In the Base tab lower the Base Weight value to 0. In the Specular tab increase the Specular Weight value to 1 and reduce the Specular Roughness to 0 for a perfectly clear mirror-like reflection.
Adjusting The Skydome
- Before we can render we need to add an Arnold Render Operator. Go to Outputs in the Network Editor and Tab > Render > Arnold. We'll leave the settings as default for the moment.
- Create a camera and frame the two domes. Test render the scene in your preferred context to check everything is working ok so far.
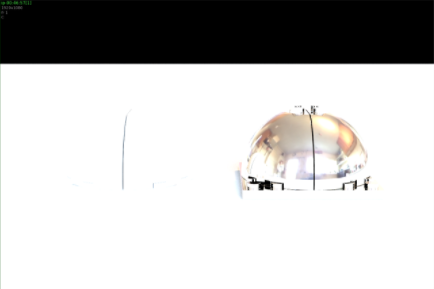
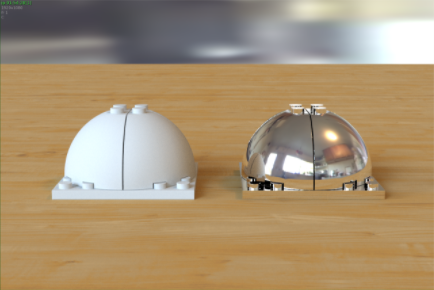
The render is completely burned out. This is because the HDR image contains very high powered values. Select the light and decrease the Exposure to -1.75.
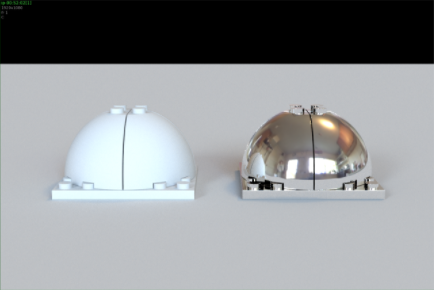
- Now the lighting is at a suitable value but the direction is currently coming from the front, so go to the Transform tab of the light and rotate it by -45° in Y to make it come from screen left.

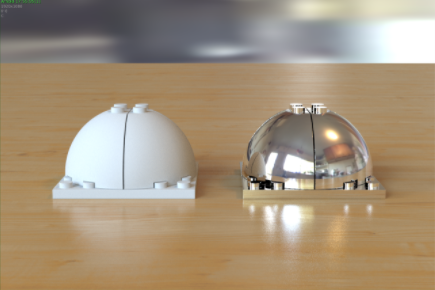
Add Textures To The Table
- Now we are going to add some textures to the tables shader. Go to the SHOP and enter the Table vopnet. Create an Image node and connect it to the Base Color parameter of the standard_surface shader. Use the File Chooser to select the woodentable_diff.tx. To make the grain smaller on the table go to the UVs tab and set Scale U/V to 3. Add a linearize node in between the Image and the Standard Surface shader with Source Colorspace set to sRGB.
- The Base Color is looking a bit dull. Let's add a Color Correct node after the linearize1 to modify it. Set the Saturation to 1.25, Brighten to 0.1 and Gain to 1.25. Our table will look a bit brighter and warmer now.
- Duplicate the Image shader to copy the Scale U/V settings. Change the Filename to the specular map called woodentable_spec.tx and connect it to the Specular Color of the Standard Surface shader. Select the Standard Surface shader and set Specular Roughness to 0.25 to sharpen the specular highlights. You should notice bright specular highlights underneath the domes in the wood material.
- Now we want to make the wood appear a little bit shinier as if it had a layer of varnish. Click on the Coat tab and increase Coat Weight to 0.2. Again. If the reflection looks too bright, try lowering this value. We will also be adding a bump map texture to the wood so don't worry about getting these settings perfect just yet.
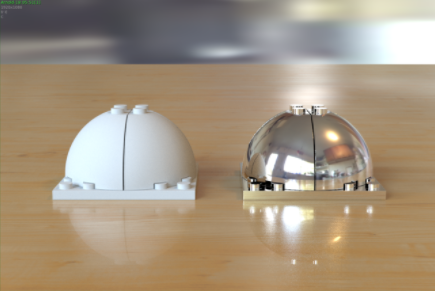
- Duplicate the Image shader again and create a Bump2d shader. Connect the Image shader to the Bump Map parameter of the bump2d and connect the bump2d to the bump parameter of the OUT_material. Adjust the Bump Height value to around 0.1. You may want to go back to the reflection and specular settings and re-adjust those now that the bump has been applied. You may also wish to adjust the settings of the Color Correct shader.

You can download the result of this section here: miniBrickCar_part01.hip
Now that we have our lighting set up with the Skydome Light, move on to Part 2 - Shading the car with the Standard Surface shader and user data.