Specular - Arnold User Guide
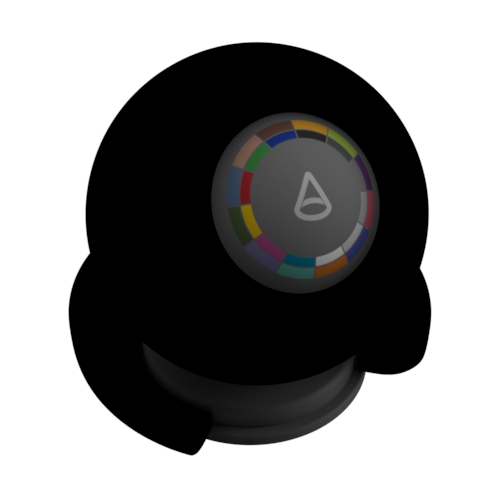
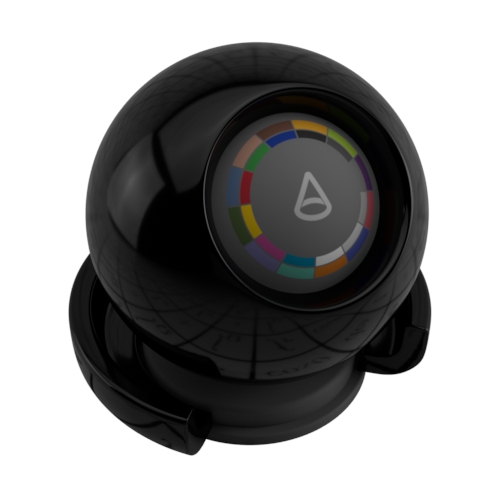
Weight
The Specular Weight. Influences the brightness of the specular highlight.
 |
 |
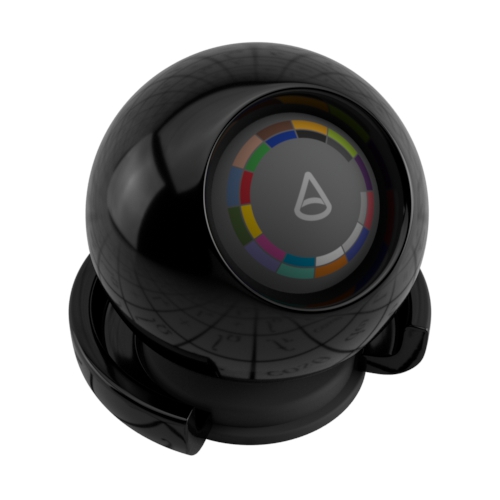 |
| 0 | 0.5 | 1 (default) |
Color
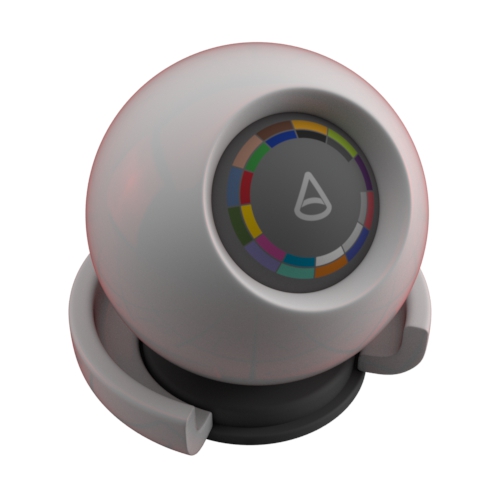
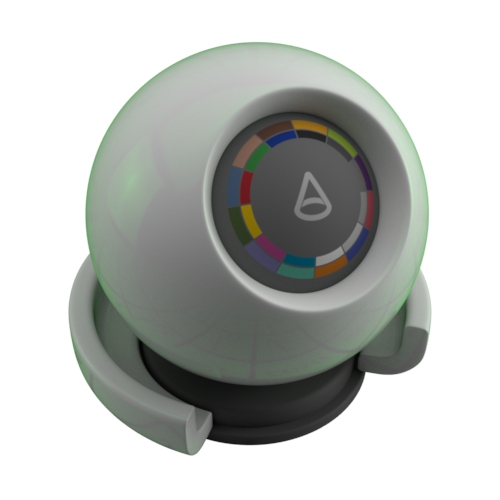
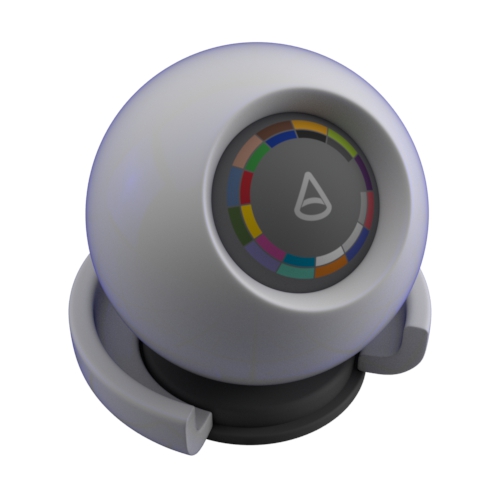
The color of the specular reflection will be modulated with. Use this color to 'tint' the specular highlight. You should only use colored specular for certain metals, whereas non-metallic surfaces usually have a monochromatic specular color. Non-metallic surfaces normally do not have a colored specular.
 |
 |
 |
| red | green | blue |
Roughness
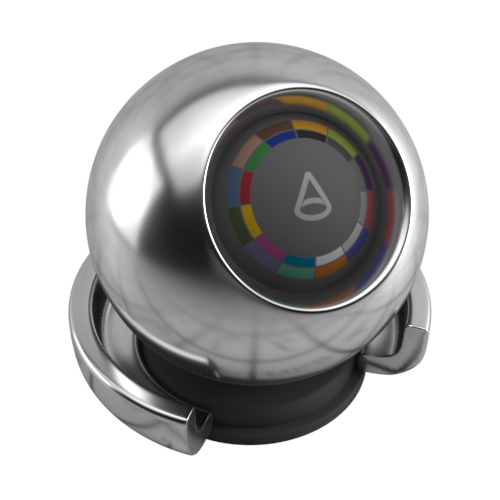
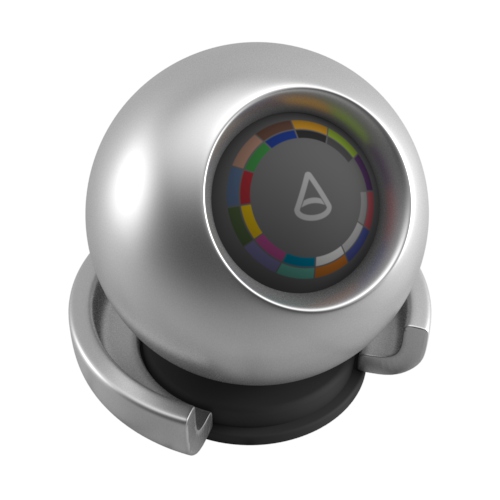
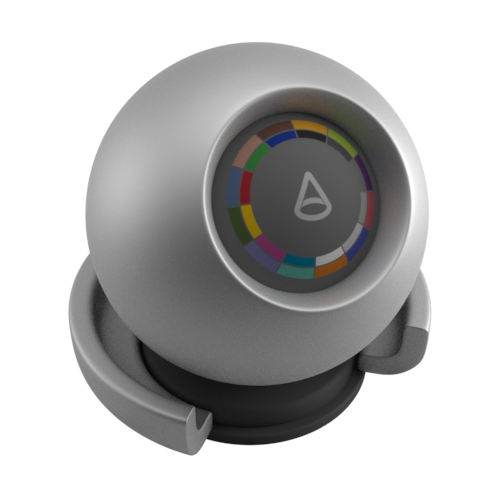
Controls the glossiness of the specular reflections. The lower the value, the sharper the reflection. In the limit, a value of 0 will give you a perfectly sharp mirror reflection, while 1.0 will create reflections that are close to a diffuse reflection. You should connect a map here to get variation in the specular highlight.
 |
 |
 |
| 0.2 (default) | 0.4 | 0.6 |
The 'microscopic' features of a surface affect the diffusion and reflection of light. This 'micro surface' detail has the most noticeable effect on specular reflections. In the diagram below, you can view parallel lines of incoming light commence to diverge when reflected from rougher surfaces, when each ray hits a part of the surface with a different orientation. In summary, the rougher the surface becomes, the more the reflected light will diverge or appear 'blurred.'
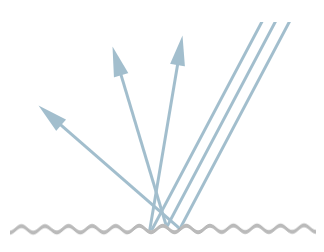
'Microsurface' detail represented as a general measure of roughness (t his surface would have a high specular_roughness value).
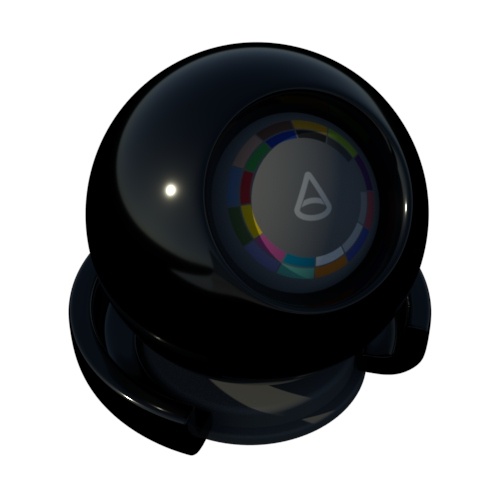
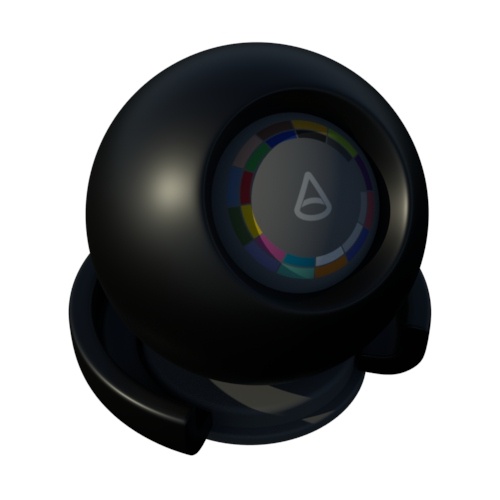
The brightness of the specular highlight is automatically linked to its size due to the Standard Surface shader's energy-conserving nature. In the example below, all of the materials are reflecting the same amount of light, but the rougher surface is spreading it out in multiple directions. However, with low amounts of roughness, the surface reflects a more concentrated amount of light.
 |
 |
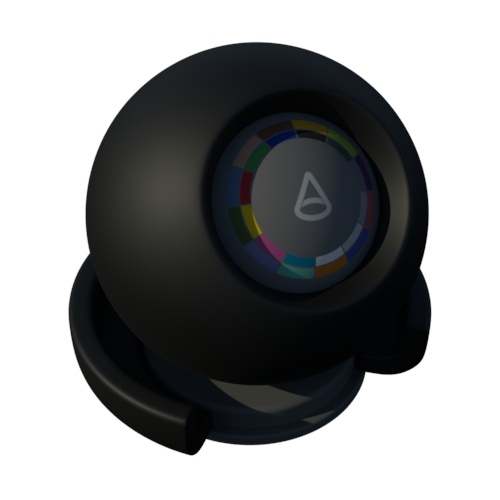 |
| 0.1 (default) | 0.4 | 0.6 |
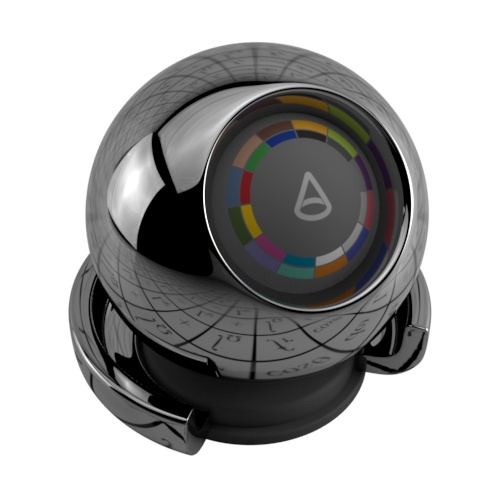
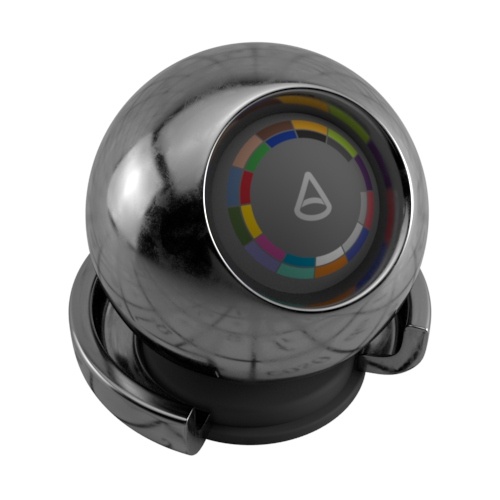
To get variation in the highlights of the surface, a map should be connected to the Specular Roughness. This will influence not only the brightness of the highlight but also its size and the sharpness of the environmental reflection.
You can connect the file texture to a Range shader to control the effect of the Specular Roughness.
 |
 |
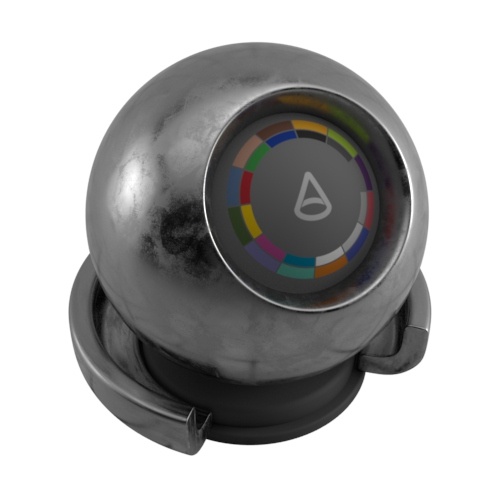 |
| 0 | 0.5 | 1 |
Fingerprint texture -> specular roughness
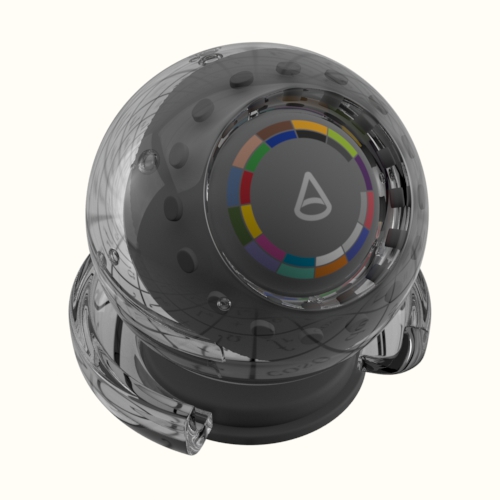
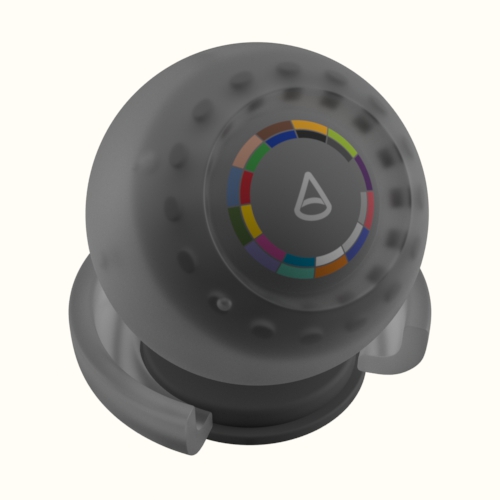
The Specular Roughness affects both specular reflection and refraction. There is also a Transmission Extra Roughness parameter to add some additional roughness for refraction if required. You can, however, use Coat to create a rough reflection layer over a sharp refraction.
 |
 |
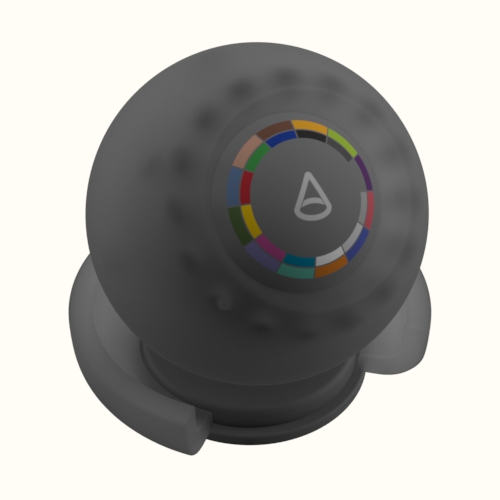 |
| 0 | 0.5 | 1 |
IOR
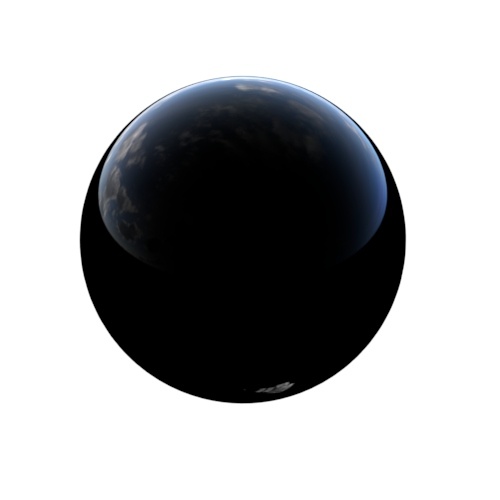
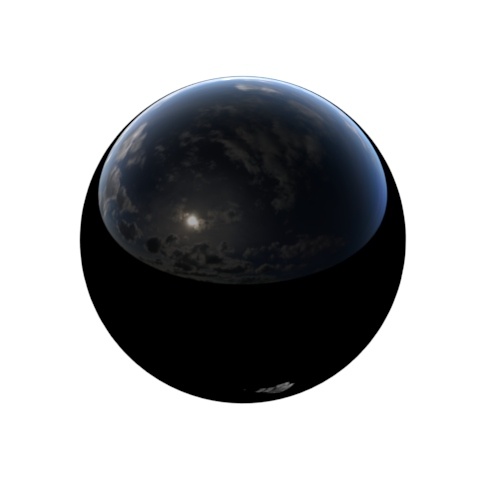
The IOR parameter (Index of Refraction) defines the material's Fresnel reflectivity and is, by default, the angular function used. Effectively, the IOR will define the balance between reflections on surfaces facing the viewer and on surface edges. You can see that the reflection intensity remains unchanged, but the reflection intensity on the front side changes a lot.
 |
 |
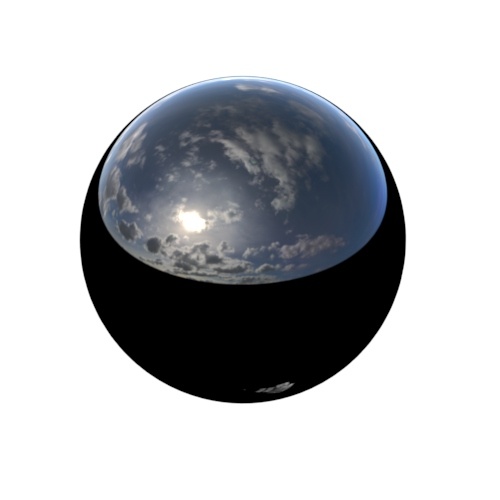 |
| 1 | 1.1 | 1.5 (default) |
Using a very high IOR value can look quite similar to metalness. It looks the same if you set the Base Color to the Specular Color and the Specular Color to black. The difference is that you get an extra reflection at the edges, with the Specular Color controlling the edge tint. The metal Fresnel works the same as in the new complex IOR shader, with the artistic parameters.
You should normally use IOR for materials like plastic, glass, or skin (dielectric fresnel) and Metalness for metals (conductive fresnel with Complex IOR). The other reason is that Metalness is easier to texture since it's in the 0..1 range, and using textures from applications like Substance painter works best when using Metalness rather than IOR.
Specular IOR with Transmission
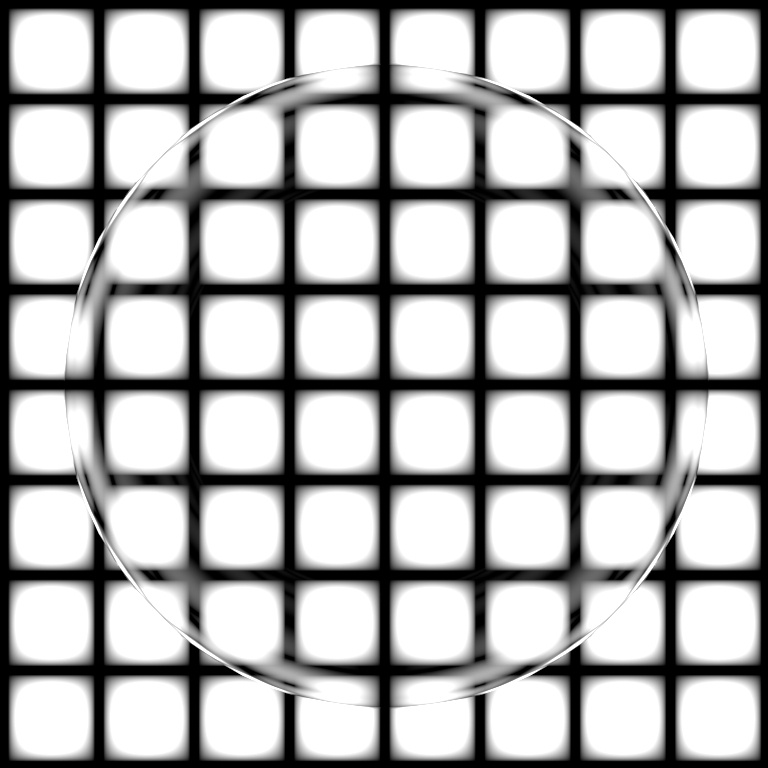
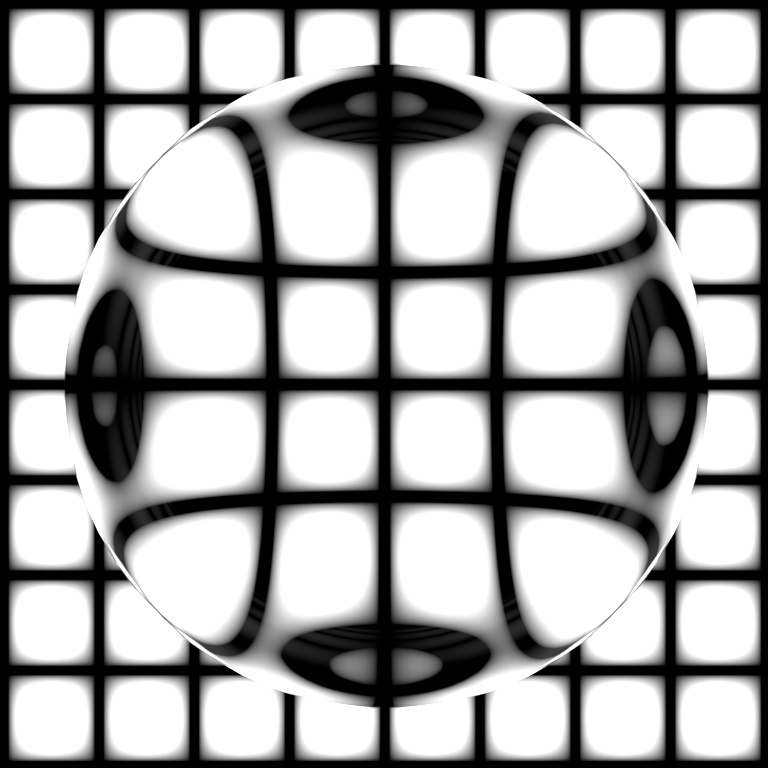
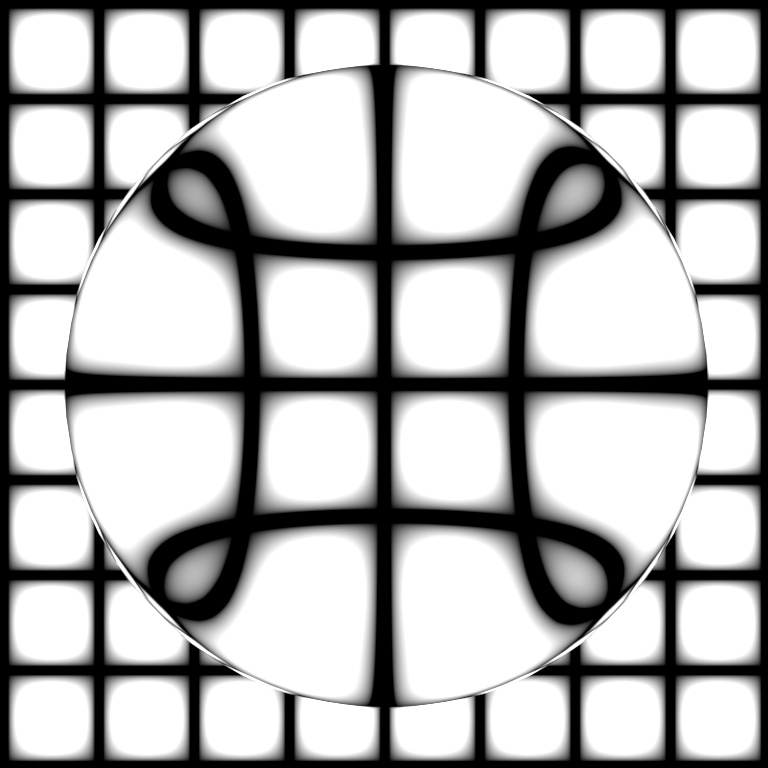
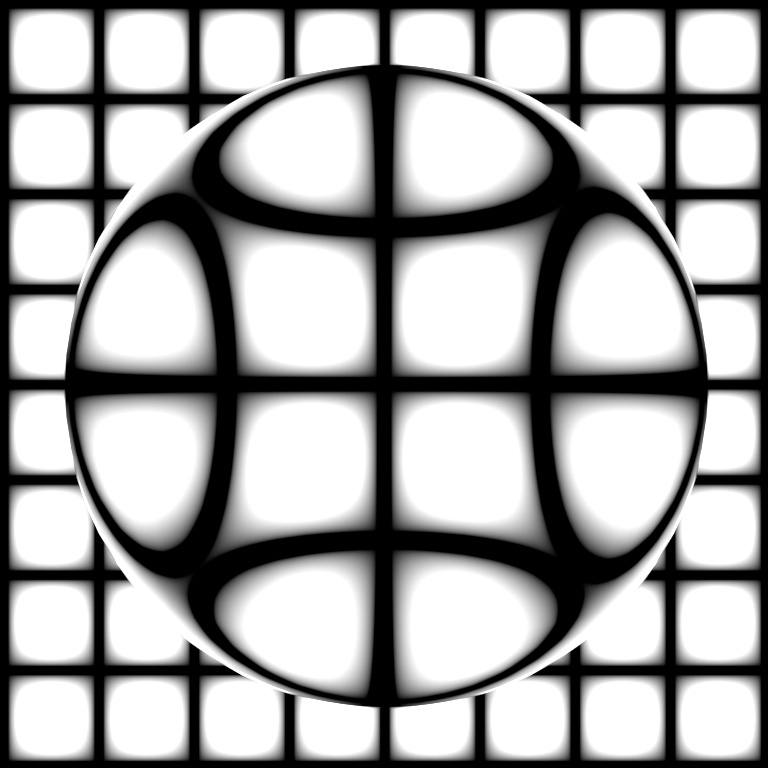
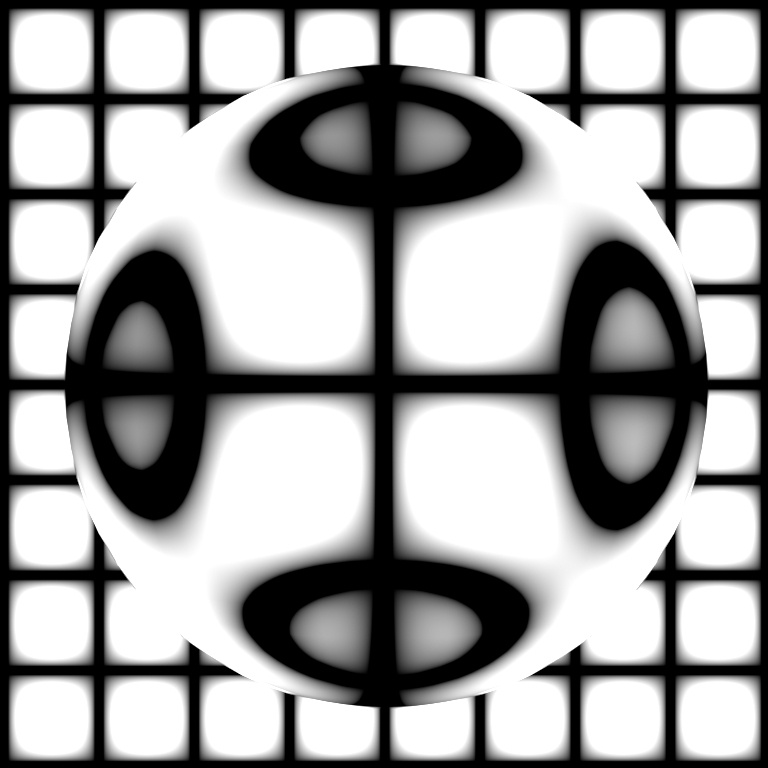
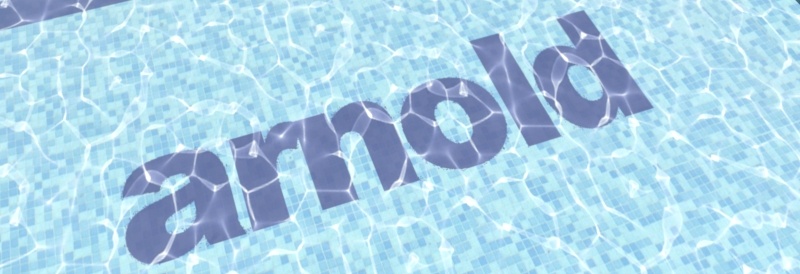
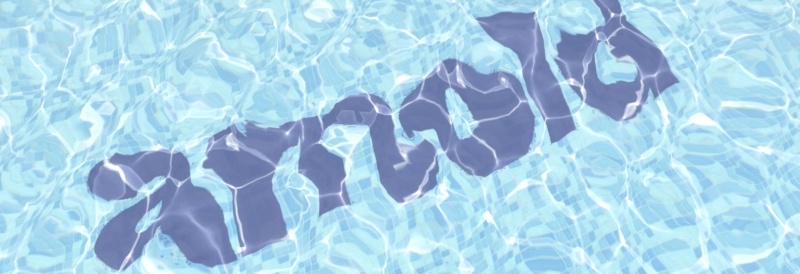
The default value of 1.0 is the refractive index of a vacuum, i.e., an object with an IOR of 1.0 in empty space will not refract any rays. In simple terms, 1.0 means 'no refraction'. The Standard Surface shader assumes that any geometry has outward-facing normals, that objects are embedded in the air (IOR 1.0), and that there are no overlapping surfaces.
 |
 |
 |
 |
 |
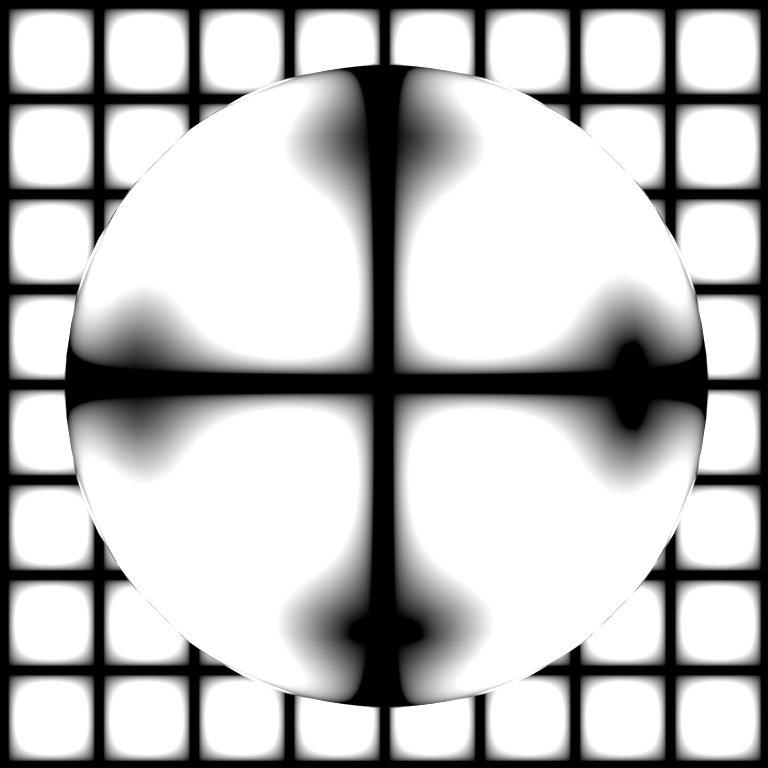 |
| 1 | 1.1 | 1.2 | 1.3 | 1.4 | 1.5 |
 |
 |
| 1 | 1.5 (default) |
If you see any black where there should be refraction, you may not have a high enough Transmission Ray Depth value (found in the Ray Depth section in the Render Settings). The default value is eight, which is sufficient for most cases.
Anisotropy
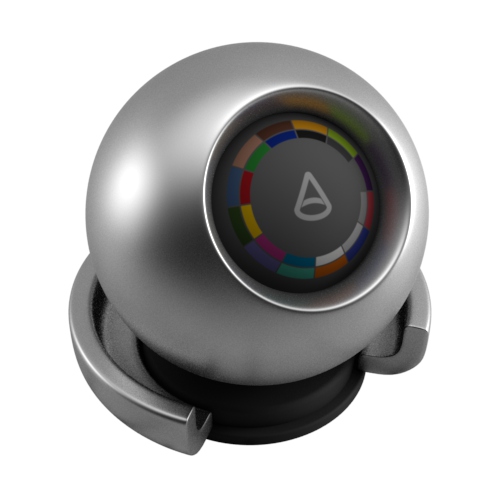
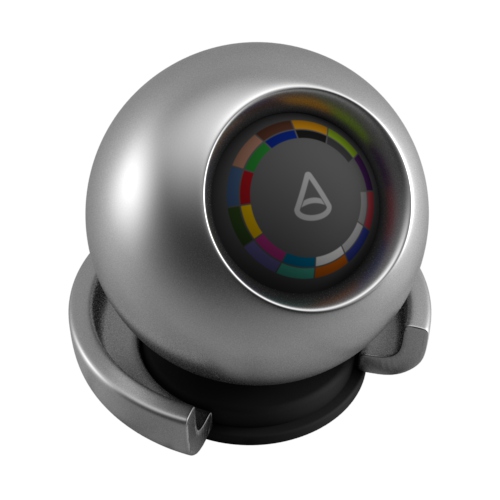
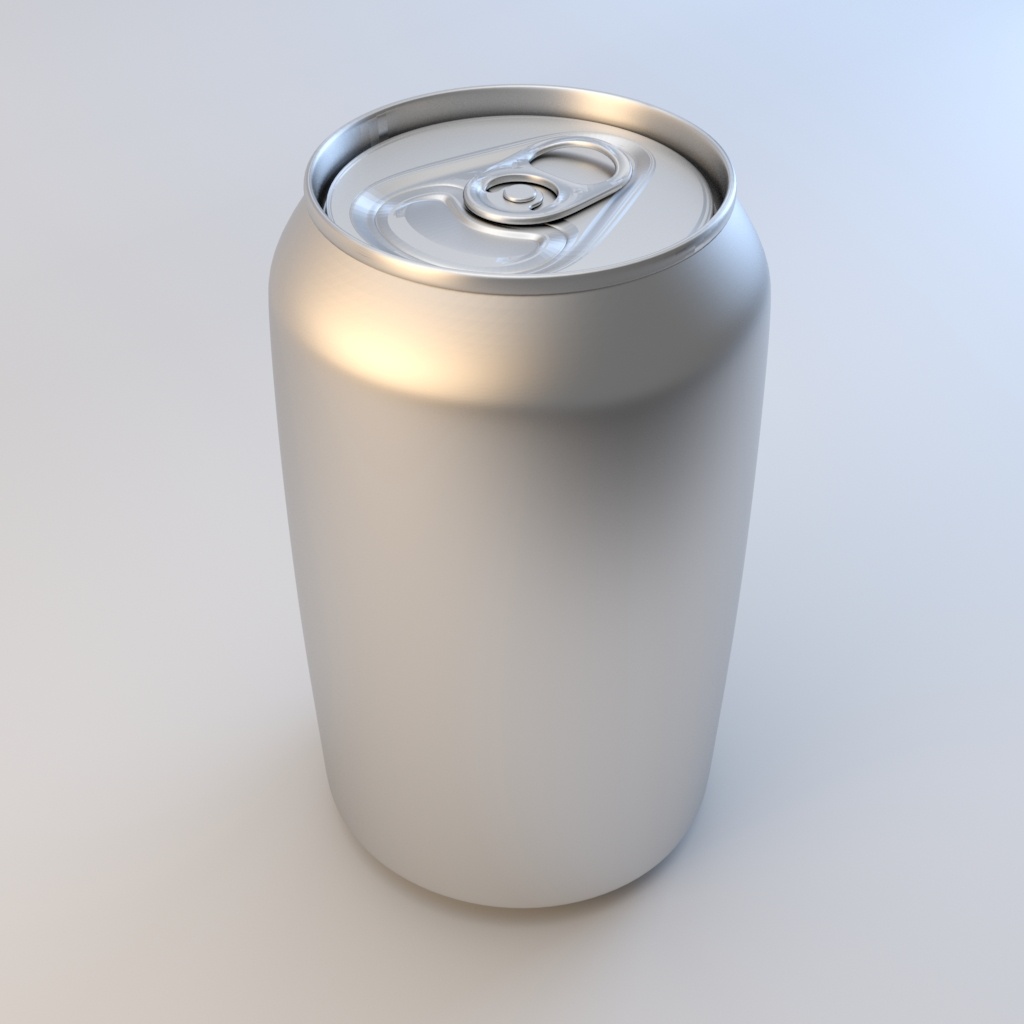
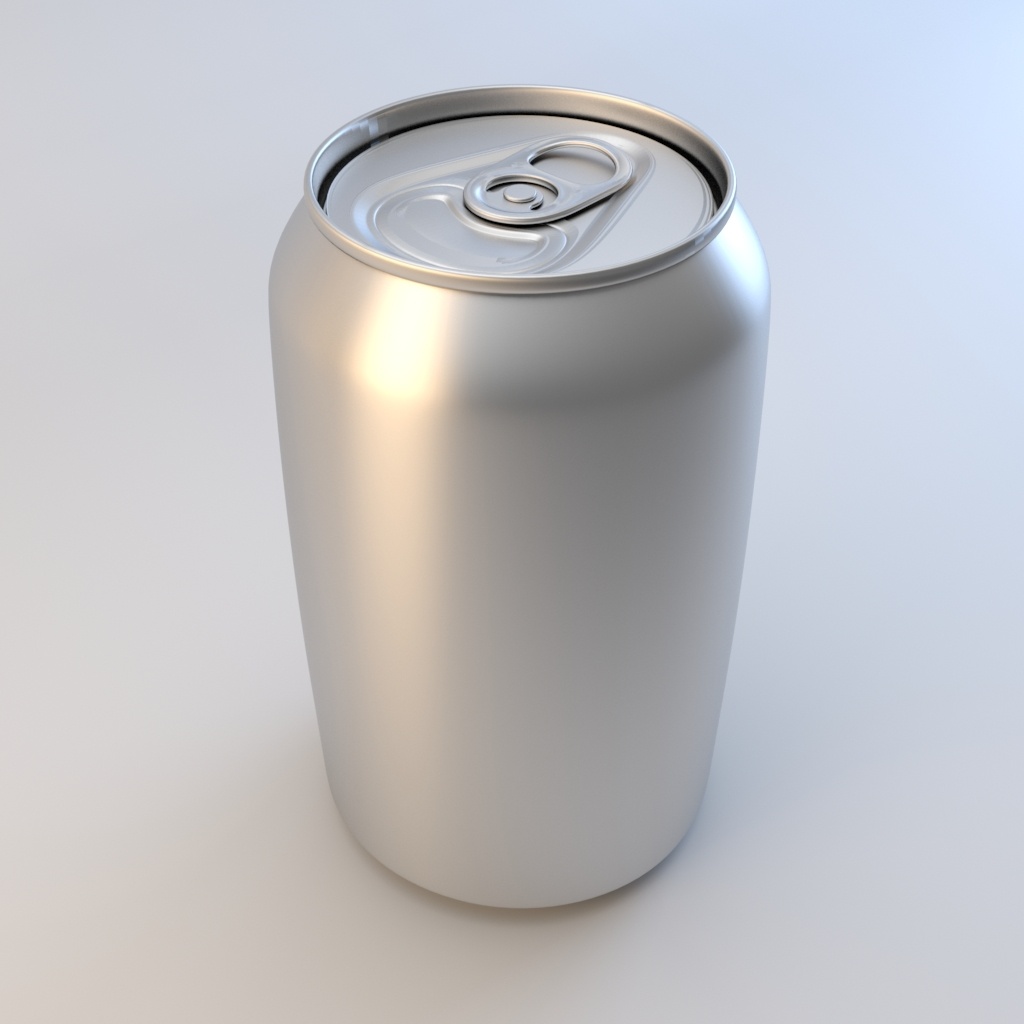
Anisotropy reflects and transmits light with a directional bias and causes materials to appear rougher or glossier in certain directions. The default value for anisotropy is 0, which means 'isotropic.' As you move the control towards 1.0, the surface is made more anisotropic in the U axis.
 |
 |
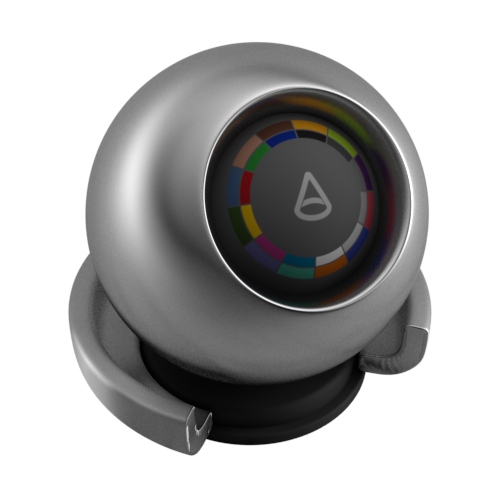 |
| 0 (default) | 0.6 | 0.9 |
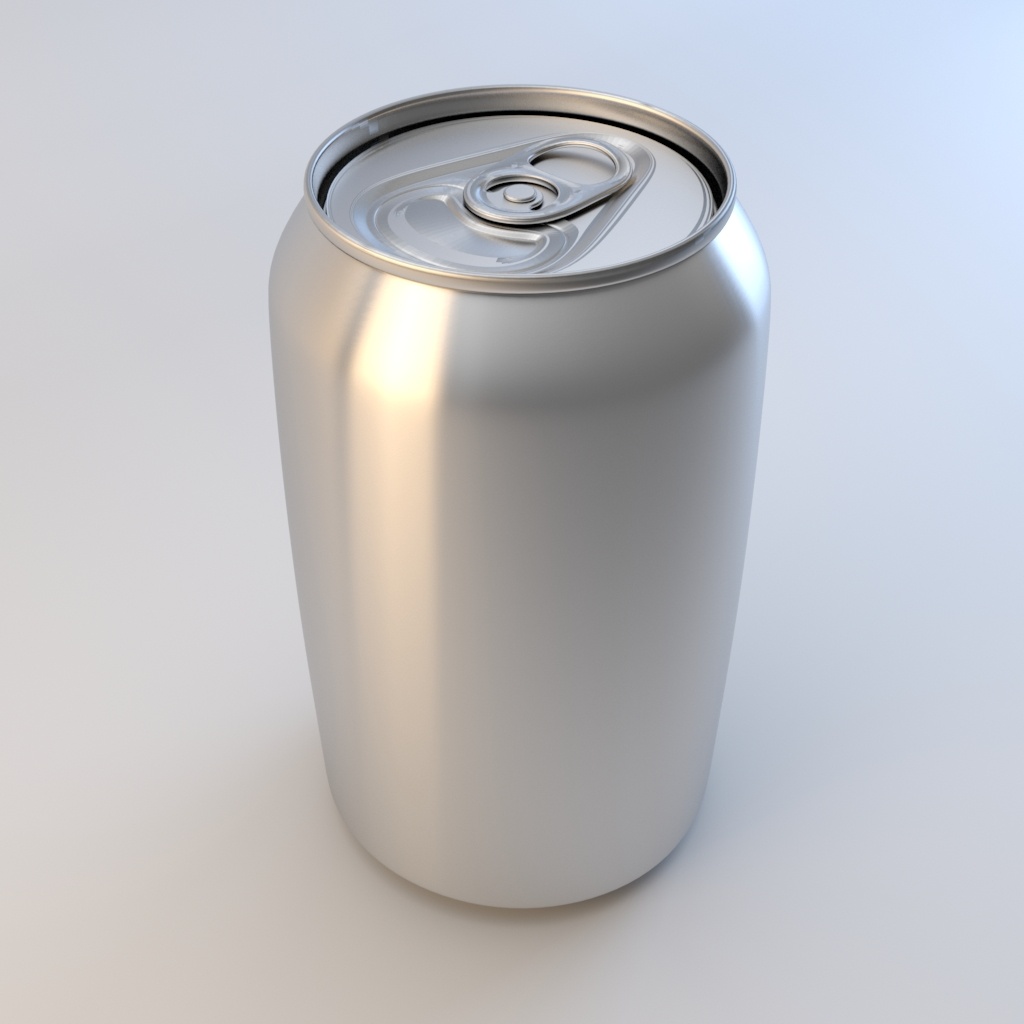
Anisotropy is suitable for materials that have a clear brush direction, such as brushed metal, which has tiny grooves that form a 'stretched' anisotropic reflection.
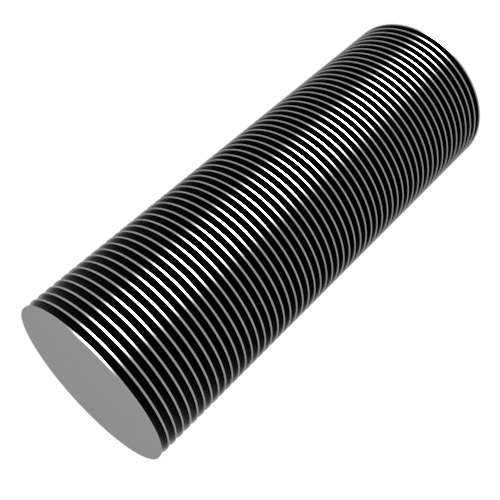
Many small discs form together to create an effect which is the anisotropic highlight
 |
 |
 |
| 0.3 | 0.6 | 0.9 |
Anisotropic reflections are suitable for brushed metal effects, such as in the example below:
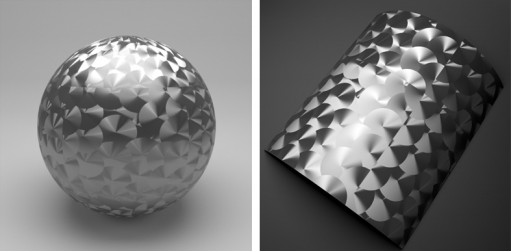
Texture assigned to anisotropic rotation
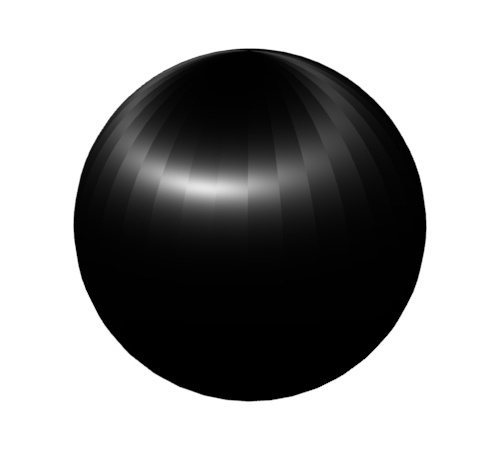
You may notice faceting appears in highlights when using Specular Anisotropy. It is possible to remove the faceted appearance by enabling smooth subdivision tangents (via Arnold Subdiv Smooth Derivs parameter). Take into account that this requires a subdivision iteration of at least one in the polymesh to work.
 |
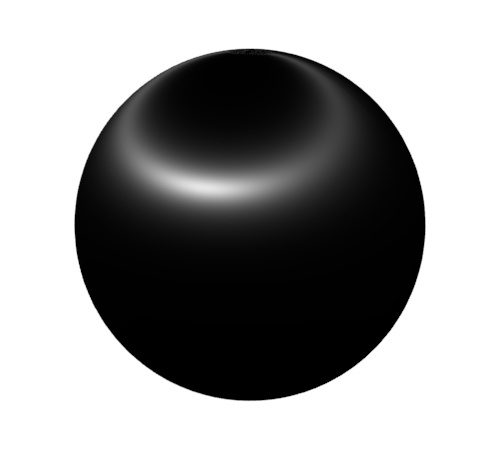 |
| Faceting seen in the anisotropic highlight | Subdivision: enabled. Subdivision Iterations: 1. Smooth Tangents: enabled. |
Increase Subdivision Iterations to remove anisotropic faceting.
More information about Specular Anisotropy can be found here.
Rotation
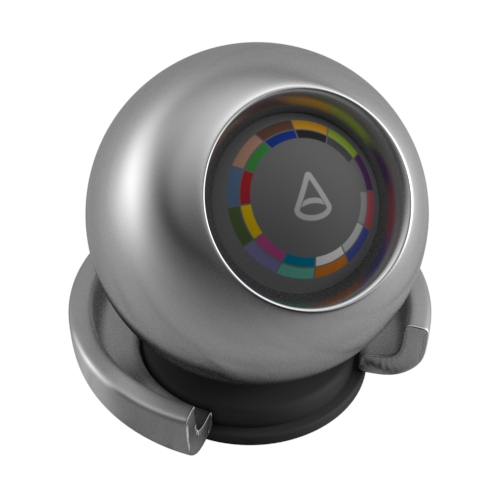
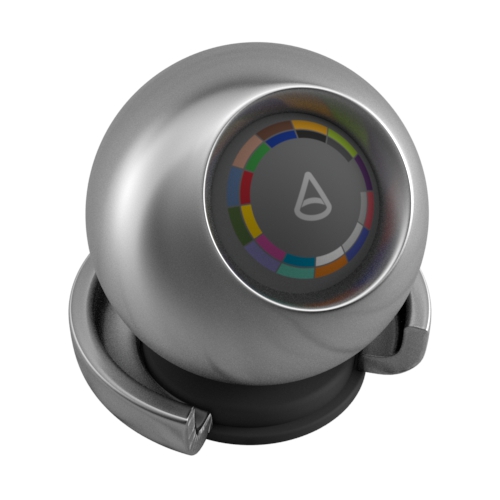
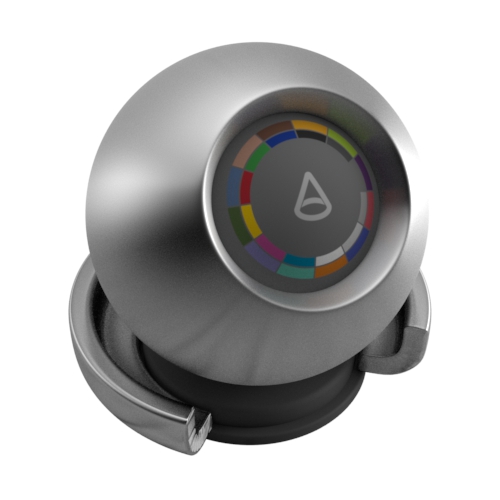
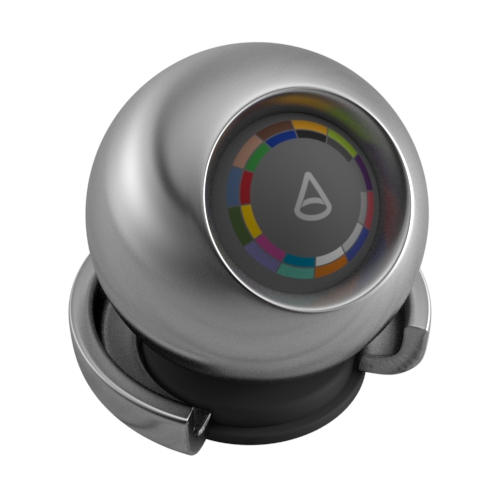
The rotation value changes the orientation of the anisotropic reflectance in UV space. At 0.0, there is no rotation, while at 1.0 the effect is rotated by 180 degrees. For a surface with brushed metal, this controls the angle at which the material was brushed. For metallic surfaces, the anisotropic highlight should stretch out in a direction perpendicular to the brushing direction.
 |
 |
 |
 |
 |
| 0 (default) | 0.25 | 0.5 | 0.75 | 1 |
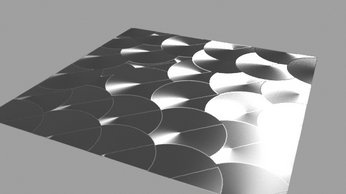
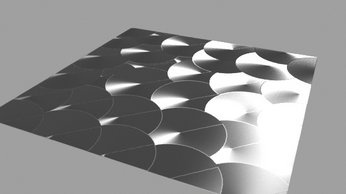
It is possible to assign textures to the Specular Rotation. When doing so, it is advisable to avoid texture filtering. This means disabling MIP-mapping and disabling the magnification filter, which by default is set to "smart bicubic." One way is to set the Mipmap Bias of the image node to a strong negative value, like -8, which means "use 8 MIP levels higher resolution than usual".
 |
 |
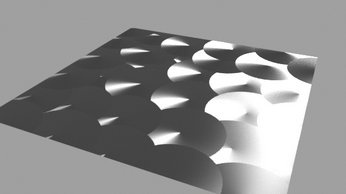 |
| Mipmap bias set to 0. Filtering set to Bicubic. | Mipmap bias set to -8. Filtering set to Bicubic. | No Mip-mapping. Magnification filter set to closest. |
