Asset Permissions
Setting up the permissions for the Assets tool is an important step to determine how your team will interact with assets and the actions available to them. Project administrators can assign permissions to individual members or apply them through their roles or companies.
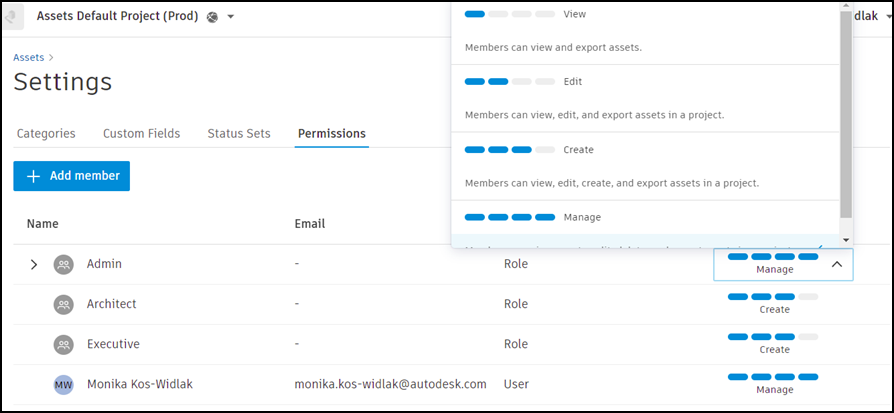
By default, project members don't have permission to view assets. They can access the Assets tool, but a project administrator will need to give them the basic permission to View assets. Project members can also have higher permission to edit, create, and otherwise manage assets, as detailed in the following table.
Asset Permission Levels
The asset permission levels are defined as follows:
| Permission levels | |
|---|---|
| View | View only + Export + Add References |
| Edit | View + Edit + Export + Add and Remove References |
| Create | View + Edit + Create + Export + Import + Bulk Update + Add and Remove References |
| Manage | View + Edit + Create + Delete + Export + Import + Bulk update + Bulk delete + Add and Remove References |
By default, project administrators have View/Edit/Create/Manage permissions and access to Settings, where they can configure Categories, Custom Fields, and Status Sets.
Assign and Change Permission Levels
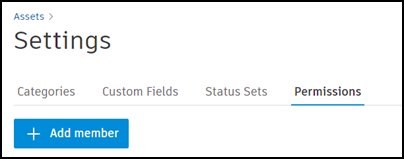
To assign someone a permission level in assets, first add them to the Assets tool. From the Permissions tab in Assets settings, click Add member.
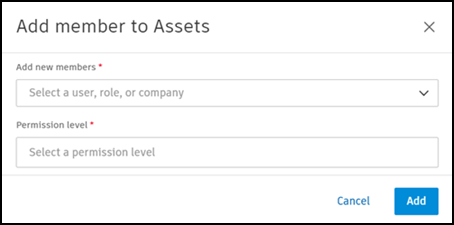
Next, select a project member, company, or a role to add, assign them a permission level, and click Add. You can also assign permissions to multiple users, roles, or companies.
If you'd like to change the permission for a member or a role, find their role in the permission log and use the permission selection tool.