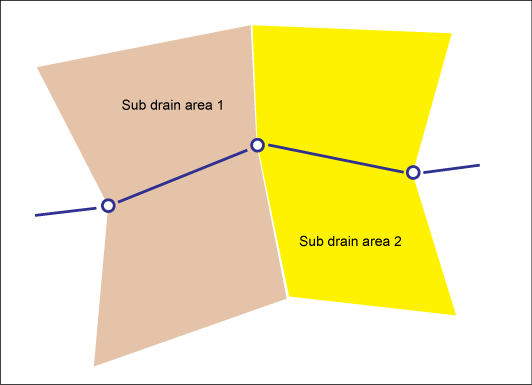
Use the Sub Drain Area Creation workflow to create a sub drain area. You can add a higher level drain area.

Sections can be assigned to sub drain areas.
- In the Industry Model Explorer, click the Workflow explorer icon.

- Right-click the Sub Drain Area Creation workflow. Click Execute.
- In the Drain Area section, click one of the following options:
- None: Specifies no drain area is associated with the sub drain.
- Digitize: Prompts you to create a drain.
- Connect To: Prompts you to select an existing drain.
- Click OK.
- Follow the prompts to create the new sub drain area.
- Press ESC to finish the workflow.
The feature class form is displayed so you can add attribute data.
For more information, see Drain Area.