
Toon Shading a Mech - Arnold for Maya
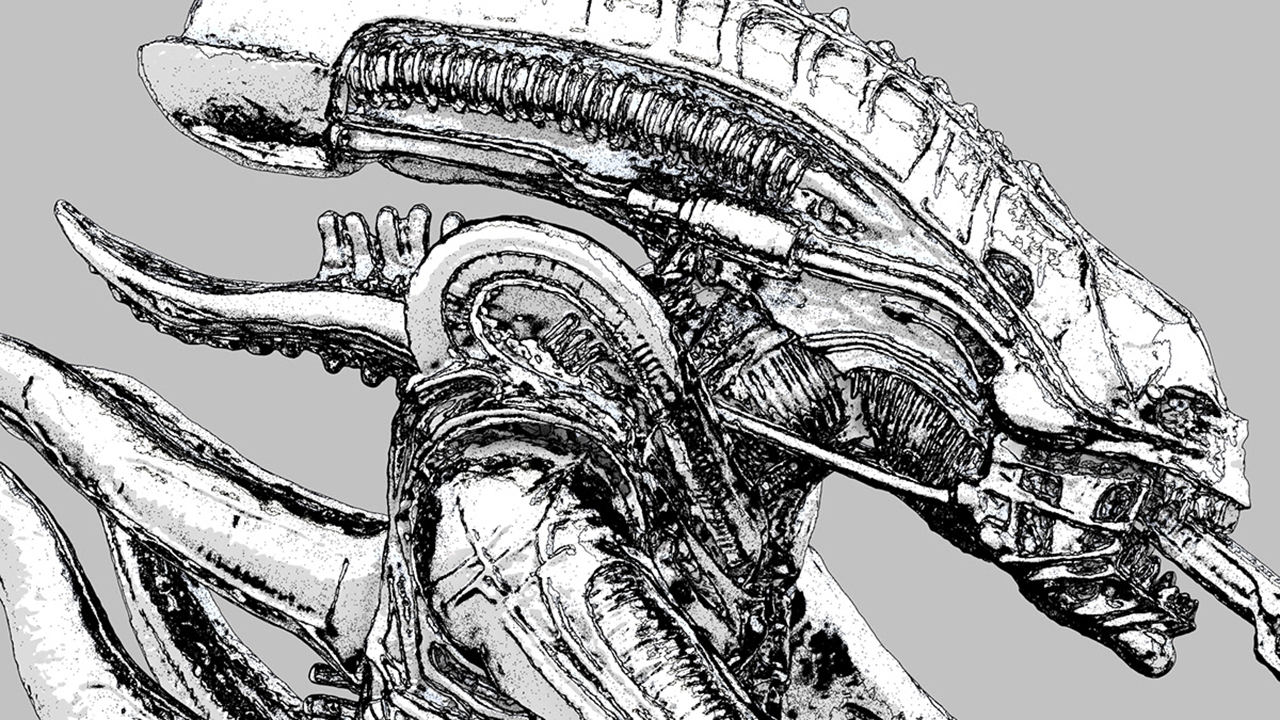
This short and simple 'making of' tutorial covers how to use the toon shader to create a sketch style as in the above image. The scene is lit using a skydome light and the filter has been set to contour for toon edge rendering.
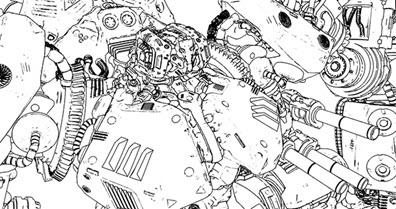
Default Toon Shader
- Assign a toon shader to the model. This is how it looks using the default settings.
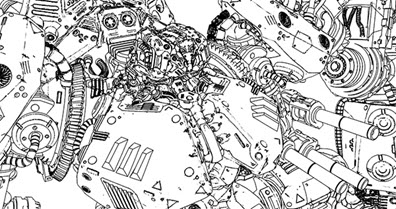
Edge Angle Threshold
- Let's focus on the edge parameter only for now. Reduce base weight and specular weight to 0. Increase emission weight to 1.
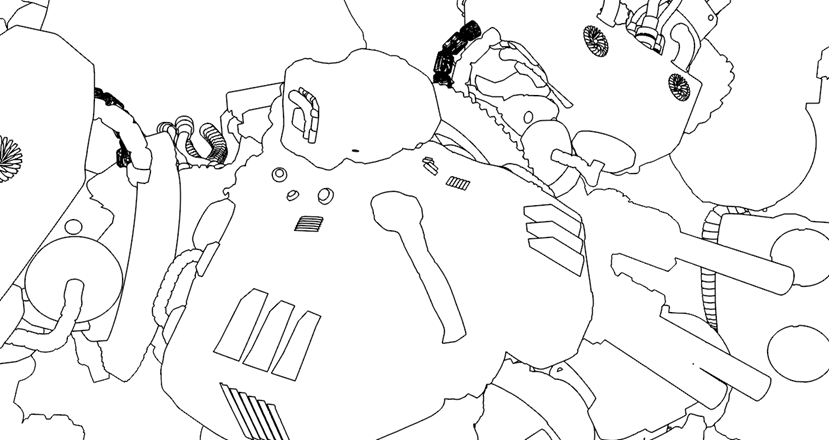
- Reduce the toon edge angle threshold to around 20 to add more detail.
 |
 |
| Normal Type: Shading Normal. | Geometric Normal |
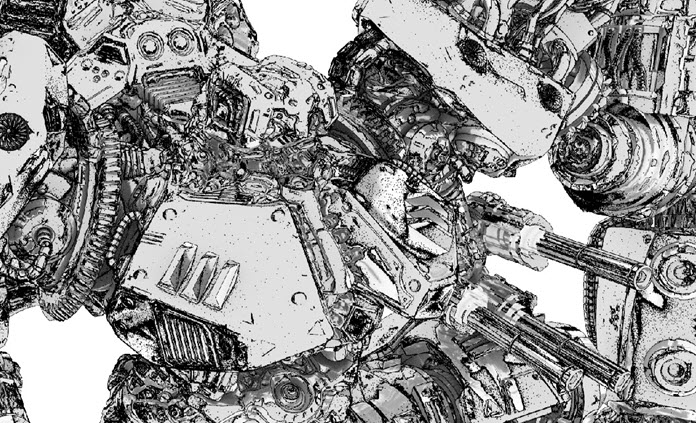
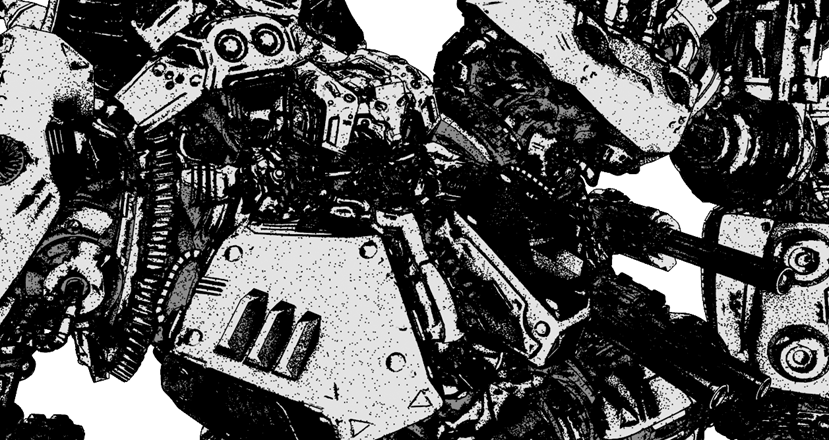
Specular and Emission
- Now let's focus on the rest of the shading. Increase specular weight to around 0.6 and emission weight to around 0.3 with a gray emission color.

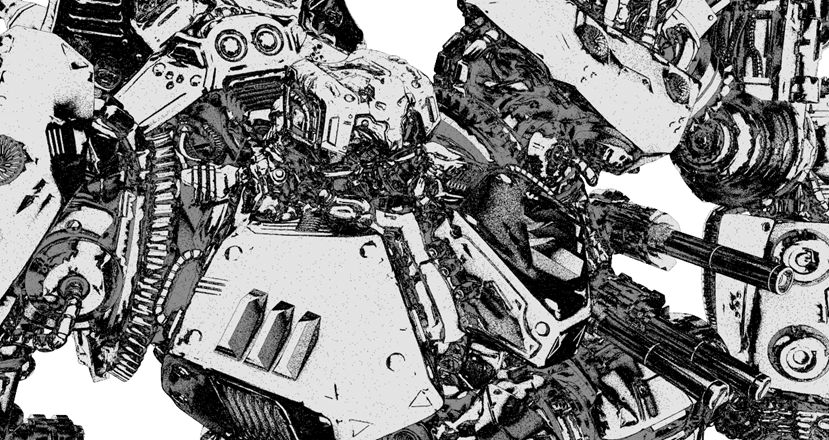
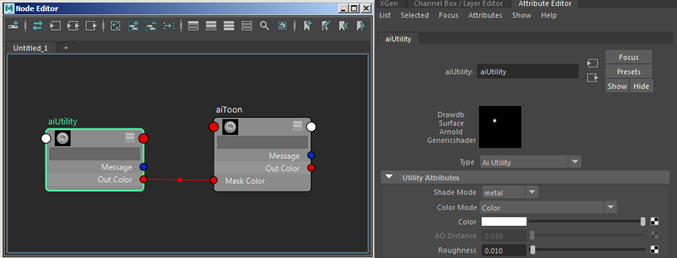
Mask Color
- It's getting there. Now let's try adding more detail to the edge shading. Create a utility shader and connect it to the Edge mask color of the toon shader. Change the shade mode of the utility shader to metal and lower the roughness to around 0.01. However, this looks too much now and so we need to reduce the effect.
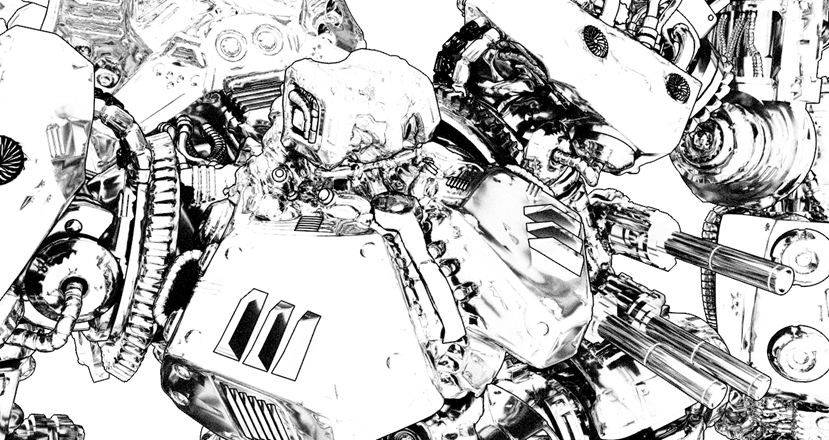
Edge Width
- Decrease the toon edge width to around 0.5 and there we have it!
Try experimenting with different shade modes of the utility shader on your own models to get different shading styles for the edge parameter.
 |
 |