
Import the first model
The first step in modeling a family mold is to import the first model that is to be included.
 Download the files for this tutorial from Autodesk Knowledge Network - Family mold folder.
- The gate location has been optimized.
- The melt and mold temperatures specified in the process settings, as well as the molding window, is comparable for all models.
Click
 (Start & Learn tab > Launch panel > New Project).
The Create New Project dialog appears.
Enter family in the Project name text-box.
Click OK.
Select
 (Home tab > Import panel > Import).
The Import wizard-Model selection dialog appears.
Click
 Browse and navigate to where you stored your tutorial files.
Select mouse_top.stl and then click Open.
Step through the Import Wizard dialog, accepting the defaults.
Right-click on mouse_top_study in the Project View pane and select Rename from the menu that appears.
Enter mouse_family in the text-box, then press Enter to accept the change.
Rotate the model to investigate the model geometry.
Click
 (Home tab > Molding Process Setup panel > Injection Locations) and click on the model to set the location as shown.
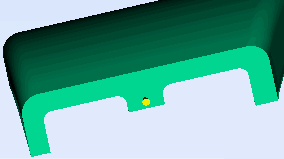
Right-click in the Model pane and select Finish Set Injection Locations from the context menu.
Right-click on the injection location and select Properties from the context menu.
The Edit properties dialog appears.
Enter the following coordinates in the relevant text box:
Y: 45
Z: 28
Note: The X value should not be changed here, as the injection point is on a YZ plane that is important to the final family mold.Click Apply, and then Close to exit the Edit properties dialog.
In the next task you will add the second model.