
Add your company logo.
- On your desktop, double-click the Report Creator icon
 .
.
- In the Report Creator dialog box, do the following:
- Under Project, either select a project from the drop-down list or click Open and navigate to the project you want.
- Under Report Configuration, click the name of the report configuration you want to modify. Click Edit.
- In the Report Configuration dialog box, click Edit Report Layout.
- In the Report Designer dialog box, do the following:
- Click the existing Autodesk logo to select it. Click the small arrow that appears above the selected logo.
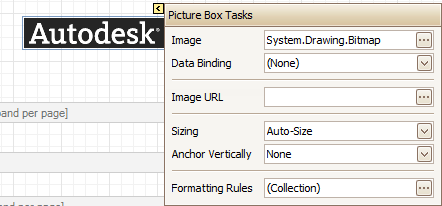
- To the right of the Image box, click the [...] button. Navigate to the location of your new logo, select the file, and click Open. The new logo replaces the old one.
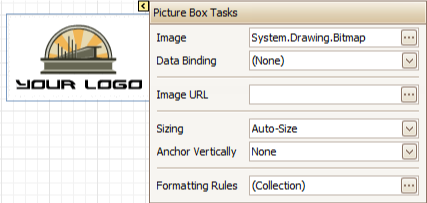
- Click the existing Autodesk logo to select it. Click the small arrow that appears above the selected logo.
- Close the Report Designer dialog box. When prompted to save your changes, click Yes.
- In the Report Configuration dialog box, click OK.