ReCap Photo User Interface
ReCap Photo uses a simple, minimalist interface to connect to services, as well as load, manage, and edit mesh data.
Title Bar
At the top of the interface is the title bar. The Title bar displays the name of any file that you are working in or the name of the program. There are also a number tools available on the title bar. You can toggle whether you are in the Dashboard or the Editor by selecting your desired workspace.
Application Menu
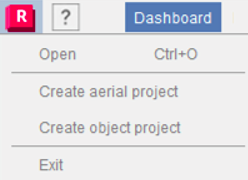
This is a quick access pull-down to open existing data or create a new Aerial or Object project.
Help Icon
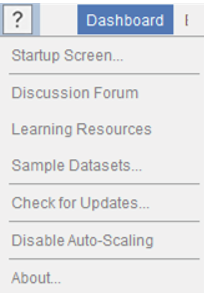
The Help tool gives you quick access to discussion groups and sample datasets, and also allows you to check for available updates.
Subscription Status
The status of your license is displayed to the right of the title. Selecting the status connects you to purchase a subscription if you do not have one or shows you the number of tokens available to your account.
Autodesk ID
On the right end of the title bar, your Autodesk ID is displayed. Selecting your ID gives you the option to sign out of your account.
Dashboard
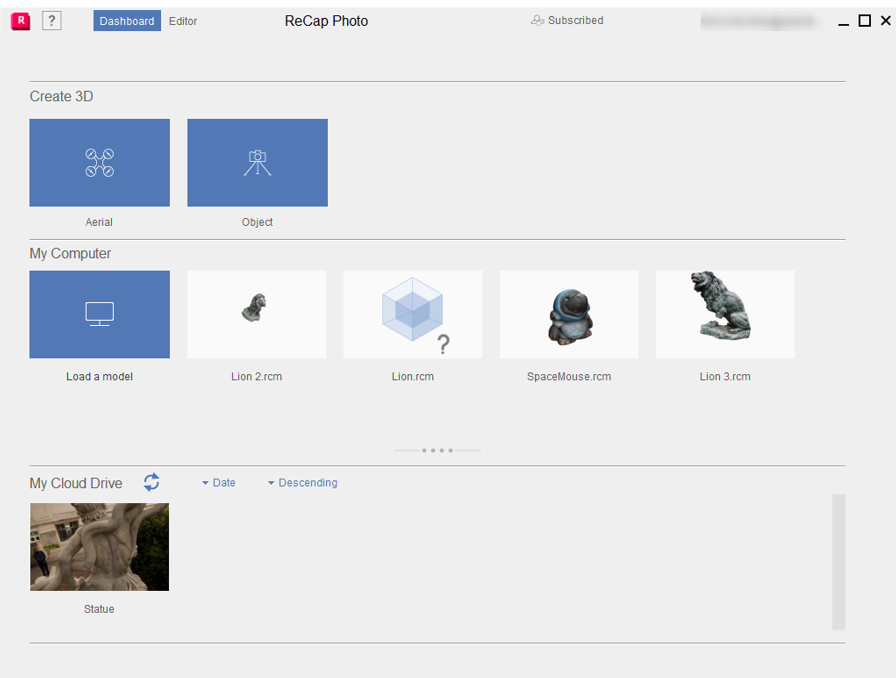
The Dashboard is the control center for ReCap Photo. From the Dashboard you can begin converting photos to 3D models, access local data and data stored in the cloud in Autodesk Drive. You can also delete local and cloud data from the dashboard. The Dashboard is the access point to download data that is in your Autodesk Drive to the local machine. Once the data is local, you can open it in the Editor to review or make modifications to it.
Editor
Opening a model file loads it into the Editor workspace. The model displays in the canvas area. Two tool bars are displayed along edge of the canvas. The toolbar on the left contains editing tools and the one at the bottom allows for navigation and selection of the mesh faces. The ViewCube in the upper right of the screen. All modifications and analysis of the mesh are conducted in the Editor.
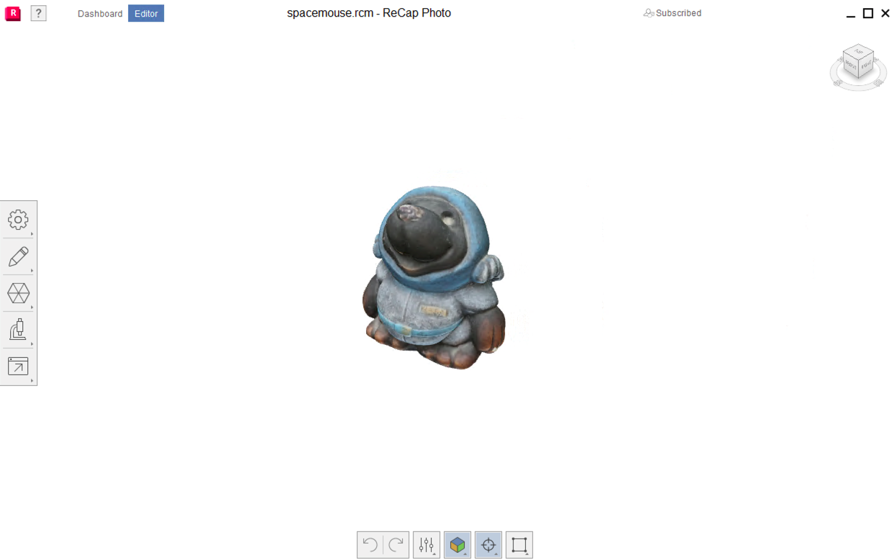
The ReCap Photo Editor contains two toolbars with additional tools.
Navigation
Controlling the viewing position of the model is easier when using a wheel mouse. The ViewCube also assists in controlling the view.
ViewCube
If you've used other Autodesk software, you have most likely used the ViewCube at some point. This widget sits in the upper-right corner of the viewer window and provides feedback and control over the orientation of the 3D scene.

With the ViewCube displayed, shift the view using following methods.
- Freeform orbit. Drag any part of the ViewCube.
- Rotate 90 degrees. Click an edge or corner of the ViewCube.
- View an adjacent face. Click one of the triangles displayed near the edges of the ViewCube.
- Roll a face view. Click one of the roll arrows displayed above and to the right of the ViewCube.
- Compass. Click and drag the Compass ring under the ViewCube to rotate the model about its vertical axis.
- Reorient the point cloud to the Home view. The house icon (in the top left of the ViewCube area) appears when you hover over the ViewCube, and resets your view to its default state.
Mouse Controls
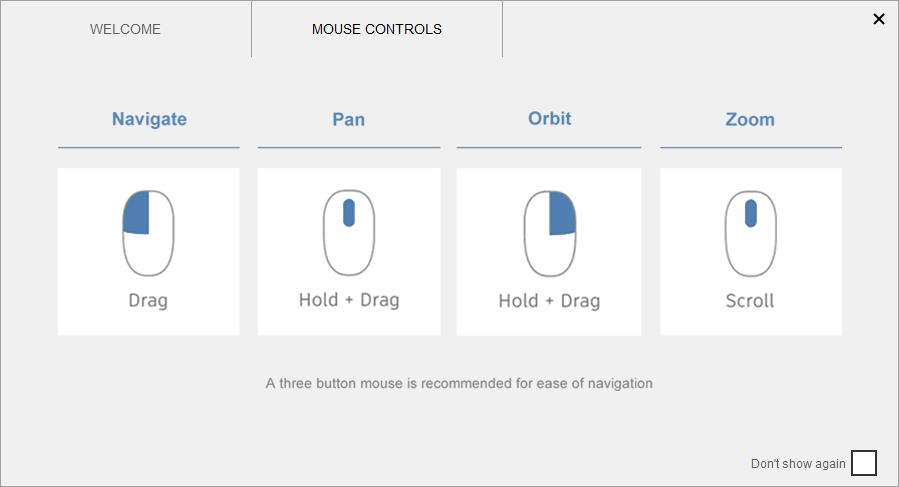
A combination of wheel mouse buttons and keystrokes allow for simplified control of the model view position.
You can find more information on navigation controls for ReCap Photo in the Navigation Toolbar section.
