Use a drafting view to create unassociated, view-specific details that are not part of the modeled design.
Rather than create a callout and add details to it, you may want to create detail conditions where the model is not needed (for example, a carpet-transition detail which shows where carpet switches to tile, or roof-drain details not based on a callout on the roof). For this purpose, create a drafting view.
In a drafting view, you create details at differing view scales (coarse, medium, or fine) and use 2D detailing tools: detail lines, detail regions, detail components, insulation, reference planes, dimensions, symbols, and text. These are the exact same tools used in creating a detail view. However, drafting views do not display any model elements. When you create a drafting view in a project, it is saved with the project.
- Similar to other views, drafting views are listed in the Project Browser under Drafting Views.
- All of the detailing tools used in detail views are available to you in drafting views.
- Any callouts placed in a drafting view must be reference callouts.
- When duplicating sheets with drafting views, the drafting views will not be duplicated or placed on the new sheet unless you duplicate views with detailing. See Duplicate a Sheet.
- Although not associated with the model, you can still drag the drafting views from the browser onto a drawing sheet.
When using drafting views, consider the following:
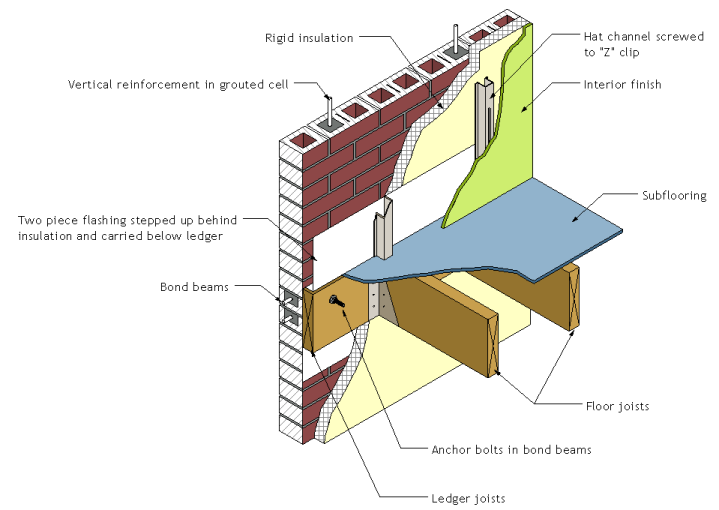
Sample drafting view
The following is a sample drafting view created using the 2D detailing tools in Revit LT. This is not a 3D view.