
Activity 4: Connect the spout to the pail, create a hole on top, and thicken the walls
In this activity, you
- Connect the spout to the body
- Create a hole on top of the pail so that water can be added to it
- Thicken the walls to strengthen them
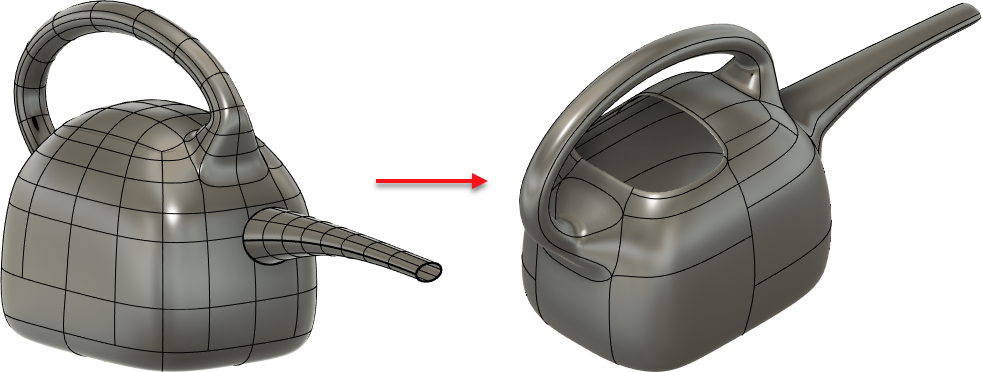
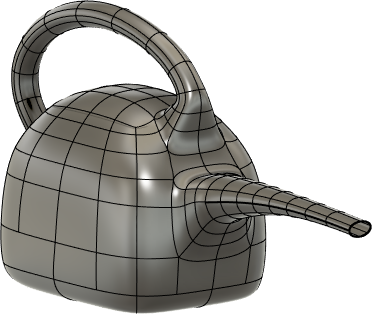
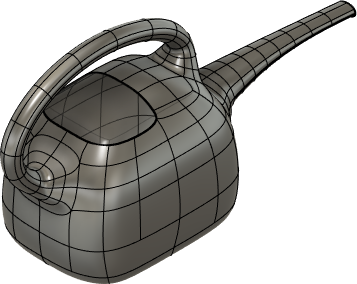
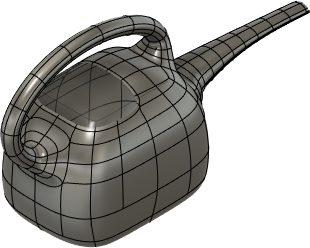
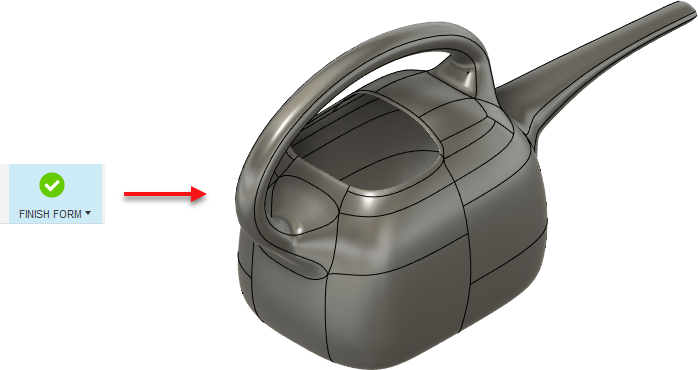
Pail with spout created in Activity 3 (left), and the finished pail on the right with hole, connected spout, and thickened walls (right).
Prerequisites
- Open the file you saved at the end of activity 3.
Steps
Join the spout to the body by bridging it with a Faces value of 3.
Select (Shift-click) the four faces at the base of the spout.
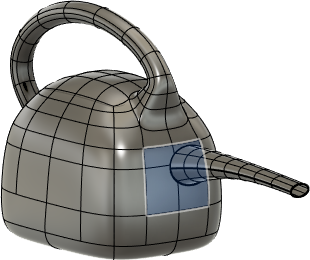
Press Delete to delete the faces.
From the Form menu, click Modify > Bridge.
The Bridge dialog displays.
With Side One set to Select
 in the Bridge dialog, double-click the edge of the spout base.
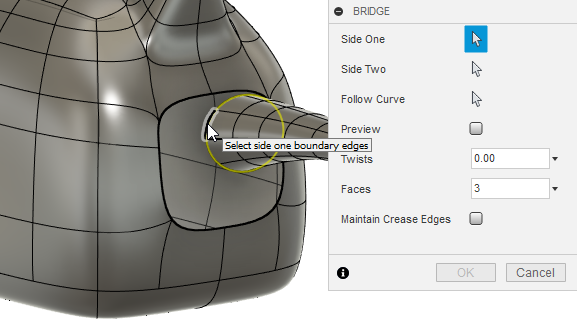
Set Side Two to Select
, then double-click an edge of the pail opening.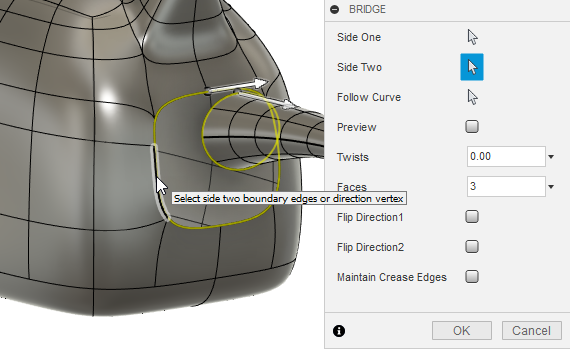
Enter 3 in the Faces box.
This determines the number of divisions to create between the two joined openings.
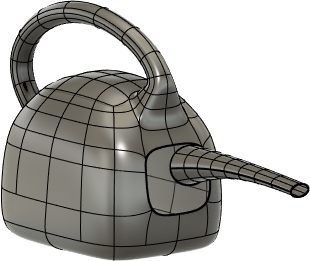
Click OK.
The spout is connected to the pail.
Delete the 16 faces on top of the watering pail to create an opening for water.
Select (Shift-click) the 16 faces towards the back of the top of the watering pail.
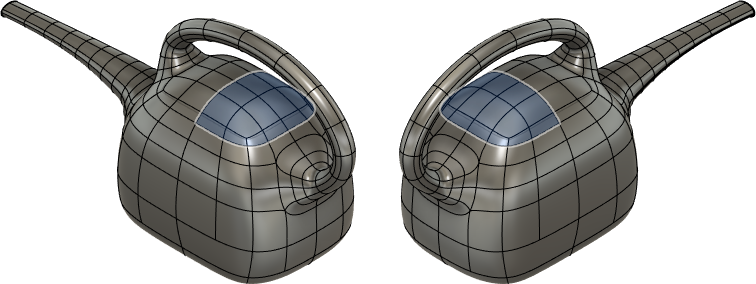
Press Delete to delete the faces.
Thicken the body to 2.5mm using the Soft thicken type.
From the Form toolbar, click Modify > Thicken.
The Thicken dialog displays.With T-Spline Body set to select, click anywhere on the body.
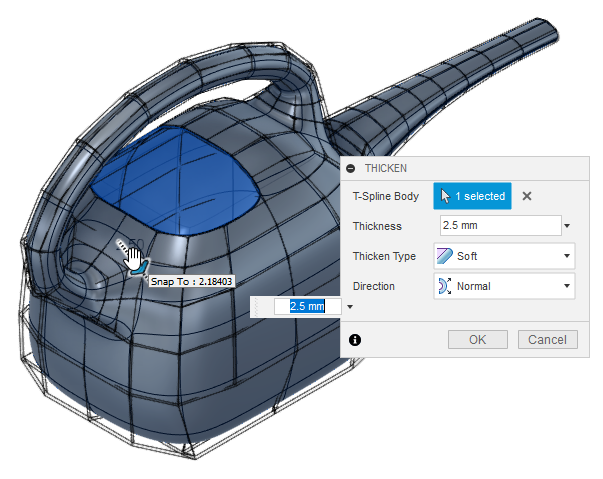
Set Thickness to 2.5mm, Thicken Type to Soft, and Direction to Normal.
Click OK.
Thickness is added to the pail.
From the Form toolbar, click Finish Form to complete the watering pail.
Activity 4 summary
In this activity, you
- Connected the spout to the body
- Created a hole on top of the pail so that water can be added to it
- Thickened the walls to strengthen them
Pail with spout created in Activity 3 (left), and the finished pail on the right with hole, connected spout, and thickened walls (right).