In this section, create a hole through the vacuum cleaner body to create a handle. As before, when you built the main body shape, overbuild surfaces to create an intersection.
This time, however, do not use the intersection and trim tools to create a sharp-edged shape. Instead, use the Surface Fillet tool to create a rounded edge and trim at the same time.
Open the tutorial file (optional)
If you successfully completed part 3, you can proceed directly to the next step: Create the handle surface.
If you were not successful in part 3, open the file called vacuum_Part3.wire, located in the wire folder of the CourseWare project. This file contains the completed model from part 3.
Create the handle surface
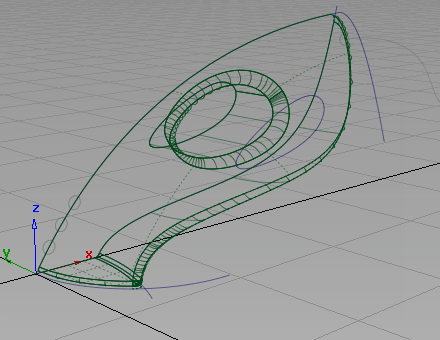
Create the handle using a skin surface, built from the handle curve provided in the tutorial file.
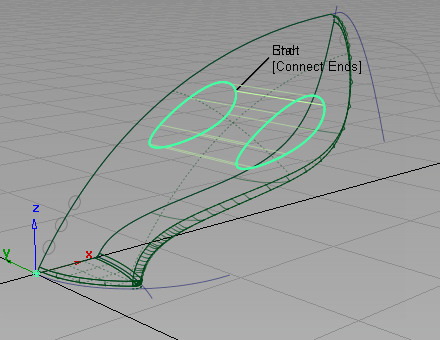
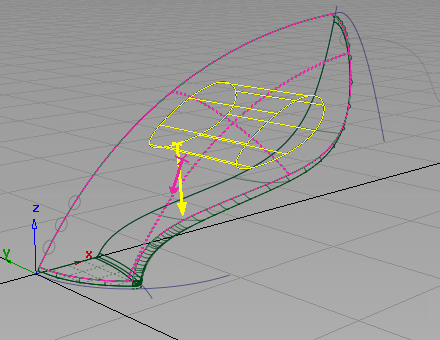
First, make a copy of the handle curve and move it to the side of the vacuum, to create the two curves needed for the skin.
- Choose Pick > Object
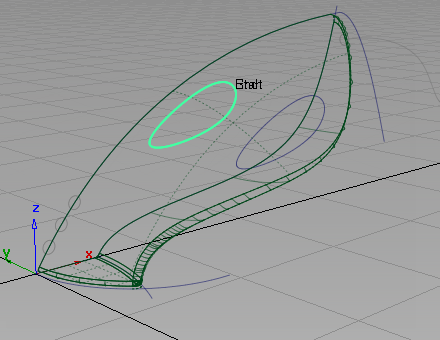
 and select the oval shaped handle curve.
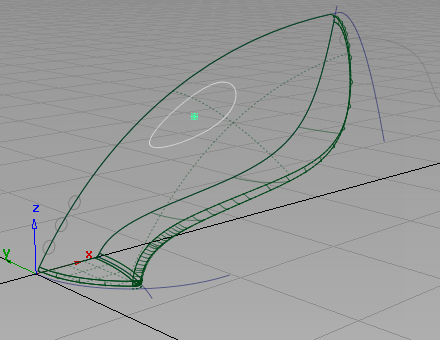
- Choose Edit > Copy
 followed by Edit > Paste
 . The screen appears the same, but a second curve has been created and placed on top of the original, and is selected, ready to be moved.
 - Choose Transform > Move
 . Since you are working in the perspective view, you can use the mouse buttons to specify a move in the x, y, or z direction.
 Drag using the
 to move the second curve in the negative y-direction. Move the curve so it is well outside the vacuum body surfaces.
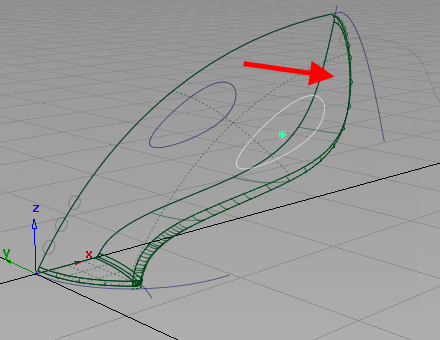
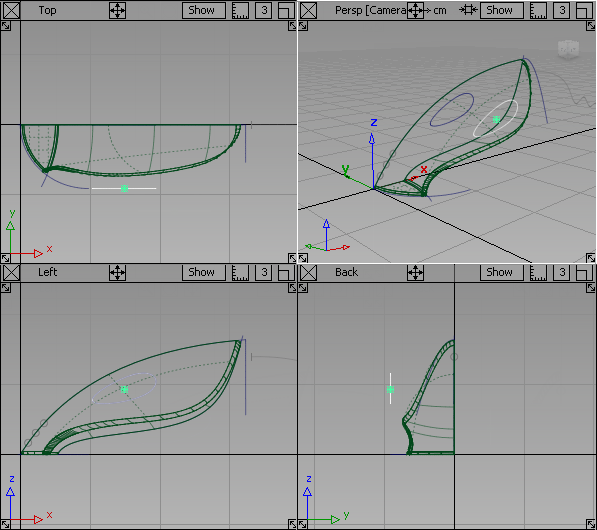
- Use the F9 hotkey to display all four views, to check that the copied curve is outside the main body.
- Choose Pick > Nothing
 to deselect the curve.
 - Use the F8 hotkey to return to the perspective view.
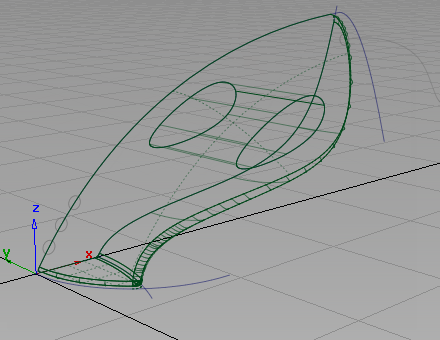
Next, create a skin surface between the two handle curves.
- Choose the Surfaces > Skin
 tool.
tool. -
You are prompted to select the first curve. Click the first handle curve to select it for the skin surface.
The curve is highlighted, and you are prompted to select the next curve. Click the second handle curve to select it.
The skin surface is created and highlighted in green
- Choose Pick > Nothing to deselect the skin surface.
- Use Diagnostic Shade to check that the handle surface passes through the body surfaces.
 Tip:
Tip:If the handle surface falls short of the body surfaces, use Pick > Object
to select the second handle curve. Then, use Transform > Move with the to adjust the position of the curve. Because the skin surface has construction history, it is rebuilt to the new curve position when the mouse button is released. - Return to a wireframe view by selecting the wireframe icon in Diagnostic Shade.
Create the handle fillet
Next, use the Surface Fillet tool to trim the handle and upper body surfaces, and to create a rounded edge.
- Choose Surfaces > Multi-Surface Fillet > Surface Fillet
 (if you are using Alias Design, Surfaces > Surface Fillet). Use the settings you used before for this fillet surface, so do not open the option box. Note:
If you have exited Alias since building the last fillet, see Create the nozzle fillet for the correct Surface Fillet options to use.
You are prompted to select the surfaces.
- Click the upper surface to select it.
The surface is selected and highlighted in pink.
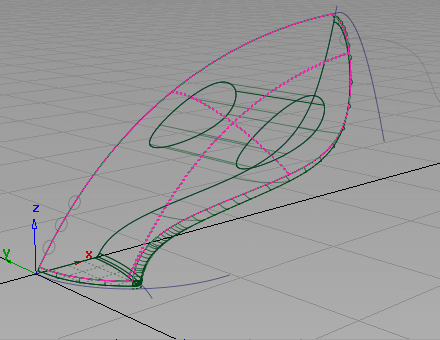
- Click the handle surface to select it.
The surface is selected and highlighted in yellow, and a Build button appears in the bottom right corner of the view.
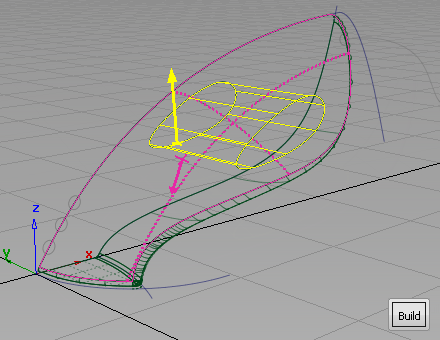
Arrows appear on both surfaces, indicating on which side of the surfaces the fillet will be built.
The pink arrow should point in towards the inside of the vacuum surfaces. If it is pointing out from the surfaces, click the arrow to reverse it.
The yellow arrow should point outwards from the handle surface. If it is pointing in towards the center of the handle, click the arrow to reverse it.
- Click Build.
A small fillet surface is created, and the upper and handle surfaces are trimmed.
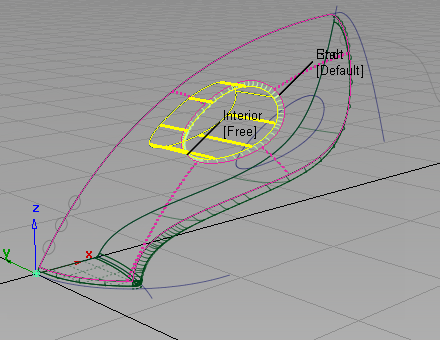
To create a comfortable handle, a larger fillet is required.
- Choose Surfaces > Multi-Surface Fillet > Surface Fillet
 to open the option window. (If you are using Alias Design, choose Surfaces > Surface Fillet .
 - For Chordal Type, select Chordal length.
- Type 125 in the Chordal Length box and press
 (Windows) or
  (Mac) to adjust the fillet size.
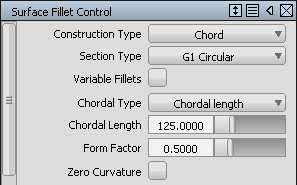
An Update button appears at the bottom right corner of the view.

- Click Update to rebuild the fillet.
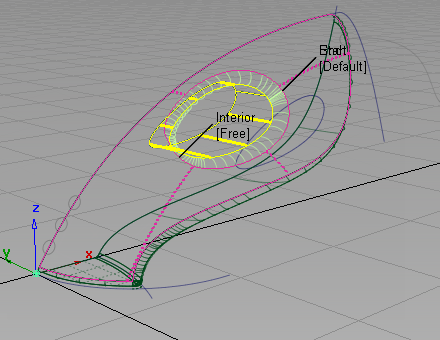
The fillet is rebuilt to the larger size, providing a more comfortable handle design.
- Choose Pick > Nothing to deselect all the surfaces.
- You have now completed the main body shape for the vacuum cleaner design.
Save your work
- Choose File > Save As
 to save the current scene.
 - Save your work in the wire folder of the Lessons project.
- Name your file myvacuum4.wire.