In this section, use Hardware Shade to render a scene, and create shaders for the caps, bottles and labels.
Open the tutorial file
- Choose File > Open
 to open the file browser.
 - In the file browser, locate the CourseWare folder and set it as the Current Project.
- Open the file called Render_Basics.wire, located in the wire folder in the CourseWare project.
For information on how to open a file, see Open the tutorial file.
-
A dialog box appears, asking if you want to delete all objects, shaders, views, and actions. Click Yes.
-
If your values for construction tolerances differ from the values in the Render_Basics.wire file, you are presented with a dialog box.
Click Accept New Settings to use the construction tolerances in Render_Basics.wire.
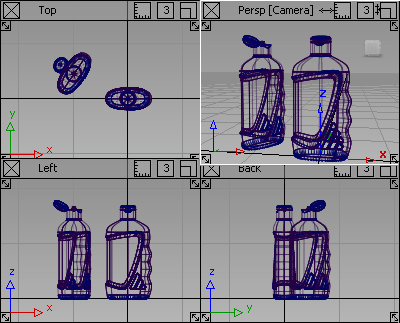
The file opens. The scene has two shower gel bottles in different positions, one with the cap open, and one with it closed.
View a shaded scene
When setting up a model to render, it is useful to work interactively with a rendered view. For this exercise, use Hardware Shade to work directly on a shaded scene.
- Maximize the Perspective view.
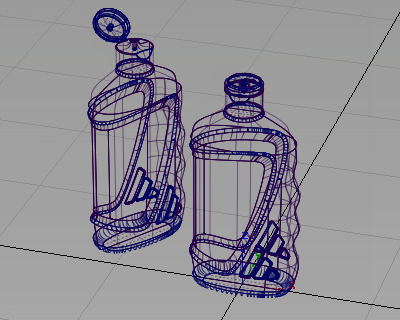
- Choose WindowDisplay > Hardware Shade
 to open the Hardware Shade option window.
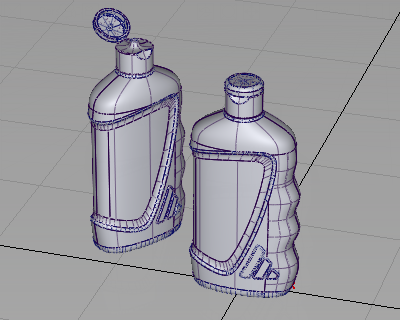
 - Choose All Geometry from the option window, if it is not already selected, and click Shade on at the bottom of the option window.
The bottles are now visualized using the Hardware Shading.
Choose a shading model
The bottles are using the Default shader, which has the Blinn shading model. There are four types of shading models in Alias:
- LAMBERT is useful for representing matte surfaces like plaster walls, paper, or blackboards.
- PHONG is more complex, and gives highlights suitable for high-gloss plastic, glass, and metals.
- BLINN provides more flexible highlights that can be adjusted for softer plastics, satin finishes, and natural materials.
- LIGHTSOURCE makes the object look like it emits light, like an incandescent bulb or flame.
As you gain more experience with shaders, you will understand which Shading Models produce the results you want.
Next, create three new shaders one for the bottle, cap, and label. After that, choose the right shading model for each one.
Use the visualize control panel
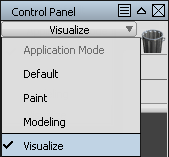
For this part of the tutorial, use the Visualize Control Panel to create and modify shaders.
If the Control Panel is not currently shown, choose Windows > Control Panel to display it.
- At the top of the Control Panel, choose the Visualize option.
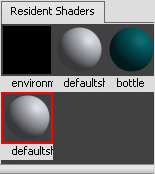
The Default Shader is shown in the Resident Shaders section.

If the name of the Default Shader is not shown underneath the gray shader ball, you can turn on the icon labels in the Interface section ofGeneral Preferences. (Choose Preferences > General Preferences
 top open the preferences window.)
 It is good practice not to use or modify the default shader. Instead, create new shaders from the default shader by copying it.
First, create a shader for the bottle.
Create a bottle shader
- Click the Default shader to select it.
Below the resident Shaders section, there are four icons. Click the Copy Current Shader
 icon to create a shader.
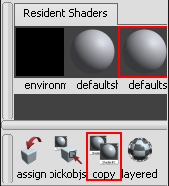
- Double-click the new shader icon to open the shader editor.
The default settings display.
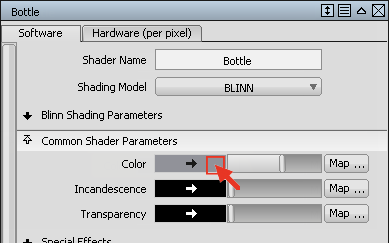
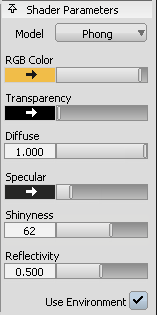
- Change the Shader Name to Bottle, and leave the Shading Model set to BLINN to give a soft highlight for the bottle plastic.
Now choose a color for the bottle.
- In the shader editor, open the Common Shader Parameters section.
 Tip: To expand the window to display all the options without scrolling, click the expand to fit icon in the window titlebar.
Click the gray color chip to open the Color Editor.
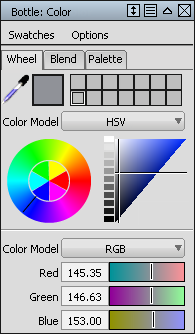
- In the Color Editor, choose a color for the bottle.
The color chip updates, and the Bottle shader shows the new color.

NowAssign the new shader to the bottle surfaces.
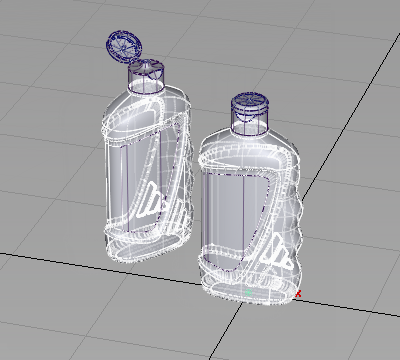
- Select the bottle surfaces by using the Pick Objects option on the Bottles layer drop-down menu.
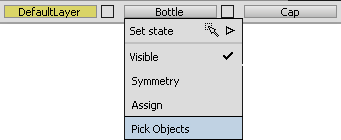
All the bottle surfaces are selected.
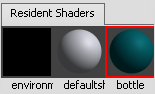
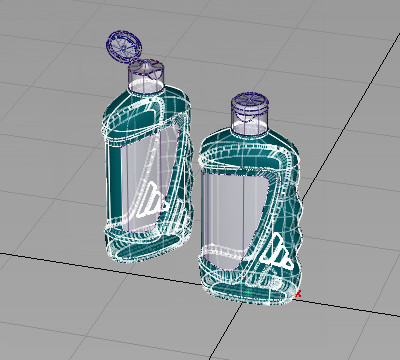
- Click the Assign icon on the Visualize Panel to assign the new shader to the bottle surfaces.
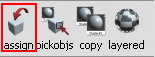
The bottle surfaces are now shown in the new shader color.
Now repeat this process for the cap shader.
- Click the default shader to select it. Then, choose the Copy Current Shader tool to create a second new shader.
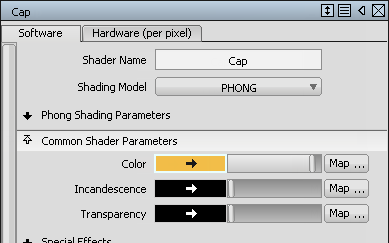
- Double-click the icon of the second new shader to open the shader editor.
Change the Shader Name to Cap and the Shading Model to PHONG.
In the Common Shader Parameters section, choose a color for the cap.
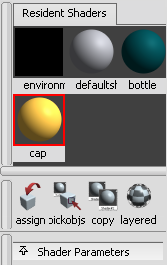
Now, assign the shader to the cap surfaces.
- Pick the cap surfaces using the Cap layer drop-down menu.
- Assign the Cap shader to the cap surfaces using the Assign
 icon in the Visualize Panel.
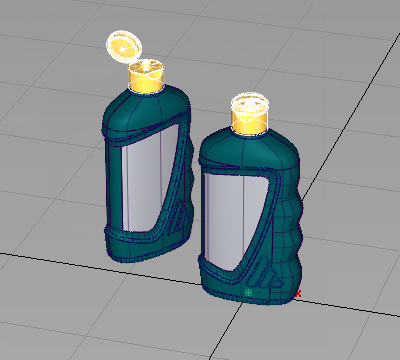
A small bright highlight appears on the caps illustrating a glossy plastic material.
- Close the shader editor window.
- Choose Pick > Nothing
 to deselect the label surfaces.
Modify shaders in the Visualize panel
You can access the most common parameters for a shader in the Visualize Panel.
Now give the cap a more shiny appearance, and the bottle a softer finish.
- Click the Cap shader to select it and open the Shader Parameters section of the Visualize Panel.
- Modify the Shinyness value to make the highlight on the cap smaller.
The cap material looks more shiny.
Tip:You can use Render > Direct Render
 to see the changes more accurately.
 - Click the Bottle shader to select it.
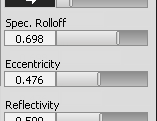
- In the Shader parameters section, modify the Eccentricity and Spec. Rolloff values to make the bottle plastic look less shiny, with a softer surface finish.
 Tip:
Tip:Only the most commonly used parameters are shown in the Visualize Panel. To access all the parameters for each shader, either double-click the shader ball icon, or use Render > Multi-lister > Shaders.
Save your work
Now, save the scene as a new file.
- Choose File > Save As
 to open the File Browser.
 - Save your work in the wire folder of the Lessons project.
- Name your file myRender_Basics1.wire.