In this part of the tutorial, use the monorail tool to create the two surfaces that define the vacuum cleaner body.
In the tutorial file, the main curves have already been created and are supplied on a layer called curves. As you do not have to create the curves for this model, you can focus on the techniques of intersecting and trimming surfaces introduced in this tutorial.
The curves have been created using the same techniques you learned in the Model a Joystick tutorial. If you want to see how the curves are constructed, use the Control Panel CV/Hull display to display the CVs.
If you prefer to create your own curves, you can make the curves layer inactive, and create your own curves using these curves as a guide.
Open the tutorial file
- Choose File > Open
 to open the file browser.
 - In the file browser, locate the CourseWare folder and set it as the Current Project.
- Open the file called vacuum.wire, located in the wire folder in the CourseWare project.
For information on how to open a file, see Open the tutorial file.
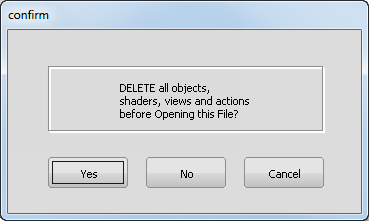
A dialog box appears, asking if you want to delete all objects, shaders views, and actions. Click Yes.
If your values for construction tolerances differ from the values in the vacuum.wire file, you are presented with a dialog box:
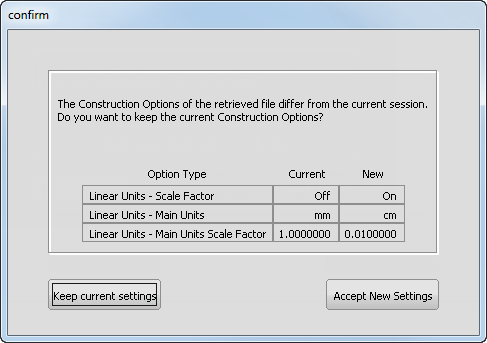
Click Accept New Settings to use the construction tolerances in vacuum.wire.
The file opens.
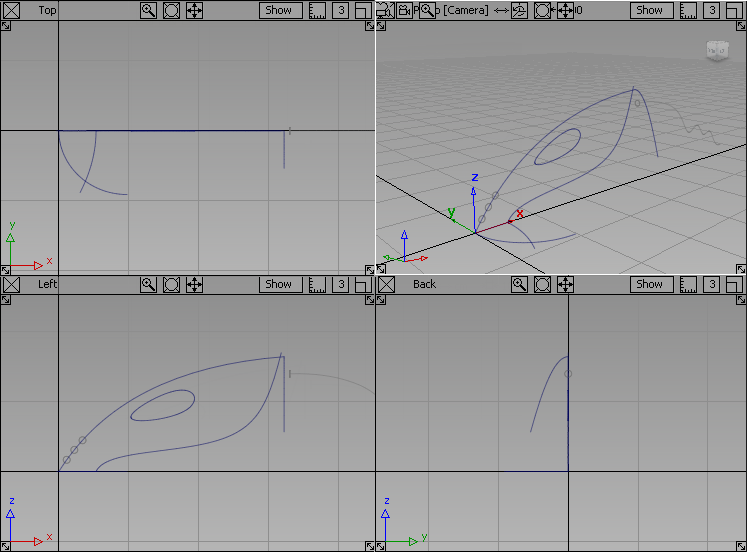
If the modeling views do not occupy the full size of the Alias window, choose Layouts > All Windows > All Windows
 .
.
Create the lower surface
Start by creating the lower body shape using a monorail surface.
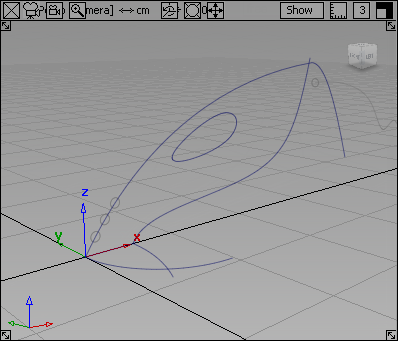
- Maximize the Perspective view.
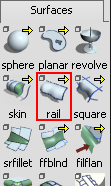
- Choose Surfaces > Swept Surfaces > Rail Surface
 .
. 
The Rail surface defaults to a birail, which has two path curves. Now change the rail surface settings to create a monorail, with only one path curve.
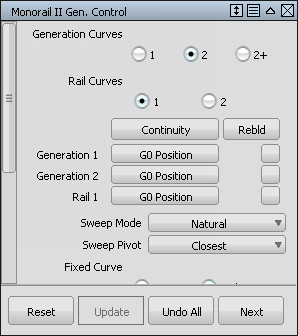
- Double-click the Rail Surface icon to open the option window.
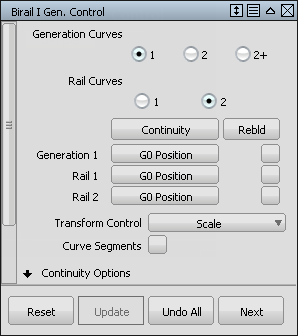
- In the Rail Surface option window, click 1 in the Rail Curves section. Check that the Generation Curves section is also set to 1.

- Close the Rail Surface option window by clicking the X in the top right corner.
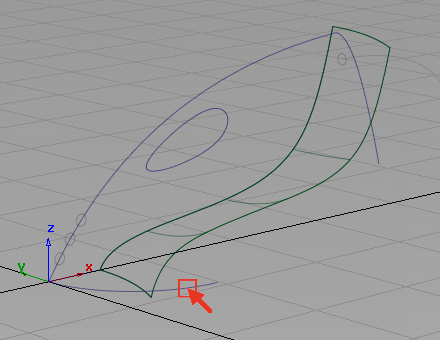
You are now prompted to select the generation curve.
- Use the
 and click the curve shown to select it as the generation curve.
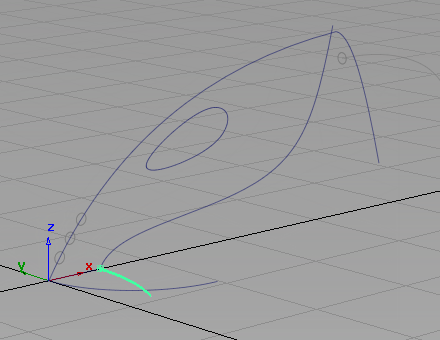
The curve is highlighted.
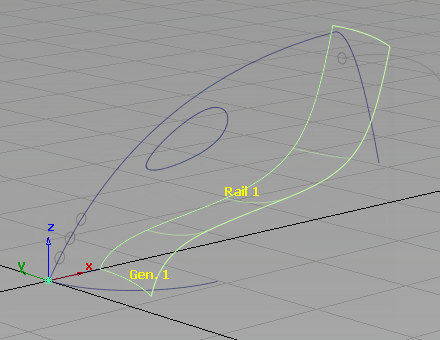
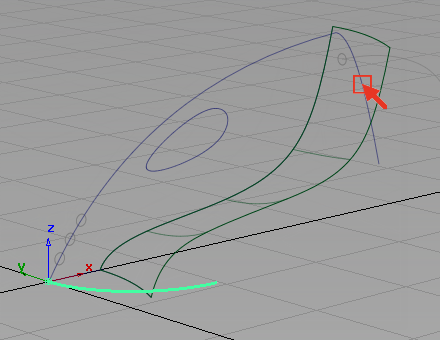
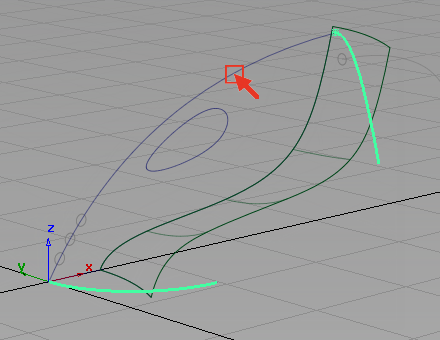
You are prompted to select the primary rail curve.
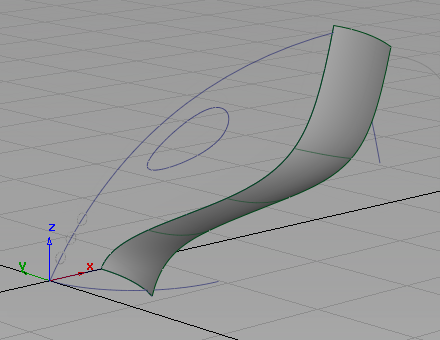
- Click the lower profile of the vacuum to select it as the path curve.

A monorail surface is created.
- Choose Pick > Nothing
 to deselect the surface.
To see the shape of the surface more clearly, use Diagnostic Shade on the Control Panel to shade the surface.
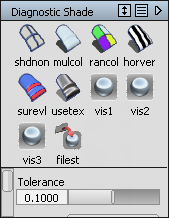 Tip:
Tip:If the Control Panel is not displayed on your screen, choose Windows > Control Panel
 to make it visible.
 - Click the Multi Color shade icon to turn on the shading .
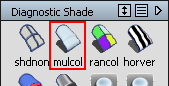
The surface is shaded in a default gray color.
- Click the diagnostic Shading Off wireframe icon on the Control Panel to turn off the shading.
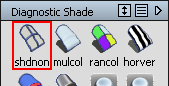
Use the diagnostic shading throughout this tutorial to visualize the geometry.
Create the Upper Surface
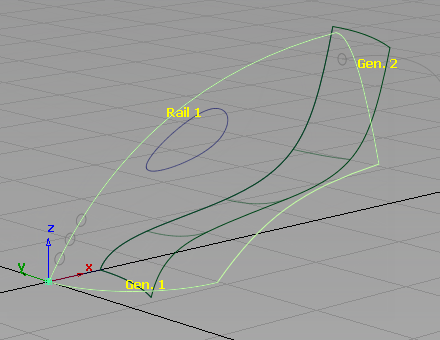
Next, create the upper surface of the vacuum cleaner using a Monorail surface with two generation curves. When two generation curves are used, the surface blends between the two shapes, as it sweeps along the path curve. The rail surface creates a smooth surface blended between the wide nozzle and the narrower handle section.
- Choose Surfaces > Swept Surfaces > Rail Surface. Double-click the icon to open the option window.
The Rail tool is set for 1 generation curve and 1 rail curve.
- In the Rail tool option window, click 2 in the Generation curves section.
- Close the option window.
You are prompted to select the generation curve.
- Click the curve at the front of the vacuum nozzle to select it as the first-generation curve.
The curve is highlighted.
You are then prompted to select the next generation curve.
- Click the curve at the rear of the vacuum cleaner body to select it as the second-generation curve.
The curve is highlighted.
Next, you are prompted to select the primary rail curve.
- Click the upper profile curve of the vacuum cleaner body.
A monorail surface is created that blends smoothly between the two generation curves.
- Choose Pick > Nothing to deselect the surface.
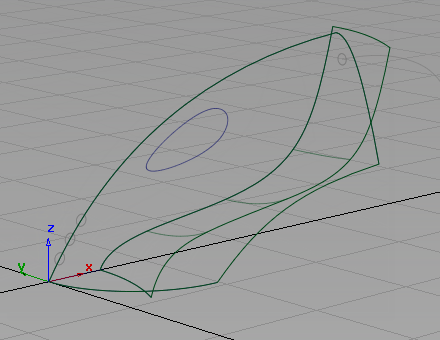
- Use Diagnostic Shade on the Control Panel to view the relationship between the two overlapping surfaces.
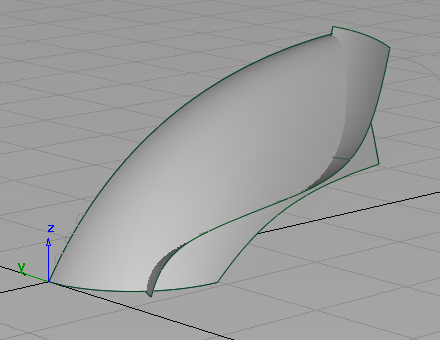
You have now created the two main shapes that you will use to create the vacuum cleaner body.
Save your work
Now save the scene as a new file.
- Choose File > Save As
 to open the File Browser.
 - In the File Browser, locate the Lessons folder. Set the Lessons folder as the Current Project.
- Save your work in the wire folder of the Lessons project.
- Name your file myvacuum.wire.
For information on creating the Lessons project, or saving your work, see Save your work.