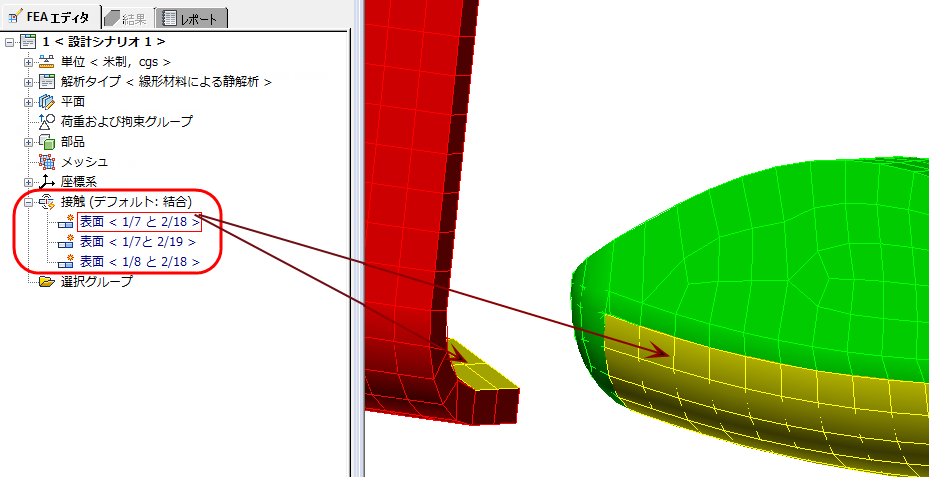
In this step, we assign a Surface contact between several surfaces of the two parts. This ensures that we have a realistic set of contacts between the parts as they come into contact and snap together.
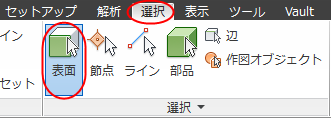
1. From the ribbon, click Selection  Select Surfaces.
Contact Pair 1:
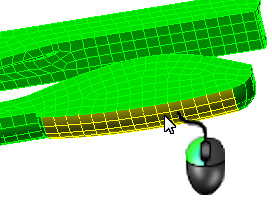
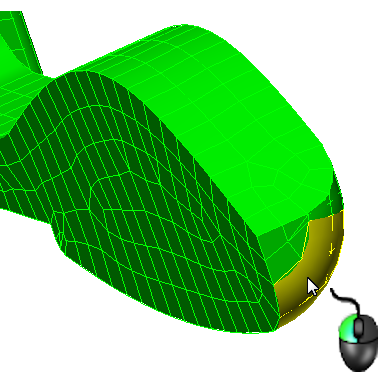
2. Rotate the view as needed to see the surface on the first part, as shown below. Then, select this contact surface on the first part.
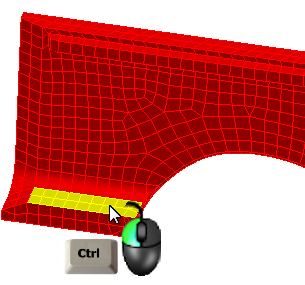
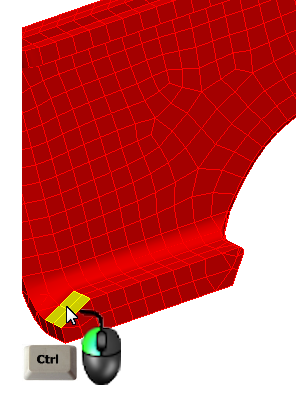
3. Hold Ctrl, and also select the contact surface on the second part, as shown below. (Rotate the view as needed to see this surface.)
4. Right-click, and select Contact Surface Contact.

Contact Pair 2:
5. Press the Esc key to clear the current surface selection.
6. Rotate the view as needed and select the contact surface from the first part, as shown below. This is the same surface that was selected in Step 2 except that this time, we will pair it with a different surface on the second part.
7. Rotate the view as needed. Then, hold Ctrl and select the contact surface from the second part, as shown below.
8. Right-click, and select Contact Surface Contact.
Contact Pair 3:
9. Press the Esc key to clear the current surface selection.
10. Rotate the view as needed and select the contact surface from the first part, as shown below.
11. Rotate the view as needed. Then, hold Ctrl, and select the contact surface from the second part, as shown below.
12. Right-click, and select Contact Surface Contact.
13. Press the Esc key to clear the current surface selection.
What it should look like...