This example will show how to setup a new material and thickness to then apply a cost for that gauge.
Print Material(s): Creates a report on all your materials which details the cost/weight assigned to each one. The option to print the highlighted material or all materials in your database is prompted when the icon is selected.
Material: When the drop down is selected, this list displays the current materials in your database. Selecting the material will display all Gauges' in the list underneath.
Properties: Displays the properties dialogue box to enable changes to that specific material. See Material Properties below:
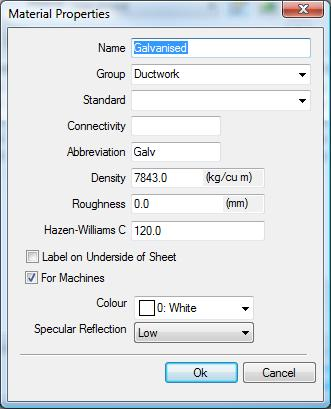
The user can create the Material name and assign to a Group if desired. The abbreviation can be used on reports and the Density if known can be used to calculate the weight.
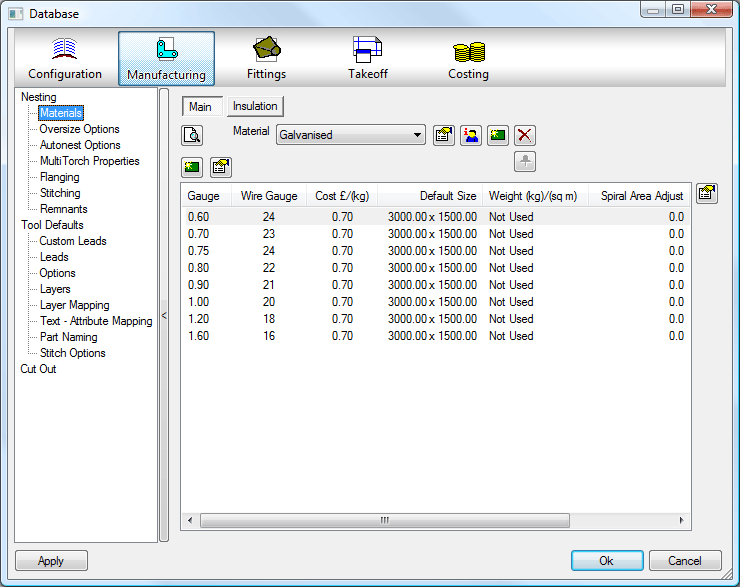
Add New Material to Database Now: Provides you with the option to add a material type to the database.
The software allows you to copy the existing material setup over to the newly created material type if the values are to be kept similar. This saves the user having to re-create from scratch.
You can additionally copy any specification entries over with your material. The existing specification will be applied to the new material if selecting yes to the above option.
Delete Material: Allows you to delete the selected material from your database.
New Gauge: The new icon at the left provides the user to create a new thickness for the selected material. See below:
The user can enter the Thickness, Wire Gauge, and the Cost per kg and also the Weight in kg/sq m if known for that particular thickness of material. This provides the user with another method of entering the weight of each materials thickness but Density overrides this value if present.
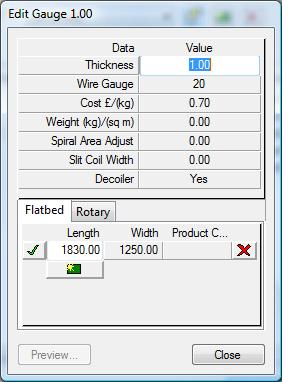
Sizes : You can setup alternate sizes for specific thicknesses of material if required.
The tick indicates that this is the default sheet size for that selected material thickness.