To open the Time Editor:
- From the Maya menu bar, choose Windows > Animation Editors > Time Editor

The Time Editor is a comprehensive tool for creating and editing animation. It combines animation editing workflows from existing editors to give you an intuitive, clip-based workflow for non-linear animation editing that lets you easily navigate between clip-level views and key-level details.
Any object or attribute in Maya for which you can set keyframes can be brought into the Time Editor as a clip, which can be edited in a non-destructive way. The Time Editor defines the timing operations (for example, speed, length, start/stop times, and so on,) of animation, so you can experiment with combinations and variations of elements in your scene. When you create a version of the animation you like in the Time Editor, you can bake it so that the new animation can be used in Maya.
Basic Tasks
The following table provides a brief overview of tasks using the Time Editor:
| To... | Do this |
|---|---|
|
Open the Time Editor as an independent window |
Select Windows > Animation Editors > Time Editor. |
|
Place the Time Editor in a scene view |
Select the scene view in which you want the Time Editor to appear, then select Panels > Panel > Time Editor. |
| Add animation to the Time Editor |
The Add animation to the Time Editor window opens to let you specify settings for the animation clip that is to be created. See also Add content to the Time Editor, |
| Pan and Zoom in the Time Editor | Same as in the Viewport:
|
| Scrub animation | Drag the
Current Time Marker.
|
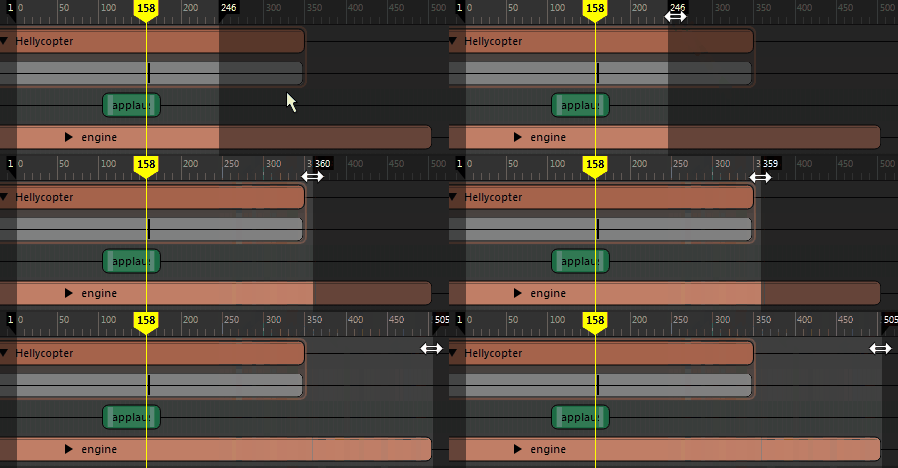
| Resize the Playback range | On the Time Ruler, click on the edge of the dark region and drag to change the playback range. Stretch the playback range in the time view by dragging the flags on the Time ruler.
 |
| Frame clips |
|
| Crossfade clips | Drag a clip over another clip so they overlap.
 |
| Transition clips | Select the clips, right-click them, and select
Create Transition from the
Time Editor Clip contextual menu.
 |
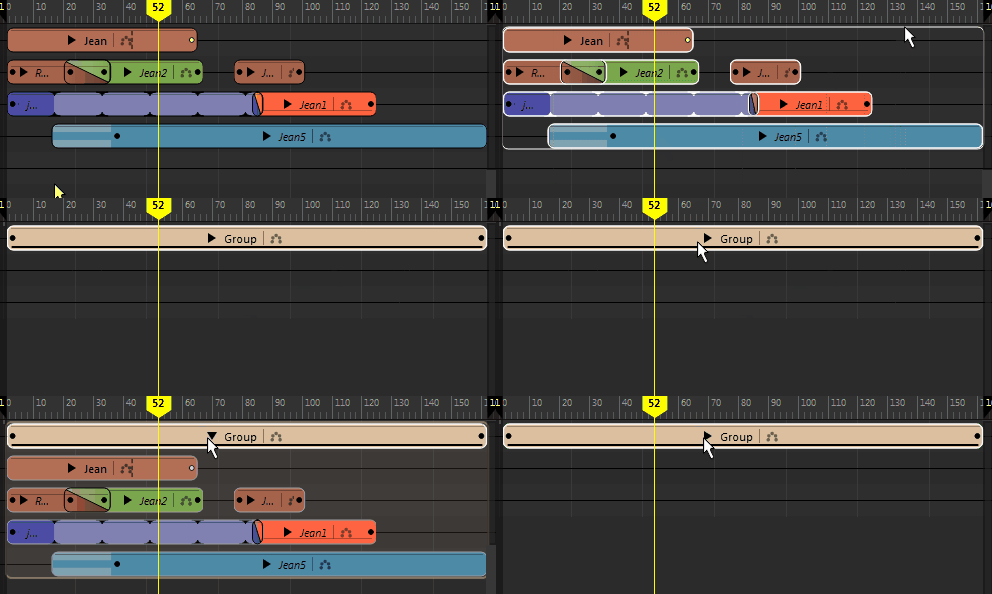
| Group clips | Drag or Shift-select multiple clips of the same type and click
Group
 in the
Time Editor toolbar or press
Ctrl +
G. in the
Time Editor toolbar or press
Ctrl +
G.
 |
| Razor clips | Select a clip, move the Current Time Marker to the desired split location, and select
 in the
Time Editor toolbar or press
W. in the
Time Editor toolbar or press
W.
 |
| Add audio to the
Time Editor
|
|
| Edit (split, loop, and so on) clips in the Time Editor |
|
| Show keys | Click
 in the
Roster controls (or press
V on a parent group or single clip to show animation keys for the track. in the
Roster controls (or press
V on a parent group or single clip to show animation keys for the track.
 The keys appear as a vertical bars. See Keying animation in the Time Editor. |
| Expand hierarchy | Click the arrow next to the clip name, and to show the animation hierarchy, click each arrow in the
Roster
to progress through the hierarchy.
 |
| Change track playback (mute, solo, and so on) in the Time Editor |
|
| Disable the Time Editor to edit animation | Click
Mute Time Editor
 in the
Time Editor toolbar or press
Q. See
Mute the Time Editor for more information. in the
Time Editor toolbar or press
Q. See
Mute the Time Editor for more information.
|
See also Time Editor interface overview and Edit Time Editor clips.

 in the right corner of the Time Editor window.


