In this exercise you learn about using the Remove and Raster Entity Manipulation (REM) commands to change raster geometry in images.
Use the Remove commands as follows:
- Define a region, such as a rectangle, polygon, or circle, then remove the raster data within that region.
- Remove raster entities that have particular geometric shapes, such as lines, arcs, circles, or polylines.
Use the REM commands to edit REM entities as if they were vector objects, without actually changing the entities to vector. You create a selection set of REM objects and then select an AutoCAD command. The selection set can be an area of an image, or, for bitonal images only, it can be lines, arcs, and circles.
In this exercise, you focus on removing raster data to make room for new vector objects in the floor plan of the school building.
Related Exercises
Before doing this exercise, ensure that AutoCAD Raster Design toolset options are set as described in the exercise Exercise A1: Setting AutoCAD Raster Design Toolset Options.
Exercise
- In the\Tutorial4 folder, open the drawing file
Hybrid_04.dwg.
Remove the raster entrance
- Change the color of the TU_image_bitonal layer to yellow.
- Click
View menu
 Named Views. Then expand the
Model Views list, and set the current view to
TU_entry.
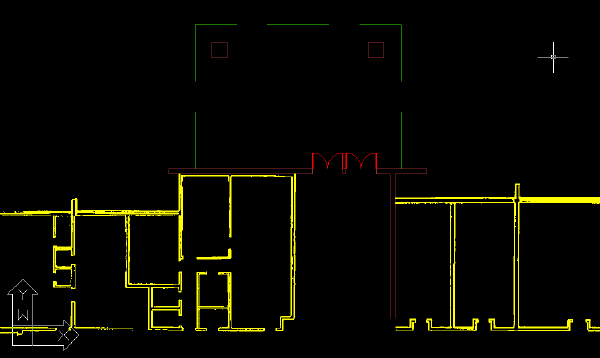
The vector linework in this view shows the proposed entrance. The raster linework shows the old entrance.
- Click
Raster menu
 Remove
 Polygonal Region.
- Draw a polygon around the old entrance, including the outer wall.
The following example shows where to draw the polygon to remove the old entrance to the building. AutoCAD Raster Design toolset removes the raster data within the polygon.

- Press
Enter.
AutoCAD Raster Design toolset removes the raster data within the polygon.

Remove the raster staircase
- Set the current view to
TU_ramp.
The vector linework in this view shows the proposed ramp. The raster linework shows the staircase to be removed.
- Click
Raster menu
 Remove
 Line Entity.
- Select the lowest of the four horizontal stair lines.
AutoCAD Raster Design toolset removes the line as soon as you select it.
This example shows the line you select to begin removing the raster linework of the staircase.

- Right-click and select Repeat Line Entity from the shortcut menu to remove the next two stair lines.
- Right-click and click
REM
 Create
 Smart Pick. Click the vertical line to the right of the old staircase. In this case,
AutoCAD Raster Design toolset selects the line but does not perform an action. The line is now part of a REM selection set. You can now execute AutoCAD commands, such as
ERASE, on the selection set.

- Enter e for ERASE, select the highlighted line, then press Enter.
- Click
Raster menu
 Remove
 Rectangular Region. Then remove the remaining stair line.
- Right-click and select
Repeat Rectangular Region from the menu to remove the portion of the lines that extend into the vertical vector wall.

Remove the raster walls near the new classrooms
- Set the current view to
TU_classroom.
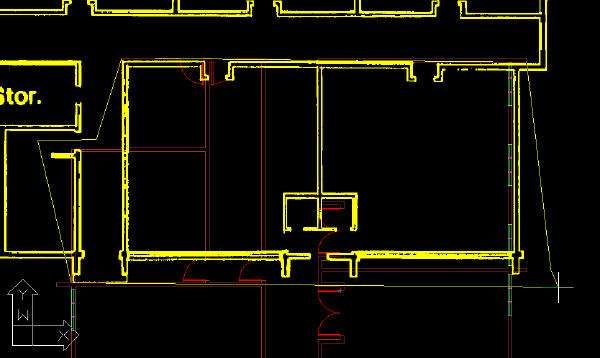
The vector linework in this view shows the proposed additional classrooms. The raster linework shows the old classroom walls and exterior walls.
- Set the current view to TU_upper.
- Click
Raster menu
 Remove
 Polygonal Region.
- Draw a polygon around the old classrooms and the walls that define the hallway to the left of the classrooms.

- Press
Enter.
AutoCAD Raster Design toolset removes the raster data within the polygon.

- Change the color of the TU_image_bitonal layer to white.
- Close the drawing without saving changes.