In this exercise you learn about using bitonal image processing tools, REM smoothing tools, and using vector to fill in for raster.
You work with an image of a floor plan. In areas where the raster linework is jagged, you use bitonal smoothing filters to improve existing raster on a regional basis. You also use REM smoothing tools to improve raster on an entity-by-entity basis.
You use vector linework to fill in missing raster. Raster snaps, which operate much as AutoCAD object snaps operate on vector objects, help to re-create linework precisely and quickly.
Related Exercises
Before doing this exercise, ensure that AutoCAD Raster Design toolset options are set as described in the exercise Exercise A1: Setting AutoCAD Raster Design Toolset Options.
Exercise
- In the\Tutorial4 folder, open the drawing file
Hybrid_03.dwg.
View the image and the proposed vector changes
- Click
View menu
 Named Views. Then expand the
Model Views list, and set the current view to
TU_entry to see the vector linework for the proposed new entrance to the building.
Named Views. Then expand the
Model Views list, and set the current view to
TU_entry to see the vector linework for the proposed new entrance to the building.
- Set the view to TU_classroom to see the vector linework for the proposed new classrooms.
- Set the view to TU_ramp to see the vector linework for the ramp to the stage.
- Set the view to
TU_storeroom to see an area of the image where the raster linework needs improvement.
This example shows an area of the image where the linework is poor: some raster lines are thin, while others overlap. Bitonal filters are one option for enhancing the linework. However, these filters work best on images where the line density is relatively uniform.

Apply line smoothing to a region of the image
- Click
Raster menu Image ProcessingBitonal Filters. Then press
Enter to process the entire image.
- In the
Bitonal Filters dialog box, select
Smooth for the filter type,
1 for the number of passes, and click
OK.
After applying one pass of the smoothing filter, the raster lines are more accurate.

Specify the raster snap settings
- Set the view to
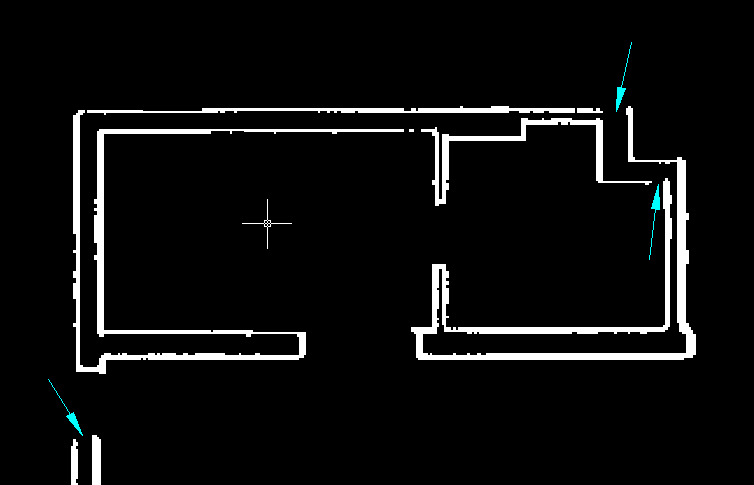
TU_linework to see an area of the image where some raster lines are missing.
This example shows where lines are missing in the image. New vector lines need to be drawn in where indicated.
- To display the
AutoCAD Drafting Settings dialog box, click
RasterRaster Snap.
- Specify the following settings for the raster snaps:
- Raster Snap: On
- Raster Snap Modes: End
- Aperture Size: 25
- Click
OK.
Create vector linework from the thin raster lines
- Turn ORTHO Mode On.
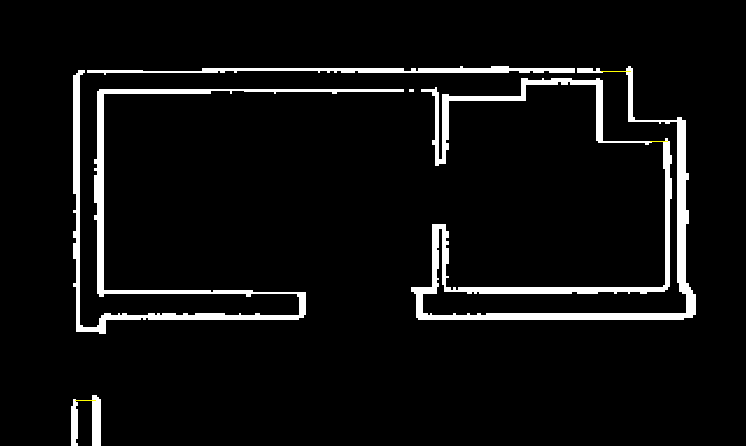
- Fill in the gaps in the raster lines with vector lines.
This example shows the vector lines filling in where the raster was missing.
- Turn
ORTHO Mode Off.
In a later exercise, you merge the vector linework with the raster image.
Turn off raster snaps
- Click
RasterRaster Snap.
- Clear
Raster Snap On, and click
OK.
Apply line smoothing to specific lines in the image
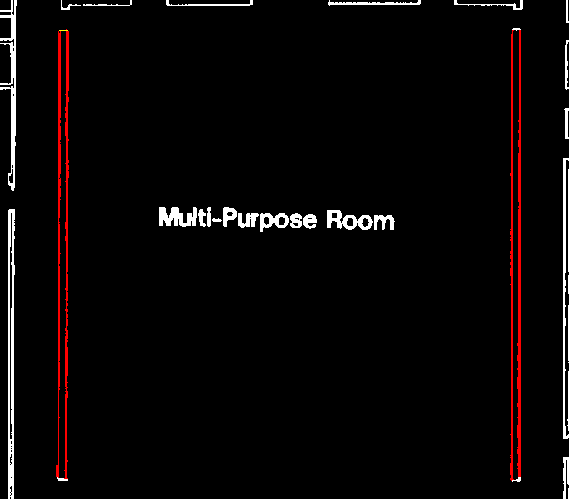
- Set the view to TU_multi_purpose. Note the vertical wall lines are jagged and of varying widths.
- Click
Raster menu Raster Entity ManipulationCreate PrimitiveLine.
- Zoom in and select the four vertical lines that form the side walls of the multi-purpose room, repeating the REM Line command as necessary. The lines are now represented by REM entities.
- Select the four REM lines, then right-click and click Properties. The Object Properties dialog box appears. Ensure that the selected objects are identified as REM Line (4).
- In the
Properties dialog, in the
Geometry section, set the
Width to 3.
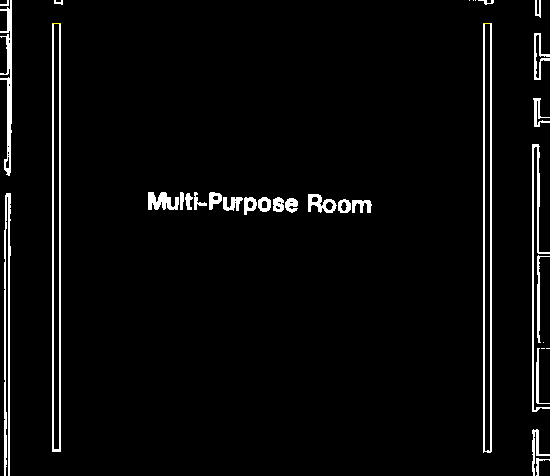
The four lines are redrawn to a uniform width and smoothed automatically.
- Close the Object Properties dialog box.
- Ensure that the four lines are selected, then right-click and select
Merge To Raster Image. The modified lines are merged back into the image.
The following example shows the four lines smoothed with equal width and merged back into the image.
- Close the drawing without saving changes.