The Smart Surfacer is a single dialog that chooses the optimum method of surface creation based on the objects selected in a model. This is ideal for new users to quickly and easily create surfaces, and to automatically create simple surfaces.
All possible surface creation methods are listed in order of suitability. The best solution is previewed in the dialog and applied to the selection.
To create a surface using the Smart Surfacer:
- Click Surface tab > Create panel > Smart Surfacer.
The Smart Surfacer dialog is displayed.
- Select the items from which you want to create a surface.
The surface is created and previewed.
- If the created surface meets your requirements, click OK to complete the surface creation.
- If you want to see other surface creation methods, click the
Next
 and
Previous
 buttons to cycle through the other solutions.
- If you want to force surface creation using another method, click the drop-down list to display all the surface creation methods available. Select a method to try to force it to create a surface from the selection. If surface creation is not possible using that method, an error message is displayed.
- If required, enhance the surface creation by improving the selection. Add or remove wireframe items using Shift+Click.
- Click Advanced to specify advanced options for the current surface creation method.
- Click OK to complete the Smart Surfacer.
The following surface creation methods are used by the Smart Surfacer:
-
From network — creates a surface directly from a network of wireframe objects.
PowerShape sorts the wireframe into laterals and longitudinals, reversing or renumbering them as required. The surface is created within the outer boundary formed by the wireframe objects:

-
From separate — creates a surface from a set of separate curves. The curves become laterals on the new surface, and longitudinals are added to join up the laterals:

If the selected curves are B-spline curves, this method create a B-spline surface.
-
Fill-in — creates a surface that fills the area enclosed by the selected wireframe or points, or a combination:

When wireframe is selected, a trimmed surface is created; the command generates a larger surface and then creates trim boundaries to trim this surface back to the required region. Therefore this method is suitable for filling complex shaped boundaries, such as those with many sides or spikes.
-
Drive-curve — creates a surface by specifying a drive curve
 to define the path of longitudinals. You can select a line, arc, curve, or composite curve from your model to define the drive curve:

The drive curve can be open or closed. You can use a single lateral or any number of laterals. If the drive curve is longer than where the laterals lie, extra laterals are created at the end of the drive curve.
-
Two rails — creates a surface from a section curve
 and two rail curves
 . Copies of the section are positioned at adjacent points along the two rails. These copies are scaled and rotated versions of the original one. The surface is created from the net:

To create a surface using this method, the section and rails must satisfy the following:
- The section must be a single, open wireframe object.
- Each rail must be a single wireframe object.
- The two rails must have the same number of points and both must be closed or open.
- The ends of the section must touch the ends of the rails.
-
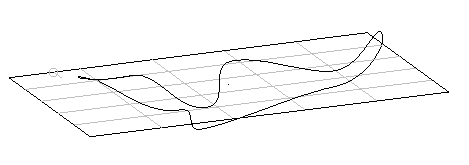
Plane of Best Fit — creates a plane of best fit through the selected wireframe and points:

- Developable (currently under development)