You can create custom orthographic views of Plant 3D models and place them in a 2D drawing.
Orthographic drawings are DWG files, and each one can contain multiple orthographic views with data extracted from Plant 3D models. If the source models change, you can update the ortho drawings to reflect the changes.
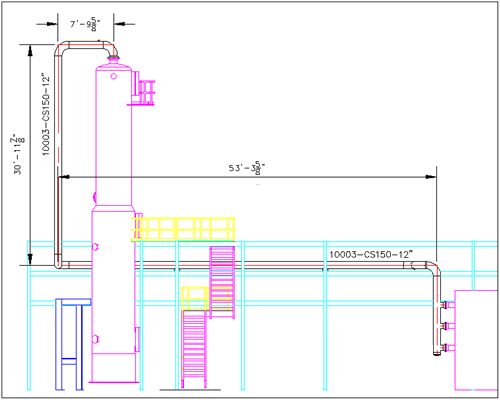
Orthographic drawings display two-dimensional views of piping, valves, equipment, and structural steel in Plant 3D models. The drawings can have annotations, dimensions, matchlines (plan view only), pipe gaps, and can show or hide lines and objects. Here is an example showing a single view.


You can set up a customized template for orthographic drawings with a title block, or you can use the default template.
Understand Drawing References (Xrefs) and Overlaid Xrefs
Project drawings that contain references to other drawings are available for orthographic drawings. Non-project xrefs are also available, but they appear as graphics only.