Set the size of the Isometric drawing areas and specify areas to exclude.
- On the ribbon, click Home tab
 Project panel Project Manager Project Setup.
 - In the Project Setup dialog box, expand Isometric DWG Settings. Click Title Block and Display.
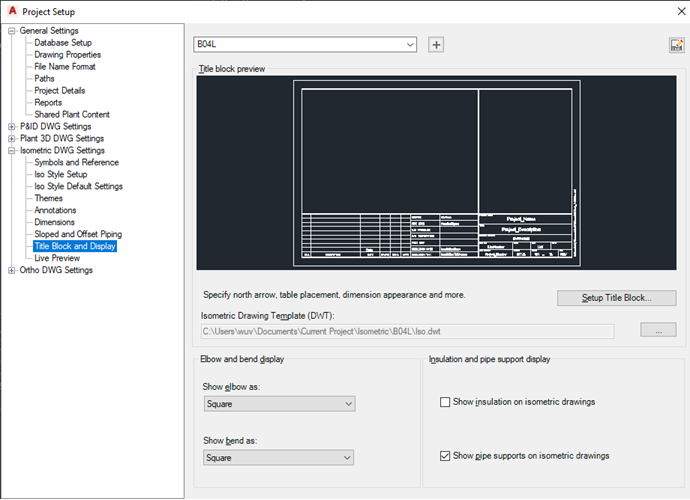
- On the Title Block & Display pane, next to Iso Style, select a style from the drop-down list. Under Title Block Preview, click Set Up Title Block.
- Do any of the following:
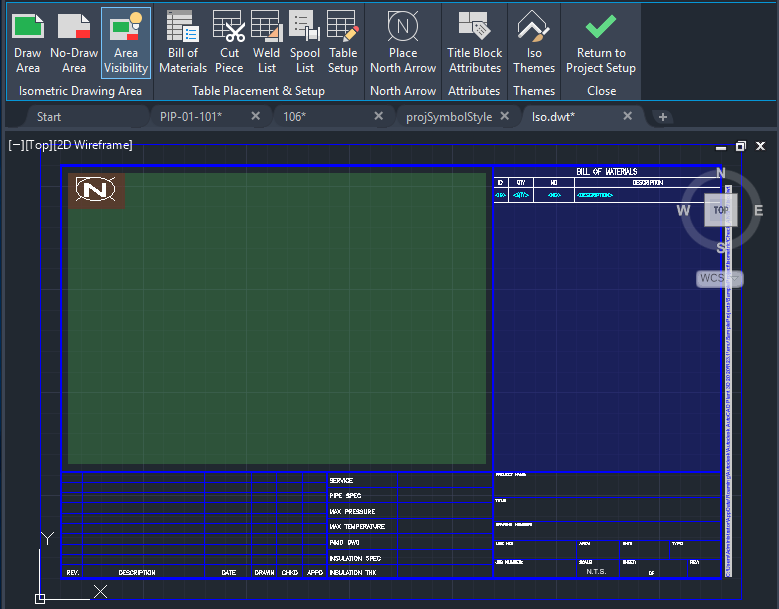
- To adjust the green draw area - Click once in the green box and use the grips to resize the area. (Or, in the ribbon, Isometric Drawing Area panel, click Draw Area, and draw a rectangle.)
- To define a no-draw area - In the ribbon, click No-Draw Area and draw a rectangle (red) overlapping the green draw area. The iso drawing will not extend into this blocked area.
- To see exactly what area will contain the iso drawing - In the ribbon, click Area Visibility. A dotted line defining the isometric drawing area displays.
- To place a table (BOM, cut piece, weld list, or spool list) - In the ribbon, Table Placement & Setup panel, click the table you want, and draw it on the drawing, usually in the blue table area.
- To place the North Arrow - In the ribbon, North Arrow panel, click Place North Arrow. Select upper left, upper right, lower left, or lower right.
- Click OK.