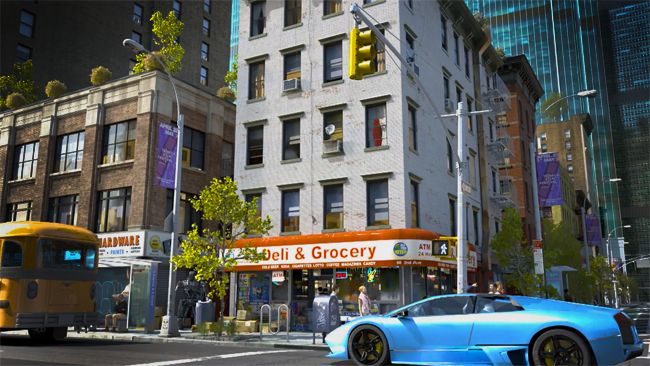
Rendering is the last step in bringing 3D models to life, where objects are shaded and textured, and the scene is lit.

Though the wider context of rendering begins with shading and texturing objects and lighting your scene, the rendering process ends when surfaces, materials, lights, and motion are processed into a final image or image sequence.
Visualization vs. the final render
As you build scenes (shade and texture objects, light scenes, position cameras, and so on), you’ll want to visualize them many times before producing the final rendered image or image sequence. This process may involve (depending on your particular project) creating and setting up additional cameras. See Create a camera and Adjust a camera and its attributes.
Visualize a scene during early iterations to detect and correct image quality problems or to estimate and reduce the amount of time the final render takes before you spend time performing the final render. You can visualize your scene in the viewport, interactively render with the Maya software renderer using IPR; or, if you are using the Arnold for Maya renderer, interactively render in the Arnold RenderView.
You can render a single frame or a sequence of multiple frames; that is, an animation or part of an animation interactively from within Maya. Alternatively, you can batch render or command line render one or more frames.
Before you start your final render, be sure to select a renderer, and set the file name, format, and resolution of your rendered images in the Render Settings window.
The key to successful rendering
The key to rendering is finding a balance between the visual complexity required and the rendering speed that determines how many frames can be rendered in a given period of time.
Rendering involves a large number of complex calculations which can keep your computer busy for a long time. Rendering pulls data together from every sub-system within Maya and interprets its own data relevant to tessellation, texture mapping, shading, clipping, and lighting.
Producing rendered images always involves making choices that affect the quality (anti-aliasing and sampling) of the images, the speed with which the images are rendered, or both.
The highest quality images typically take the most time to render. The key to working efficiently is to produce good-enough quality images in as little time as possible in order to meet production deadlines. In other words, choose only the most economical values for options that let you produce images of acceptable quality for your particular project.
See Adjust anti-aliasing and Arnold for Maya User Guide: Sampling for information on how to adjust the sampling quality for your render.
Topics in this section