Manually stitch surface borders with pattern components.
Pattern components can address the problem of creating and placing individual pattern component panels (triangular, pentagonal, and hexagonal for example) on non-rectangular and non-evenly spaced grids.
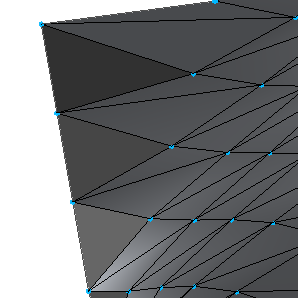
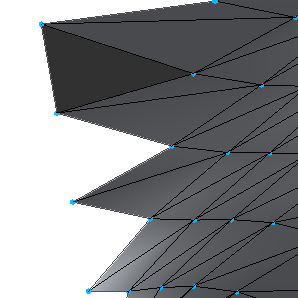
Notice the open edges in the following example. 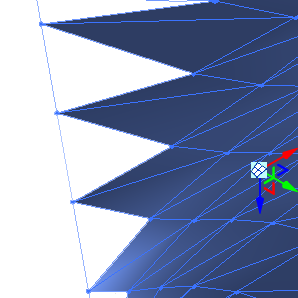
This example requires a 3-point pattern component to fill the edges that were not filled by the selected pattern component. The following procedure explains how to stitch fill this particular example.
- Create a new component family.
- Select the pattern grid and select the Triangle (flat) (a 3-point pattern component) tile pattern grid from the type selector.
- Save and load the component family into your conceptual design.
- From the Project Browser in your design, drag the component family into the drawing area. It is listed under Curtain Panel.
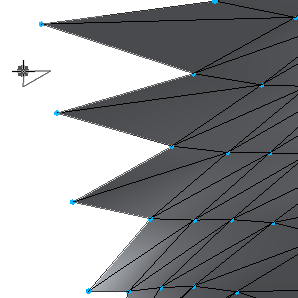
Notice the shape of the component family is represented on the cursor.
- Place the three points on the surface that will create the new panel.
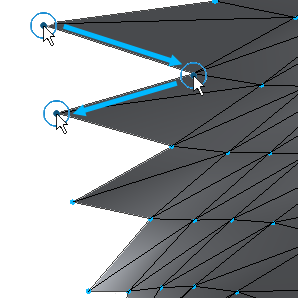
 Note: The order of point placement is important. If the component family is an extrusion, the direction of the extrusion will flip when the points are placed counterclockwise.
 - Continue placing panels as needed to fill the border of the surface.