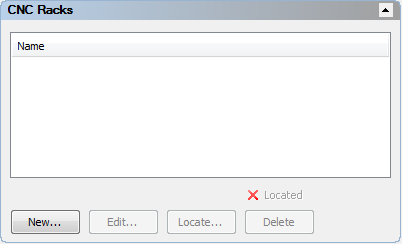
Specify and manage the racks you want to use during a CNC inspection.
A rack is a unit mounted onto a measuring device that contains multiple ports for storing probe-tool sub-assemblies.
Note: If you want to create a sub-assembly that can be stored in a rack, you must create it using a TP20 module connected to any compatible extension-stylus combination.
To specify a rack
- Connect to the measuring device using a CNC-enabled machine protocol or the I++ ClientTool protocol. The CNC Racks area is displayed in the
Machine tab.
- Mount the rack onto the measuring device and align it with a major axis.
- In the
CNC racks area of the
Machine tab, click
New.
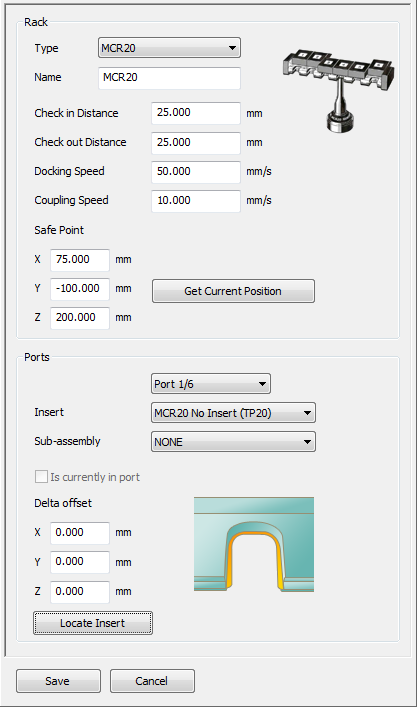
- In the Rack area, select the Type of rack in which you want to store the sub-assemblies.
- Enter a Name for the rack.
- In the
Check in distance box, enter the distance between the port's docking point and its check-in safe point
 .
.
- In the
Check out distance box, enter the distance between the port's docking point and its check-out safe point
 .
.
- In the
Docking speed box, enter the speed of the probe tool between the
Safe point
 and a port's check-in and check-out safe points.
- In the Coupling speed box, enter the speed when connecting or disconnecting a sub-assembly.
To view or edit a rack
- In the CNC racks area of the Machine tab, double-click the rack in the list. The Rack dialog is displayed.
- Edit the rack, and then click Save to save your changes and close the dialog.
To delete a rack
- In the CNC racks area of the Machine tab, select the rack in the list.
- Click Delete to remove the rack.