Save time specifying probe assemblies for an inspection, and create sub-assemblies used in racks.
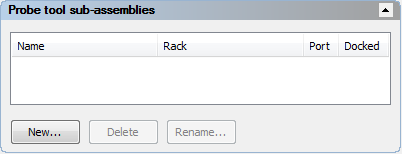
The Probe tool sub-assemblies area of the Machine tab enables you to create and manage combinations of probe parts for use on CNC machines.
To create a sub-assembly
If you want to specify a star probe, first select the Show probe tool connections check box in the Options dialog.
- In the Probe tool sub-assembly area of the Machine tab, click New. The Probe Tool Sub-Assembly dialog is displayed.
- Enter a name for the sub-assembly in the
Probe tool sub-assembly box. The name must be unique to that sub-assembly for
PowerInspect to distinguish between different sub-assemblies.
Note: When PowerInspect connects to the measuring device, it compares the sub-assemblies in the document to that used when it was last connected to the measuring device with the specified protocol. If it finds a matching sub-assembly under a different name, PowerInspect automatically updates the document to the previous name.
- In the Available probe tool parts area, select the type of part you want to add to the sub-assembly. The list displays all the parts available in the probe database.
- To choose the type of part you want to add, double-click its entry to add it to the sub-assembly. The part is displayed in the CAD view, its name is added to the
Probe tool sub-assembly list, and the insertion line moves to show where the next part will be inserted. To change the insertion position, double-click a part in the list to reposition the insertion line after it.
 Note: If you want to create a sub-assembly for use with racks, create it using a TP20 module connected to any compatible extension-stylus combination.
 - Continue inserting parts until the sub-assembly is complete.
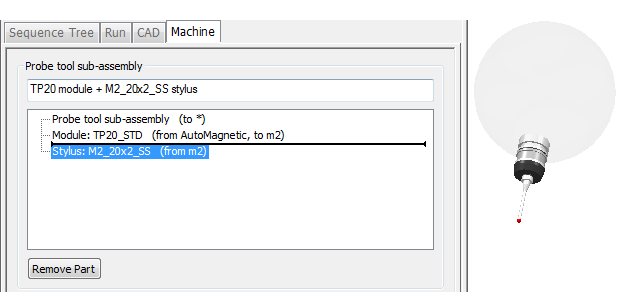
Note: To remove a part from the sub-assembly, select its entry in the Probe tool sub-assembly list, and then click Remove part.
- Click
Save to save your changes and close the dialog. The sub-assembly's name is displayed in the
Probe tool sub-assemblies area and its details are displayed in the Probe View.
For example:

To rename a sub-assembly
- In the Probe tool sub-assemblies area of the Machine tab, select the sub-assembly you want to rename, and then click Rename. The Rename Sub-Assembly dialog is displayed.
- Change the Name.
To delete a sub-assembly
- Remove the sub-assembly from any probe tool to which it is referenced or rack to which it is allocated.
- In the Probe tool sub-assemblies area of the Machine tab, select the sub-assembly you want to delete, and then click Delete. Only the sub-assembly is deleted; the parts making up the sub-assembly remain available for use in other sub-assemblies.