Use automatic segmentation to quickly segment and fit multiple surfaces to a mesh.
- Select the mesh.
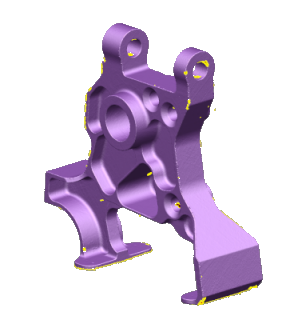
- Click Mesh Tools tab > Create panel > Segment.
- Use the following options on the
Segment Mesh dialog to control the segmentation process:
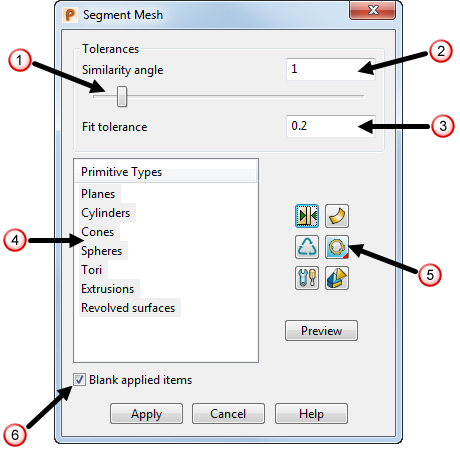
- Use the slider
 or enter a value
 to edit the
Similarity angle.
to edit the
Similarity angle.
- Enter a value for the surface matching tolerance
 .
.
- Select which primitive geometries to use for segmentation, from the
Primitive Types list
 .
.
- Click
 to display the
Extend Primitives dialog.
to display the
Extend Primitives dialog.
- Click
 followed by preview to
Reclaim regions which have had primitives fitted to them.
followed by preview to
Reclaim regions which have had primitives fitted to them.
- Click
 to display the
Segmentation Settings dialog.
to display the
Segmentation Settings dialog.
- Click
 /
/ to toggle between generating surfaces or solids.
- Click Fit
 to select the fit direction. Select:
 Fit inside to fit the primitive surface just below the inside of the mesh.
 Fit through middle to fit the primitive surface as close as possible to the centre of the mesh.
 Fit outside to fit the primitive surface just above the outside of the mesh.
- Click
 to display the
Manually segment mesh
toolbar.
to display the
Manually segment mesh
toolbar.
- Select
Blank applied items
 to automatically blank any applied surfaces or solids.
Note: Lower similarity angles are useful to separate regions of high curvature on smooth meshes. Higher similarity angles are suited for coarser meshes with stronger discontinuities. - Use the slider
- Click
Preview
to display a preview of the generated items.
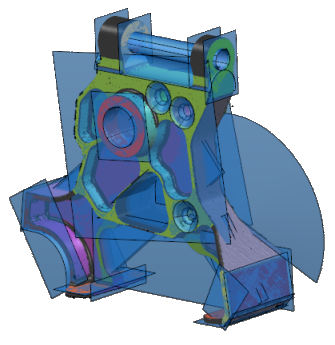 Tip: Move the mouse over the generated item to display the fit tolerance.Note: If you change options in the dialog, click Preview again to update the preview.
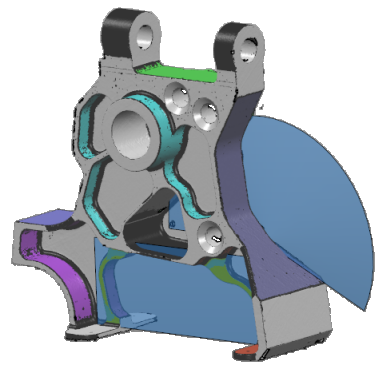
 - Click the generated items you want to keep, and click
Apply
to create the items.
 Tip: Using
 on the item performs the same action as clicking
Apply.
on the item performs the same action as clicking
Apply.
- To create additional items that were not previously detected:
- Change the Similarity angle from the Segment mesh dialog.
- Click Preview.
- Select the items and click Apply.
- Close the dialog and blank the mesh, leaving the newly created items.

Tip: Previously selected surfaces are remembered if you exit and then re-enter the segmenter for the same mesh.
If you delete a surface before returning to the segmenter, its regions are freed.
If you undo, redo, or modify the mesh, the persisted data is lost. If this happens, the segmenter cannot remember which surfaces it produced.