Launch Simulation Ready Geometry into CFD
We are pulling in a step file to ensure that there are no changes in units or part names. Launching the software from a CAD tool may cause a slight variation in the outcomes shown.
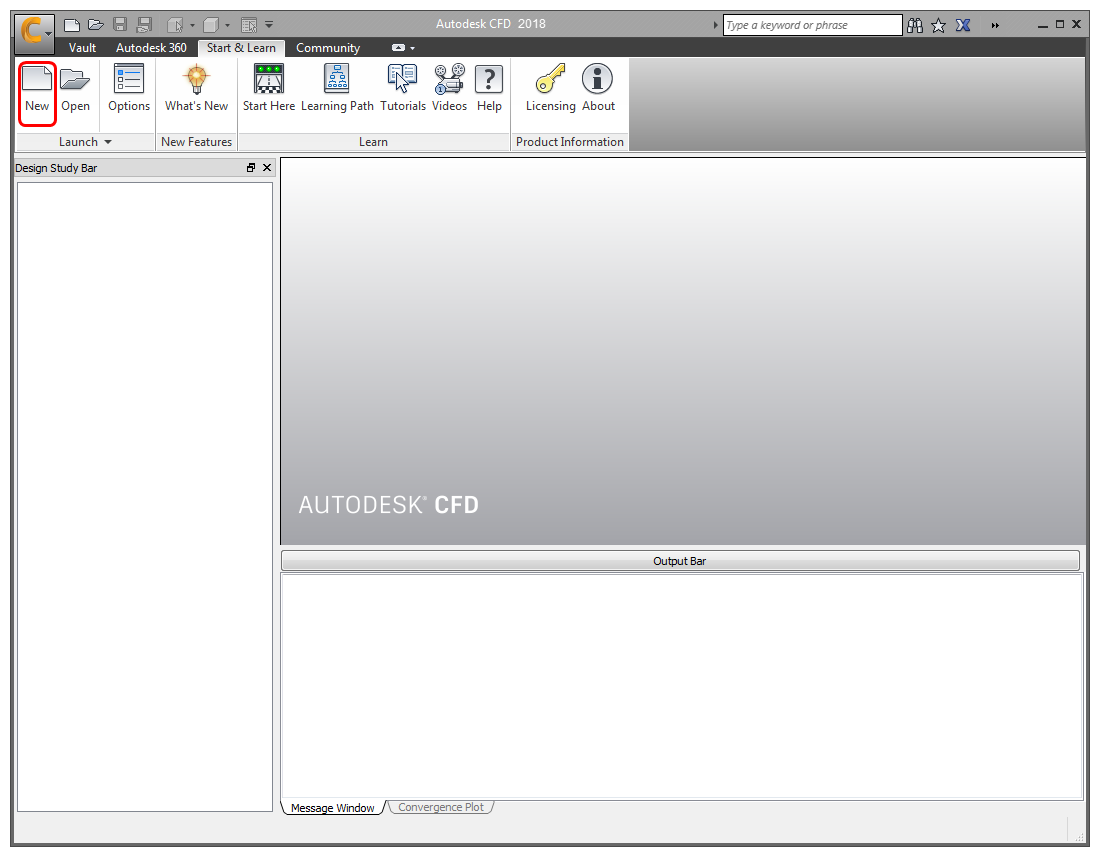
Step 1: Start Autodesk® CFD and click New
Start Autodesk® CFD from the Desktop or Windows® Start menu:
Click New from the Start & Learn tab:
Step 2: Select the model file
- On the New Design Study dialog, click Browse.
- On the File manager dialog, navigate to the location of the files downloaded on the first page.
- Select Simulation Ready Geometry.stp
- Click Open.
Step 3: Create the Design Study
- Enter a Name for the new design study. This can be anything you want.
- Make sure Create is the active option on the button, and click Create.
Autodesk® CFD starts, and creates the Design Study for the remainder of the tutorial.
Note: If the Geometry Tools dialog appears, close it before proceeding to the next step.