Work with Assets
The Assets tool > Assets tab gives you a centralized place to modify, update, filter, and otherwise manage all assets associated with your project.
Modify and Update Assets
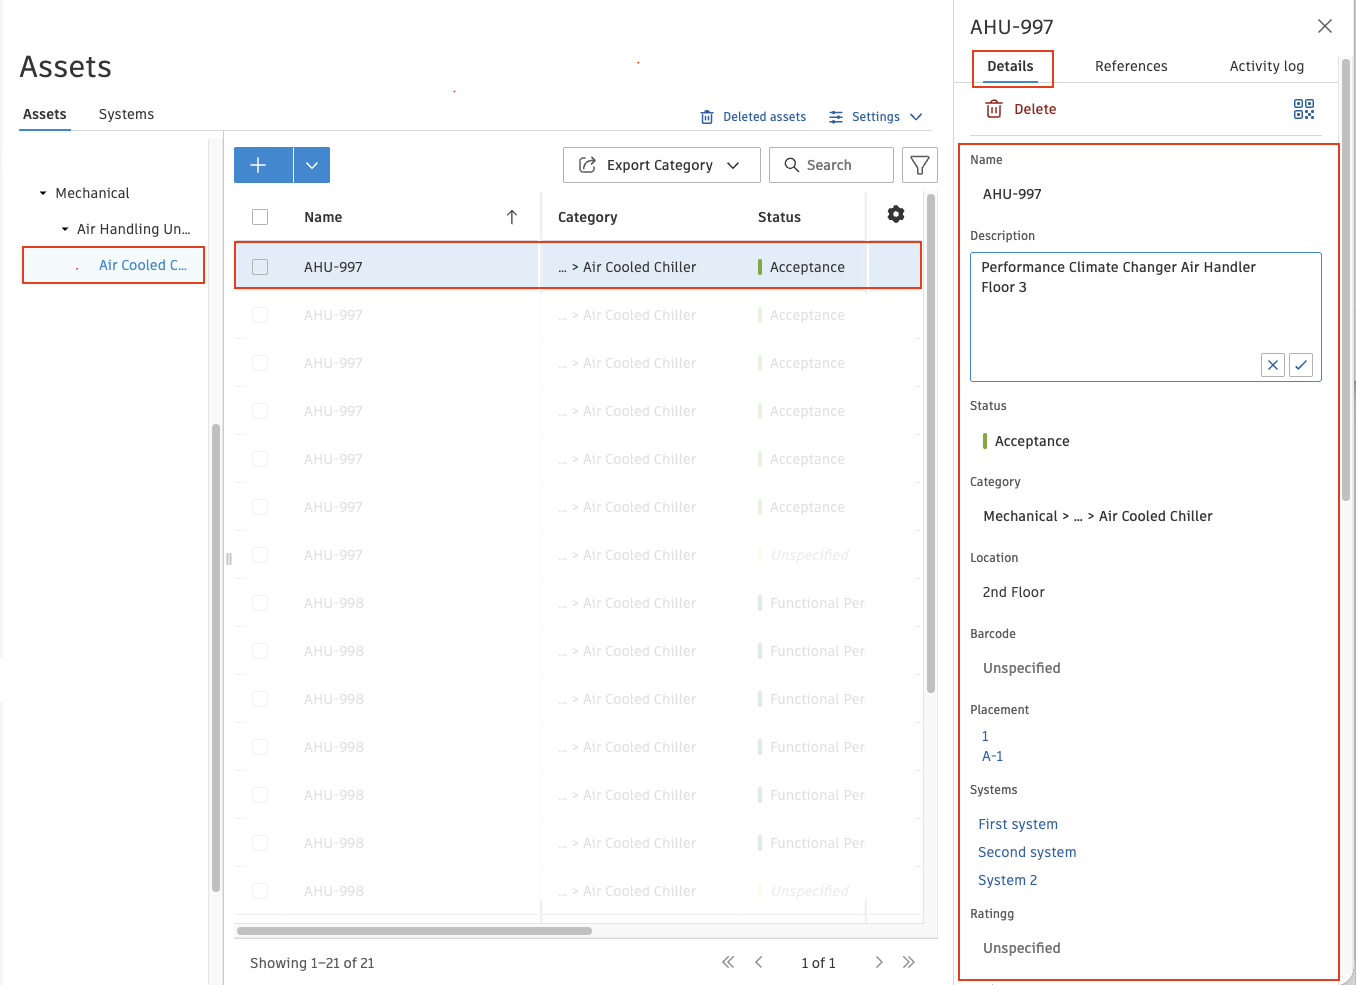
In the Assets tool, open the Assets tab and click the asset you want to modify.
Use the Details tab on the panel to make the desired changes. Hover over the item you want to edit to see the editable box.
When done, click the check icon
 to apply your changes.
Move to the References tab to add references such as photos, sheets, or forms. See Add References to an Asset for details.
View Additional Asset Information
View the information you need by showing or hiding columns in the asset list.
Click the settings icon
 at the top right of the asset list.
Select the columns that you want to be displayed.
Note: The Name and Status columns are displayed by default.
Filter Assets
There are two ways to filter your project's list of assets.
Click an asset category on the left side of the screen to view only assets in that category.

Or use the filter icon next to the search bar to filter all visible assets by status, location, or custom field.
Export Asset Detail Reports
You can now export a report of your project's assets in CSV or PDF format.
CSV Report
To export a CSV report:
Click the Export all button on the Assets tab.

Under Export all assets select the CSV file format option.

Click the Run report button.
You can then download your Asset detail report.

Your exported CSV report will also be emailed to you. It will include all filtered or selected assets on your project, regardless of whether you have filtered your asset list to view only certain categories. You can download this report from this email by clicking the Download Assets button. The file will be available via this link for 30 days.

PDF Report
To export a PDF report:
Click the Export all button on the Assets tab.
Under Export all assets, select the PDF file format option. The PDF report option has a limitation that will not allow an export of more than 500 assets.

If your project has over 500 assets, you need to filter those assets to create a PDF report. Choose the filters for your PDF report.

Once you have chosen your filters, click the Export button.
In the Export filtered asset menu, click the Run report button.

Your PDF report will display a Generating Asset detail screen.

Once the PDF has finished generating, you will see that the Asset detail is ready and have the ability to download by clicking the Download report button.

Your PDF report will also be emailed to you. Download the report from this email by clicking the Download report button. The file will be available via this link for 30 days.

Connect Physical Assets to Their Forma® Build Asset Record
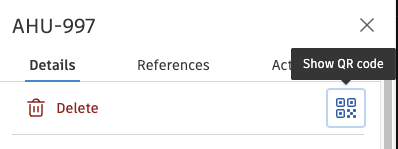
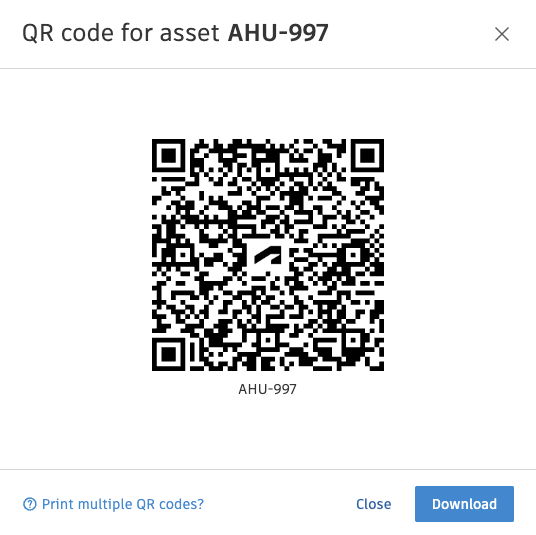
Each Forma® Build Asset record is automatically assigned a unique QR code when it is created. Use this QR code to link a physical asset in the field to its corresponding location in the 3D model. Scanning the QR code also provides quick access to the Asset record, making it easy to identify, inspect, and manage physical assets.
Open an Asset from its QR Code
To open an Asset by scanning its QR code:
- Open the project in the Forma app.
- Synchronize the project to ensure you have the latest Asset data. For more information, see Mobile App Navigation Basics and Sync and Download Projects.
- Open the Assets tool and scan the QR code attached to the physical Asset. For more information, see Scan Assets in the Field.
- The corresponding Asset record opens automatically, where you can view or update its details.