Depending on which file format you selected to generate your character, you can either open or import your file in Maya.
Before you open or import your customized character in Maya, make sure you selected the required Character Generator Generate options, downloaded the compressed file, and extracted the files to the desired location.
See:
Depending on the file format(s) you selected to generate your customized character, the files generated by Character Generator include the .fbx file, the .mb file, or both – the .fbx and .mb files – as well as any texture files if you generated your character to include clothes, specular map, or normal map. Files generated by Character Generator are downloaded as a single .zip file.
This task assumes you generated and downloaded your generated customized character, and you are ready to open or import your customized character in Maya.
- You can either drag and drop your .mb file, open your file (.mb), or import your .fbx file in
Maya, depending on which file format you generated your character in
Maya.
The Import Options, unlike the Open Options, let you use namespaces when bringing your file in
Maya. There are multiple ways to open a
Character Generator character in
Maya:
- Drag and drop the .mb file on the Maya shortcut.
-
From the Maya File menu, choose File
 New Scene
 (Ctrl+N)
or
File
  Open Scene
 (Ctrl+O).
In the Open dialog, navigate to the location where you saved your .mb file, select and open the .mb file.
-
Open Maya and from the File menu, choose Import
 .
.
In the Import dialog, navigate to where you saved your .mb or .fbx file, import the .mb or .fbx file.
Your customized character is displayed with no textures.
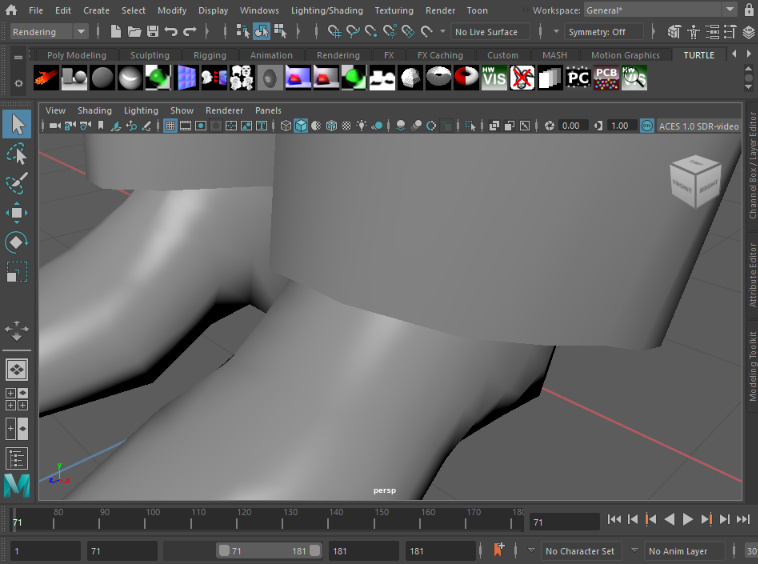
- The character is zoomed in so that only part of it is visible. Zoom out (Alt + right drag) , rotate (Alt + left drag), and pan (Alt + middle-drag) if required.

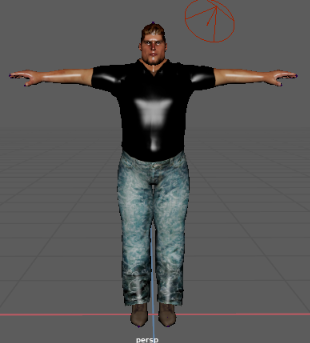
Zoom out to display the full character
- To display your character's textures, go to the Panel toolbar (
 ) and click
 to toggle the Hardware Texturing display.

To go to the next task, see Prepare a Character Generator Model for Maya.