Follow these steps to import a Character Generator character into 3ds Max for animation.
Before you import your customized character in 3ds Max, make sure you selected the required Character Generator Generate options, downloaded the compressed file, and extracted the files to the desired location.
See:
The compressed file generated by Character Generator includes the *3dsMax.fbx file created by Character Generator, the 3ds Max script (CharacterGenerator_FbxToBiped.ms), and the script .txt file (CharacterGenerator_FbxToBiped_Readme.txt).
This task assumes you generated and downloaded your customized character, and you are ready to import your character into 3ds Max.
- Import your customized character by choosing either one of the following options:
-
Note: If your active View in 3ds Max is set to either Perspective, Orthographic, Orthographic Top, or Orthographic Bottom View, when you drag and drop your character in 3ds Max, your character is positioned in the center of the scene.
Drag and drop the *3dsMax.fbx file on the 3ds Max shortcut.
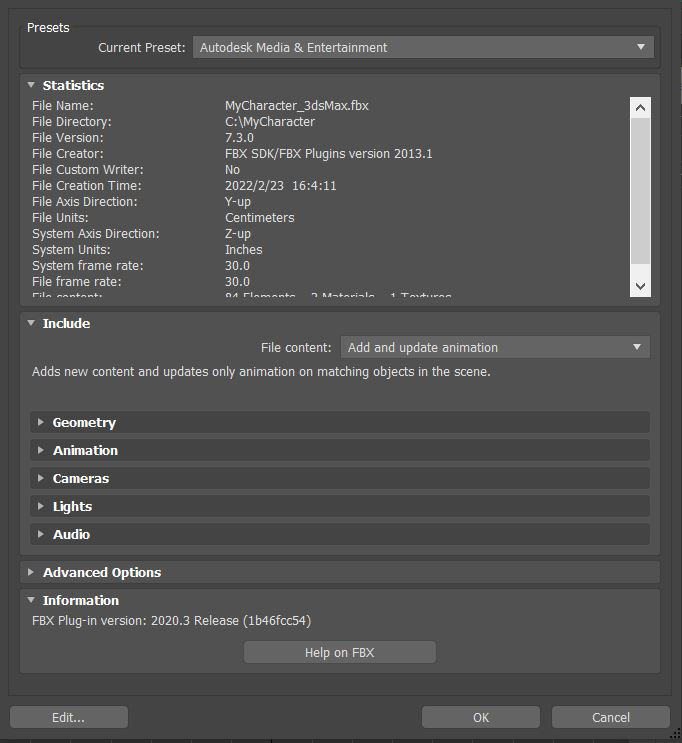
The FBX Import dialog displays.
-
Launch the 3ds Max software.
From the File menu, select Reset.
The scene and settings are cleared.
From the File menu, go to Import and select Import.
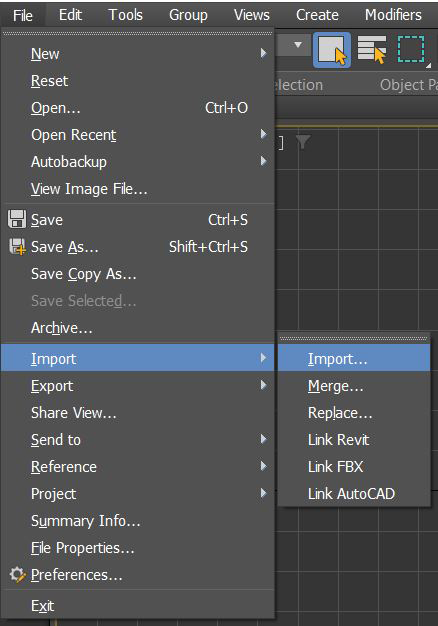
In the Select File to Import dialog, navigate to the location where you saved your *3dsMax.fbx file, select and open the *3dsMax.fbx file.
The FBX Import dialog displays.
Note: If you drag and drop your *3dsMax.fbx file in the 3ds Max viewport, you get a context menu that enables you to choose Import File however, since dragging and dropping files in the 3ds Max viewport is supported only for native file format, you do not get the FBX Import dialog. Therefore, the recommended workflow for bringing a Character Generator model in 3ds Max is to follow either of the options stated in this step. -
- In the FBX Import dialog, make sure the Current Preset is set to Autodesk Media & Entertainment.
- Click OK.
Your customized character is imported.
To proceed to the next task, see Convert an FBX Character Generator Rig into a 3ds Max Biped Rig.