Copy or create a depositing tool for additive multi-axis deposition
This feature is part of an extension. Extensions are a flexible way to access additional capabilities in Fusion. Learn more.
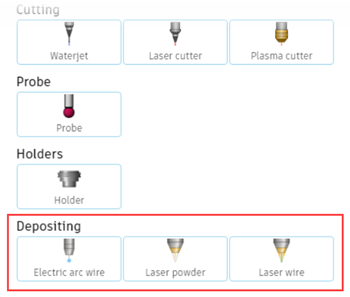
After you have created an additive setup, use the Tool Library to copy a sample depositing tool or to create a depositing tool. Supported depositing tools currently include electric arc wire, laser powder, and laser wire tools.
Copy a sample depositing tool
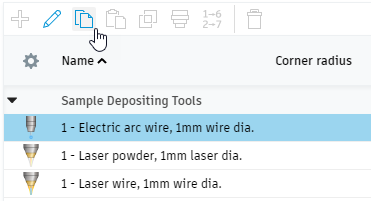
Fusion comes with a selection of sample depositing tools, each with a variety of example presets for different materials. You can copy a sample depositing tool and use it as is or customize it.
On the Manufacture workspace toolbar, click Additive > Manage > Tool Library
 .
.The Tool Library opens.
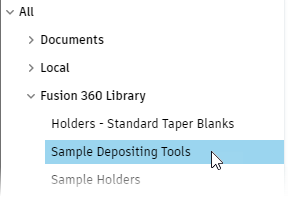
In the left pane, choose Fusion Library > Sample Depositing Tools.

In the middle pane, choose the sample depositing tool you want, then click Copy Tool
 .
.
In the left pane, choose a Local folder in which to copy the sample depositing tool.
In the middle pane, click Paste Tool
 .
.(Optional) To edit the sample depositing tool, in the middle pane, click Edit Tool
 .
.
Create a depositing tool
If none of the sample depositing tools are suitable, create a depositing tool that meets your requirements.
On the Manufacture workspace toolbar, click Additive > Manage > Tool Library
 .
.The Tool Library opens.
In the left pane, choose a library folder where you want to store the depositing tool.
In the middle pane, click New Tool
 .
.In the Depositing group, choose a type of depositing tool.

(Optional) In the General tab, enter a description of the depositing tool, its vendor, its identifier number, and a link to the vendor's website or contact information.
(Optional) In the Depositing Head tab, select a holder for the depositing tool, verify the type of tool, and choose the units of measurement for the tool.
In the Depositing Data tab, enter information about the geometry of the deposition (such as the bead width and layer thickness), the various feeds for the depositing tool, and the various flow rates specific to the additive machine.
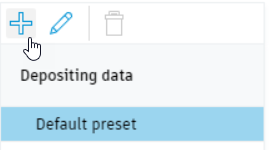
Note: The parameters vary depending on the type of depositing tool that is chosen.Tip: The parameters are stored as a Default Preset. To create multiple presets of different parameters for different materials, machines, or applications, click Add Preset , then enter a name and then change the settings as appropriate.
In the Post Processor tab, enter the tool number for identifying it in an NC program, type any comments, and enter the number for identifying the tool length offset.
Click Accept to create the depositing tool.
Click Close.