Create an additive setup for additive multi-axis deposition
This feature is part of an extension. Extensions are a flexible way to access additional capabilities in Fusion. Learn more.
After you have prepared the design, create an additive setup.
On the Manufacture workspace toolbar, click Additive > Setup > New Setup
 .
.The Setup dialog opens.
In the Setup tab, in the Machine group, click Select and pick the Autodesk Generic DED additive machine.
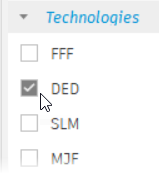
Tip: On the Filters tab, ensure that Technologies is set to DED to filter the list of supported additive machines.
(Optional) By default, the work coordinate system (WCS) defaults to the model’s orientation. If you want to override this, in the Work Coordinate System (WCS) group, choose a different Orientation to set the direction and a different Origin to set the position.
For example, if the base surface is based on a cylinder, or a surface of revolution, the X axis must align with the axis of revolution.

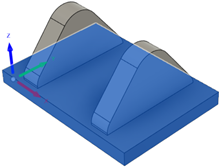
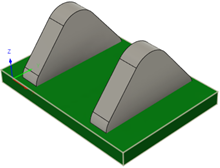
Example of incorrect direction and position (left), correct direction but incorrect position (center), and correct direction and position (right).
In addition, the Z axis should be oriented such that, looking down the Z axis, you have maximum view of the features.
In the Stock tab, in the Stock group, make sure that Mode is set to From Solid, and then, on the canvas, click the body that represents the starting stock.

When you generate and animate the additive toolpath, Fusion shows the in-process stock of the features as they are deposited on top of the starting stock.
Click OK.

Now create or copy a depositing tool to use when generating the additive toolpath.