Create an additive setup
Follow the steps below when using machines with additive FFF, SLA/DLP, MJF, SLS, MPBF, eBeam, or binder jetting capability. For machines with additive DED capability, see Create an additive setup for additive multi-axis deposition.
Open a model on the canvas.
On the Manufacture workspace toolbar, click Additive > Setup > New Setup
 .
.The Setup dialog opens.
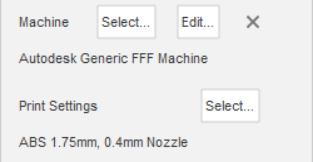
Next to Machine, click Select to find and choose an additive machine.
Tip: In the Machine Library, in the right pane, filter by Technologies to reduce the number of machines that you can choose.(Optional) If the chosen machine does not have associated print settings, or it does but you want to change them, next to Print Settings, click Select and choose print settings.

Leave the Operation Type set to Additive.
(Optional) By default, when you create the setup, Fusion automatically arranges all the selected components on the canvas so that they fit inside the additive machine's build volume. To prevent automatic arrangement, deselect the Arrangement checkbox.
(Optional) By default, the selected bodies are added to the active manufacturing model. If a manufacturing model does not exist, Fusion creates one. To change which manufacturing model the setup uses, select an option in the Manufacturing Model list.
Click OK.
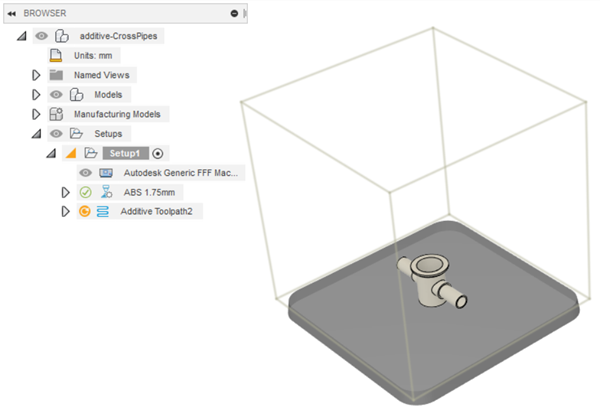
The Setup dialog closes. The toolbar updates to show tools that are available for the capability of the chosen additive machine.
