Work with tool libraries
Access the Tool Library
On the Manufacture workspace toolbar, on any tab, click Manage > Tool Library ![]() .
.
Enable the Cloud library
In the top-right corner of Fusion, on the Application bar, click My Profile.

Select Preferences.
In the Preferences dialog, on the General > Manufacture page, select Enable Cloud Libraries.
Click OK.
Manage libraries
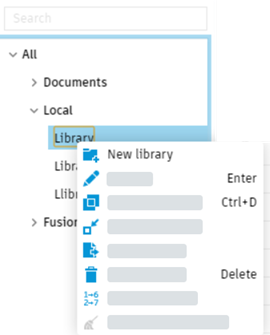
Access the options to manage your libraries, for example, by creating, exporting, and importing a library, from the context menu. To open the menu, right-click a library. The available options may differ depending on a library.

Create a library
In the Tool Library, select the Local or Cloud library.
Click New Library
 then enter a name.
Download vendor libraries
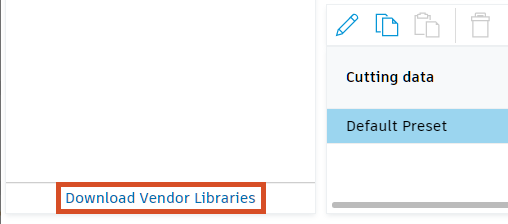
The availability of Vendor libraries directly in the Tool Library is being gradually rolled out to customers. If Vendor libraries are not available, click Download Vendor Libraries to visit the Tools for Autodesk Fusion website, where you can download the read-only tools for Fusion and import them into a personal tool library.
In the Tool Library, click Download Vendor Libraries.

On the Tools for Autodesk Fusion website, find the library that you want to download, then click the For Fusion download link, which is marked orange.
In the Tool Library, right-click the Local library or the Cloud library, then choose Import Libraries.
In the Open File(s) dialog, select the downloaded vendor library, then click Open.