Arrange components in 3D space
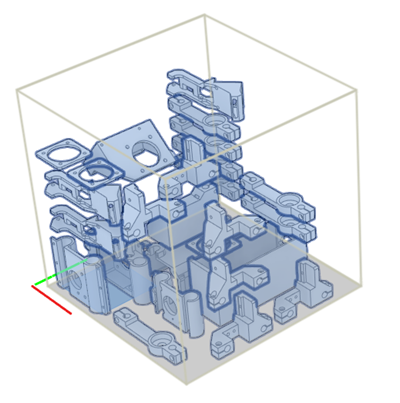
Arrange components in 3D for workflows such as additive (3D printing for example), or for workflows such as packing items in a box, or stacking items on a pallet.
Create a 3D arrangement
While in the Edit Manufacturing Model contextual environment, click Manufacture > Modify > Arrange.
From the Solver Type drop-down menu, select 3D Arrange.
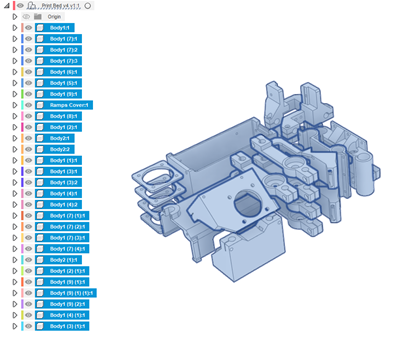
In the Objects tab, with the Components button active:
Select a component from the canvas, or;
Select a component from the browser.
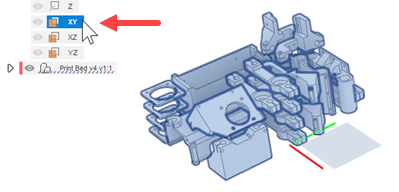
In the Envelopes tab, with the Plane button active, select a plane from the canvas or the browser.
Define the envelope by entering Length, Width, and Height values.
(Optional) To allow a possible arrangement within the defined envelope that does not include all the specified components, click Allow Partial Arrange.
(Optional) To add a clearance before placing the components on the envelope, specify a Placement Clearance distance.
In the Spacing area of the Envelopes tab, specify an empty border around the envelope by entering a Frame Width distance.
(Optional) To add a clearance at the top of the envelope, specify a Ceiling Clearance distance.
Adjust the Object Spacing distance to specify the clearance between components in the arrangement.
(Optional) To get a more accurate arrangement result, reduce the Voxel Size value. Alternatively, to get a faster result, increase the Voxel Size value.
Click OK.