Activity 3: Create text and leader notes
In this activity, you:
- Create text.
- Create leader notes.
- Reposition an annotation.
- Edit text.
Prerequisites
- Activity 2 is complete.
Steps
Create Text.
In the Text toolbar, click Text.
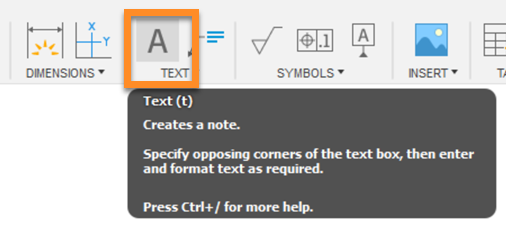
The Text command is located under the Text drop-down list.
Select two corners below the Front View to create a text box.
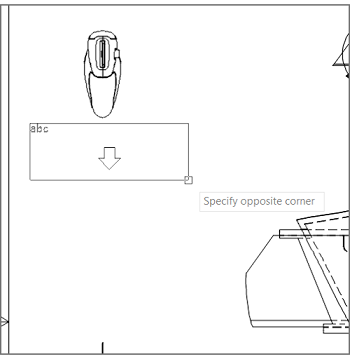
Selecting two corners below the Front View to create a text box.
Type the text, Front View into the text box.
Click anywhere outside of the text box to commit the action.
Repeat the process to add text below the other views (except for the Detail A, which is already labeled). Type the following text, respectively, into the three additional text boxes:
- Bottom View
- Right View
- NE Isometric View
Create Leader Notes.
In the Text toolbar, click Leader Note.
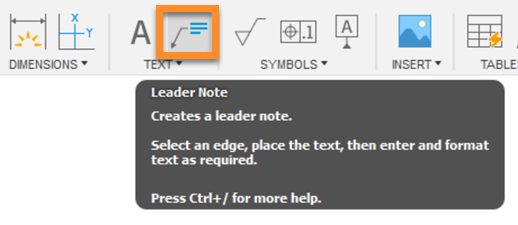
The Leader Note command is located under the Text drop-down list.
Click the blade in the bottom view to place the start of the leader.
Click outside of the view to place the end of the leader.
Type the text, Steel Blade
Click anywhere outside of the text box to commit the action.
Tip: When selecting a part, you'll see green shapes on the object. These are called Object Snap points, and they help you specify a precise point on the object (like an endpoint, a midpoint, or a center point).
Reposition Leader Notes.
Click on the leader note to activate it.
Click any of the gray grips to move the leader note to a new location.
Click anywhere outside the leader note to commit the action.
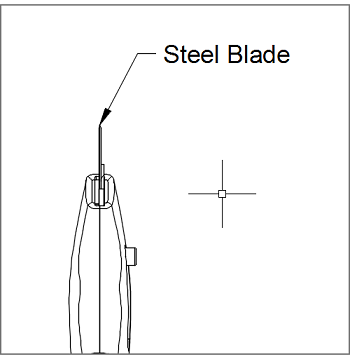
A Leader Note.
Edit Text.
Double-click on the leader note to activate the text editor.
Click and drag the width slider to the right to format the text into 2 lines.
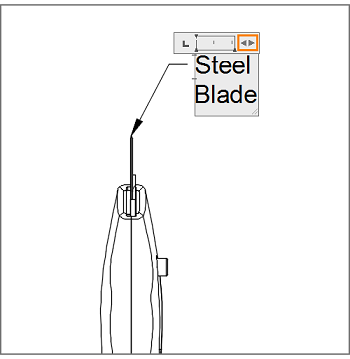
An activated text editor.
Click anywhere outside of the text box to commit the action.
Activity 3 summary
In this activity, you:
- Created text.
- Edited text.
- Created leader notes.
- Repositioned an annotation.