Route between multiple layers
After you have enabled the settings you want for multilayer routing, you can start creating your routes.
Click (Design > Route
 ) to open the Route Manual dialog, then click a component in the canvas to start routing.
Mouse away from the component to start drawing a connection.
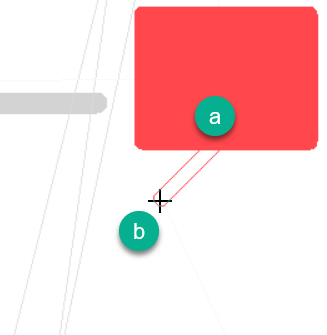
Start point
Cursor
As you draw a connection, you will not be able to cross components that would block the connection on a real board.
At a point where you want to route to another layer, middle-click to open the Layer dialog.
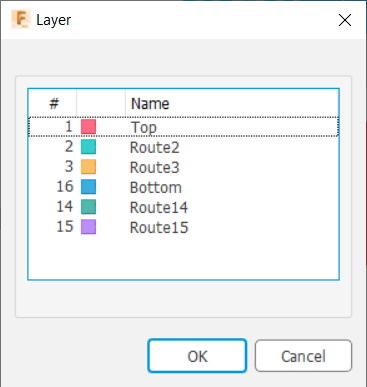
Select a layer to route to and click OK.
Electronics sets up a potential via labelled with the layers that the route connects. (In this example, “1-2”.)
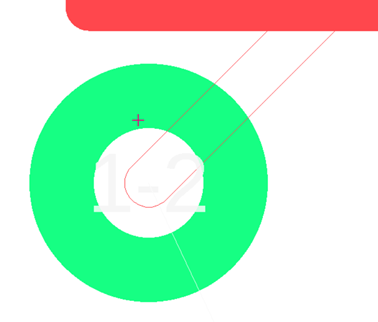
This does not create the via until you click. Before you click, you can press the space bar to step through other potential layer routing options, including the option to just continue drawing without creating a via (the third part of this illustration).

Click to create the via you want.
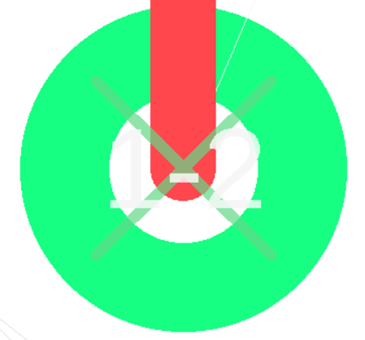
To continue drawing, mouse away from the new via.
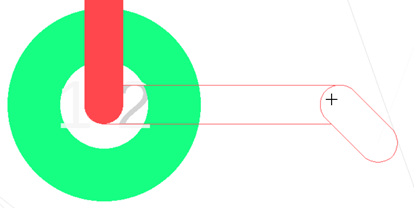
Add other via points as needed, then press Esc when you are finished.
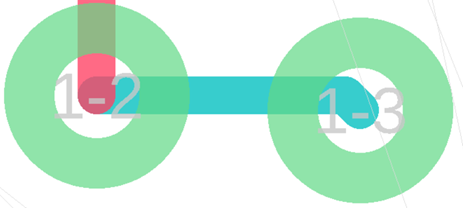
The colors of connecting lines indicate which layer they are on. For example, in the preceding illustration, the blue connection is on layer 2. Each connecting point shows the start layer of the original connection and the target layer for that via.