Create a custom property
Fusion Manage requires a separate license and can be used with Fusion or independently. Learn more.
Administrators can create custom properties to track additional information about components. When you create a property, you can define its name, field type, visibility, and whether its value is copied during component copy operations.
Before you begin:
You must be a hub administrator to create custom properties.
Your hub must have a Fusion Manage license and site.
Each hub can have up to 500 custom properties.
Note: Although you can create up to 500 custom properties, only the first 50 are available to include in Drawings.
Create a custom property
Open the Fusion web client.
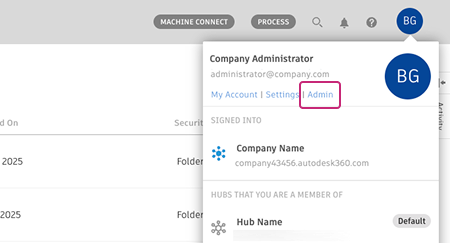
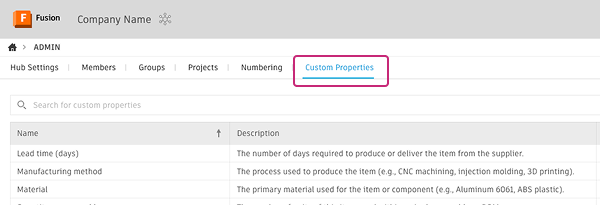
In the upper-right corner, click your profile, then select Admin > Custom Properties.
Click Create property.
Enter a unique name for the property.
- Names must be unique within your hub.
- Names can contain up to 255 characters.
- Names can't contain these special characters: \ : { } [ ] | ; < > ? ` ~
- You can't change the name after the property is created.
(Optional) Add a localized name. Localized names allow you to display the custom property name in different languages so users in other regions can easily understand what the field represents. To add a localized name:
- Click Add localized name.
- In the table that appears, select a language from the Language dropdown.
- Enter the localized name in the Name column.
- Repeat for each language you want to add.
Note: A localized name can be the same as the property’s default name or another localized name. It can also match the default name or localized name of another property. If a localized name matches another property’s default name, a warning dialog appears indicating the conflict. Localized names do not appear in search results.(Optional) Enter a description for the property. The description provides additional context about the purpose of the custom property and how it should be used.
(Optional) Add a localized description. Localized descriptions allow you to display the property description in different languages so users in other regions can understand the field’s purpose. To add a localized description:
- Click Add localized description.
- In the table that appears, select a language from the Language dropdown.
- Enter the localized description in the Description column.
- Repeat for each language you want to add.
In the Field type dropdown, select the data type for the property:
- Text: For text values like descriptions, notes, or codes
- Number: For whole numbers without decimals
- Number with decimal: For numbers with decimal places
- Currency: For monetary values using the currency type you specify
- Date: For calendar date values
Configure the following property settings:
Visible: Controls whether users can see the property. When enabled, the property will appear in Fusion experiences. When disabled, the property is hidden but remains accessible through the API. Consider hiding the property while you set it up. New properties are visible by default.
Copy value: Determines whether property values are copied during operations like Save As, Copy, or Paste New. When enabled, values are copied to the new component. When disabled, the new component starts with a blank value. This setting is enabled by default.
Click Create property.