 Smart Bevel creates smooth, adjustable bevels with precise width, segments, and depth settings, supporting world units and complex geometry handling.
The Smart Bevel tool enhances traditional bevel operations by providing more predictable results, especially after Boolean operations or when working with dense or intersecting geometry. It helps prevent common bevel issues such as collapsing corners, uneven widths, and self-intersecting faces.
Why Smart Bevel?
Traditional beveling can cause:
- Edge intersections
- Collapsed corners
- Uneven widths on complex geometry
- Broken topology on tight angles
Smart Bevel solves these problems by giving you:
- Precise width control (including world units)
- Controlled segment distribution
- Depth shaping
- Built-in limiting to prevent collapse
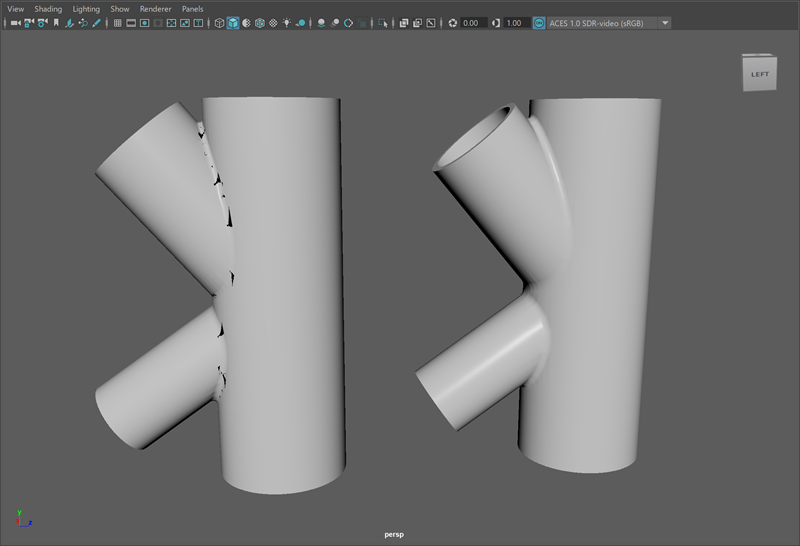
Legacy bevel (left) compared to Smart Bevel (right) without a wireframe
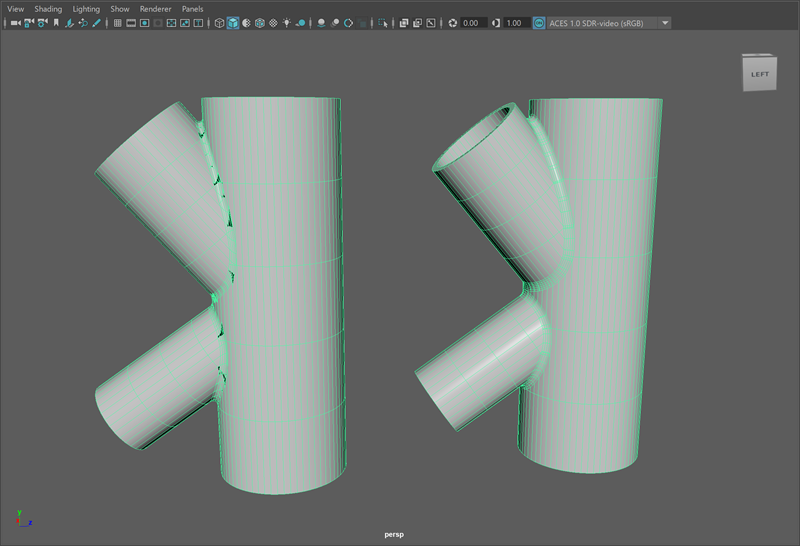
Legacy bevel (left) compared to Smart Bevel (right) with a wireframe
Applying Smart Bevel
In this example, you will apply Smart Bevel to a hard-surface model after a Boolean operation to maintain clean corners and controlled edge transitions.
Scenario: An example shape contains sharp Boolean cuts that require controlled rounding without distorting surrounding geometry.
Step 1: Open your project in Maya
-
Select the object, right-click and hold, then choose Edge.
-
Select at least one edge on the loop that requires beveling.
Step 2: Expand selection
-
Go to Select > Contiguous Edges.
Step 3: Apply Smart Bevel to your edges
With the edges selected, access Smart Bevel using one of the following methods:
Once applied, the bevel preview appears immediately. Notice how corner intersections remain cleaner compared to traditional bevel results.
Step 4: Adjust Smart Bevel settings
If you click away from the object, the interactive handle disappears. You can continue editing the bevel using the polySmartBevel node in the Channel Box or Attribute Editor.
Refine the following primary settings:
- Width: Controls how far the bevel extends. Use smaller values for subtle highlight edges and larger values for visible chamfers.
- Segments: Controls smoothness. Use 1 segment for hard bevels, 2-3 segments for most hard-surface models, and higher values for close-up renders.
- Depth: Adjusts the curvature profile of the bevel. Increase depth for softer transitions.
- Weld Opposing Arcs: Merges nearby arc edges within a tolerance to clean up and simplify complex bevel results.
- Weld All Arcs: Merges matching arc edges across a bevel, removing duplicates while keeping the overall shape intact.
The built-in limiting, when working with tight Boolean geometry, prevents edge collapse.
Step 5: Refine and evaluate the result
Rotate the model and inspect intersections and shading. Continue applying Smart Bevel, if required. Adjust width and segments as needed to balance smoothness and polygon count. For production workflows, use the lowest segment count that achieves the desired visual result.
By controlling width, segments, depth, and limiting, you can create clean, production-ready bevels while maintaining stable topology.
For more information, see the polySmartBevel node and Smart Bevel Options documentation.