Example workflow: Create a particle effect
- Open Particle Editor (Window > Particle Editor), which creates a default particle effect for you to start with.
- Click Save
 to name and save the particle effect.
Particle systems are simply a group of commands that guide each particle from birth to death. To begin, let's take a look at the default system.
Select System 1 to view the general properties of this system.
Select the Size component, and for the Initial Size property, change the Min value to 0.01, and the Max value to 0.05.
Adjust the particle scale over life time graph to go from 0 to 1.
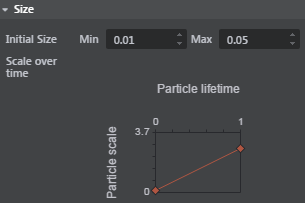
Tip: Increase the width of the Property Editor to see greater detail of the property graph.
In the Asset Preview area of the Particle Editor, click the gear icon
 and select Update Mode > Always. (This is best when working with particle effects.)
- Select Velocity:Box, which makes the effect spawn particles within a box shape.
Adjust the Veloctiy:Box properties to make the Minimum Z values 0.

This makes the particle effect spawn particles in an upward direction.
Select the Color component.
Click the small white square below Color Gradient, then choose a light blue color from the Color Picker and click Ok.
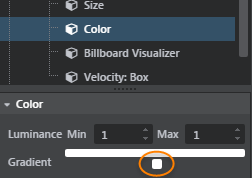
Click to the left of the now blue square to add another color to the gradient bar, and keep this one white.

Slide the light blue square to the right.
Tip: To remove a color, right-click the square.
Lastly, we'll make the sparks fade out over time.
Adjust the Particle Opacity graph by dragging the end-time point down to 0.
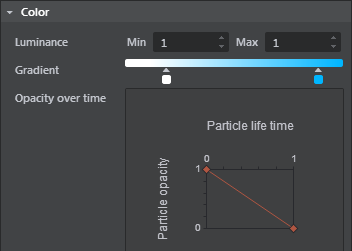
The particles look similar to the following in the Asset Preview:
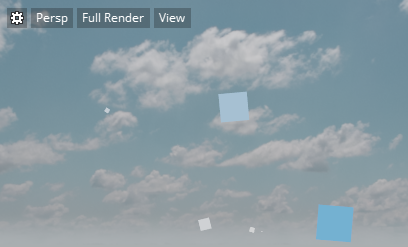
Right-click the system and select Rotation > Spin.
In the viewport, you can see your particle effect spinning around.
- Right-click to copy, then paste the system.
- Rename the newly created System 1 to System 2.
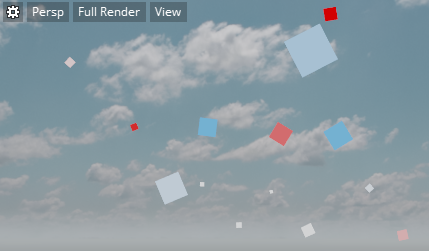
Change the color of the System 2 from light blue to red.
The particles now look similar to the following in the viewport:
In the Particle Editor, click the Save icon ![]() .
.
Place the particle effect in your level using the Place tool ![]() or by dragging the asset into the Level Viewport.
or by dragging the asset into the Level Viewport.