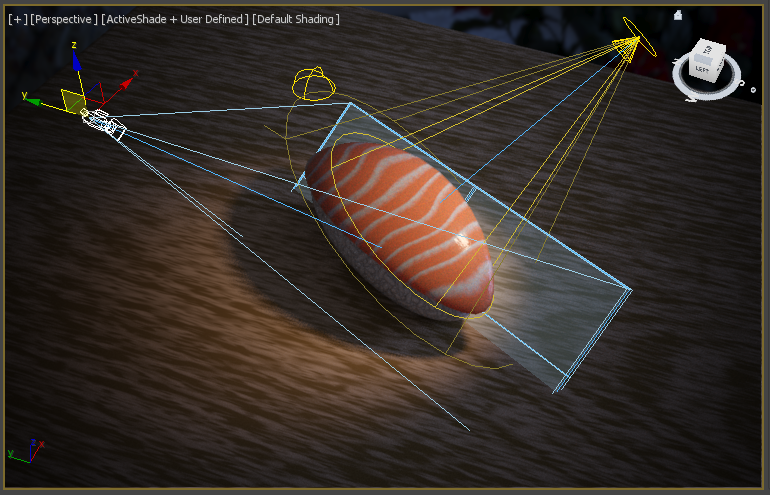
To use ActiveShade, you must use Nitrous drivers as legacy drivers are not supported. ActiveShade can only be displayed in one window or viewport at a time.
To display ActiveShade in a viewport:
- In the Render Setup dialog, make sure the Target is set to ActiveShade and the Renderer is set to either the Arnold or ART renderer.
- Click or right-click the Shading viewport label, and choose ActiveShade.
Scanline rendering is not supported in the viewport. To render in Scanline, you must use the free-floating ActiveShade window.
To display a free-floating ActiveShade window:
- Choose ActiveShade from the Render flyout.
Note: As with the Render command, the ActiveShade window respects the Output Size setting from the Render Setup dialog. To use a different render size, set it first with Render Setup, and then open the ActiveShade window.
To zoom and pan in an ActiveShade floating window:
- Hold down Ctrl and then click to zoom in, right-click to zoom out.
- Hold down Shift and then drag to pan. (The window must be zoomed in.)
You can zoom in and out and pan the image in the ActiveShade floating window. You can even do this while a scene is rendering.
- Roll the wheel to zoom in or out.
- Press the wheel, and drag to pan.
Note: You can use any third-button pointing device to pan the image. To enable this, choose the Pan/Zoom option on the Viewports panel of the Preferences dialog.
If you have a three-button mouse, you can use its third button or wheel to zoom and pan:
To update a Scanline ActiveShade floating window after moving an object or changing object geometry:
- Right-click the ActiveShade window.
- In the Tools (lower-right) quadrant of the quad menu, choose Initialize.