
Vary properties on emission
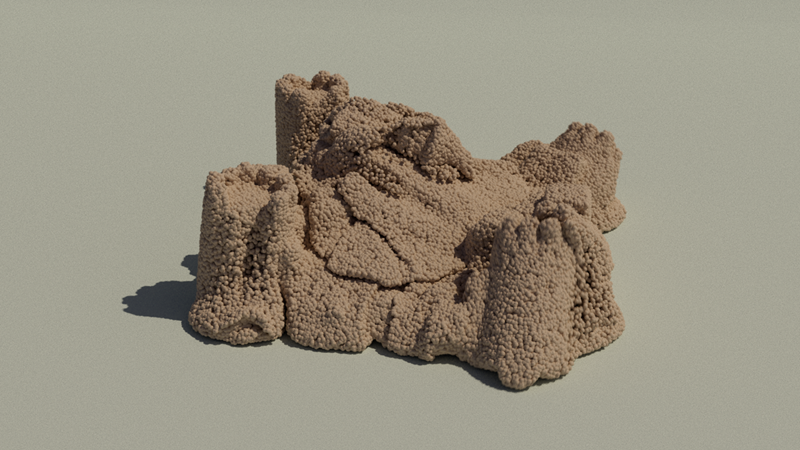
When emitting from a source, you can vary the properties for a more natural look. For example, you can vary the size of basic particles, the density of smoke, the viscosity of sand, and so on.
There are two methods:
- Connecting a data type such as a field directly into an
autoport on a source node. - Using a
vary_source_propertynode.
Vary emission properties directly on the source nodes
This method is easy to set up. However, it does not work with cloth or shell simulations.
Connect one of the following types into a compatible float or float3 port of a source_particles, source_air, source_mpm_sand, source_mpm_snow, or source_mpm_fluid node, such as fog_density for air or viscosity for sand. The compatible properties are identified by a halo on their ports, indicating that they accept different input types.
- Connect a field to vary properties based on the field's values across space.
- Connect a string specifying the name of a property on the source geometry to use it to vary the simulation property.
- Connect an array of values to use those as the values for the emitted elements.
Vary emission properties using vary_source_property
This method is more complicated, but has more flexibility. It also works with all types of simulation.
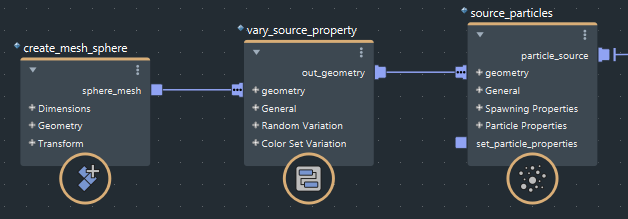
Connect the emitter geometry into a
vary_source_propertynode'sgeometryinput.Connect the
vary_source_propertynode'sout_geometryoutput into the source node'sgeometryinput.- Note that if the emitter geometry is already connected, you should expand the fan-in port to replace the existing connection, or disconnect it. Otherwise, the geometry will be connected twice, once with the variation and once without it.
Specify the
propertyto vary. The available property names depend on the type of simulation — see the Info tab for a list. You can enter a space-separated list of properties if you want to vary several properties using the same settings.Choose how to vary the values:
- To randomize values, turn on
randomize_valuesand setmin,max,bias, andanimatedas desired. For a good variation of values across the geometry, use a dense mesh. To vary vector values likedirection, connect a float3valuenode to theminormaxport. Uselayer_modeto specify whether you want the values set on the source node to be replaced by, added to, or multiplied by the random values. - To set values based on a color set on the geometry, turn on
use_color_setand specifycolor_set_nameexactly as it is called on the geometry in the host scene. Use a single-channel color set to vary float values, and an RGB color set to vary float3 values. - If both
randomize_valuesanduse_color_setare active, the color set acts as a multiplier for the random values. - Optionally, use
multiplierto scale values up or down.
- To randomize values, turn on
To vary additional properties using different settings, daisy-chain additional vary_source_property nodes between the emitter geometry and the source node.
If you use multiple vary_source_property nodes to vary the same property more than once, they are not applied in the same order as they appear in the chain.