
Configure Project Templates for Cost Management
Once you've created a project template, configure tool settings for Cost Management.
From the Project List, click the Project Templates tab or in Account Admin, navigate to the Project templates tool.
Click the template that you want to configure.
Select Cost Management using the product picker.
Use the left panel to select the tool you want to configure in the project template:
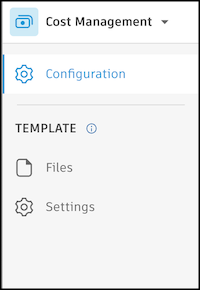
Cost Management Tools in Project Templates
| Feature | Help Article |
|---|---|
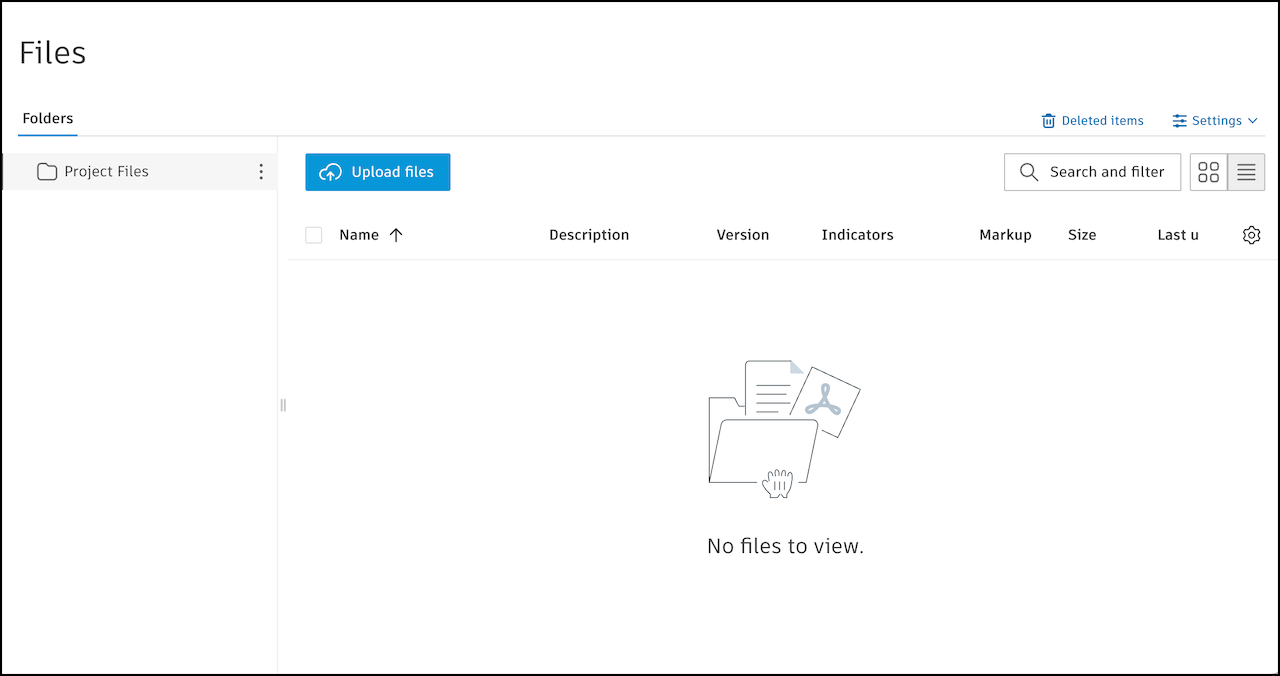
| Create and configure issue categories and issue types. | Organize Files with Folders |
| Edit attributes | Custom Fields |
| Configure permissions | Folder Permissions |
| Upload and configure files for use across multiple projects | Upload and Manage Files |
Note:
- .NWC file exports from Autodesk Inventor and Data Exchanges are not supported.
- Many features from the Files tool are not available in project templates. This includes creating markups and performing actions in the viewer, creating a Data Exchange in the viewer for a Revit model, and more.
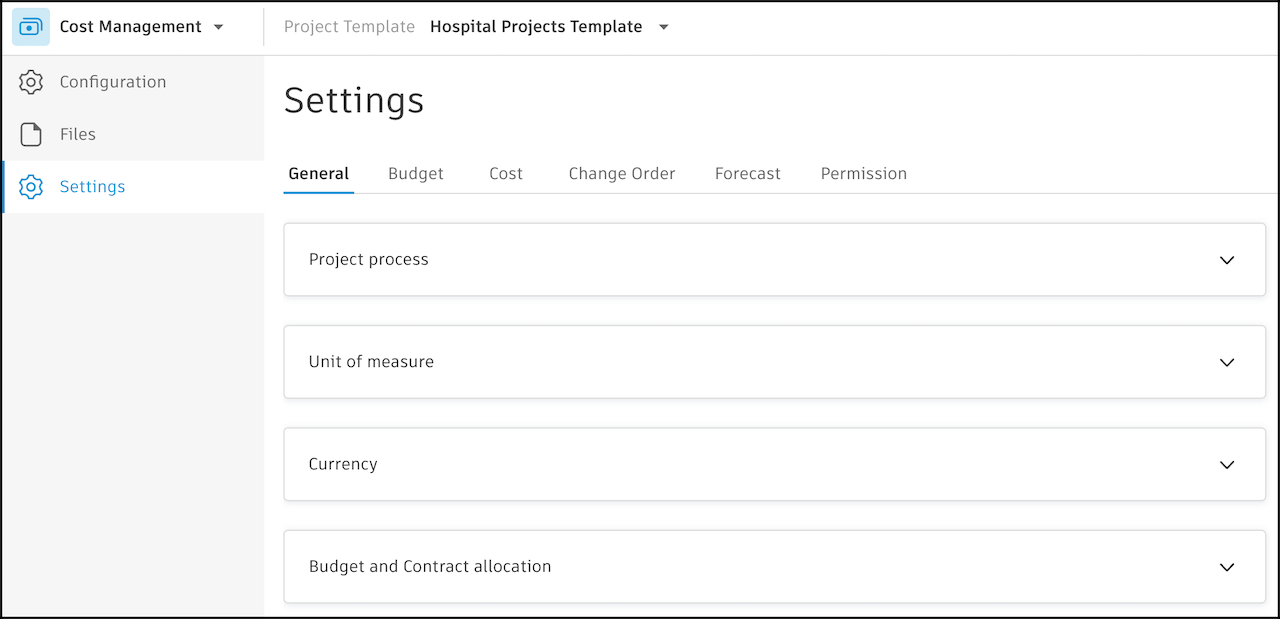
Note: Some Cost Management settings may not be available in project templates.
| Tab | Help Article |
|---|---|
| General | General Cost Management Settings |
| Budget | Budget Settings |
| Cost | Cost Settings |
| Change Order | Change Order Settings |
| Forecast | Forecast Settings |
| Permission | Cost Management Permissions |
Once configured, you can create projects using your templates.