Configure Project Templates
Once you have created a project template, you can start editing the template.
Edit project template details and permissions
- Change the template name
- Choose whether to make the template available to all members who can create projects
- Set permissions for who can view and edit the template
-
- Add project members that you want to be added to projects created from this template
- Add notification settings
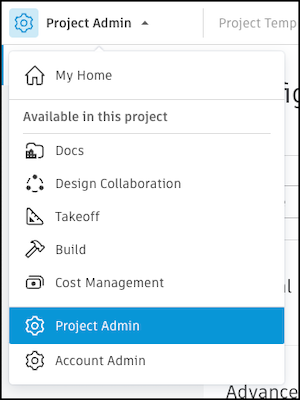
- Manage which products and tools will appear in projects created from this template
Configure your template for different products. Select the product in the product picker.